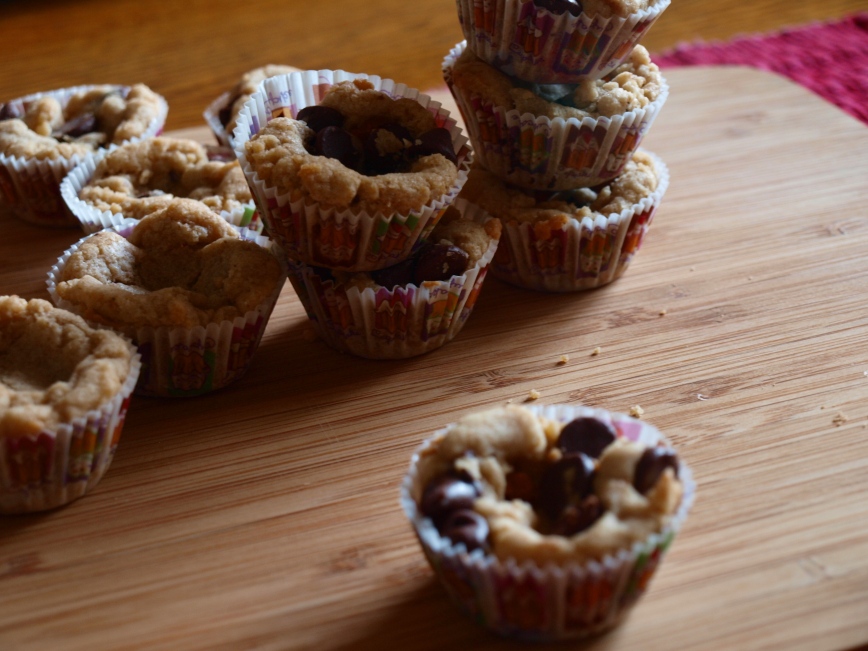
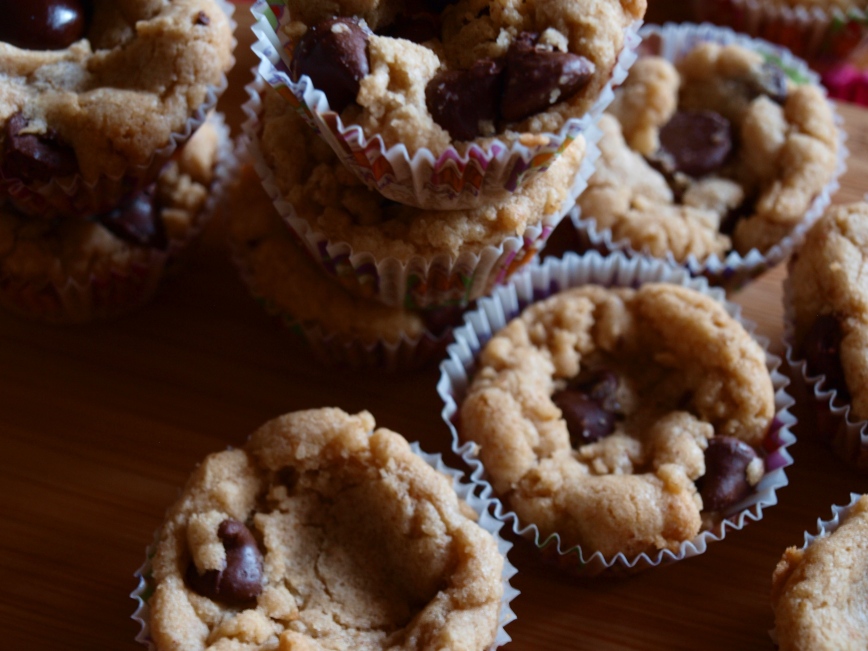
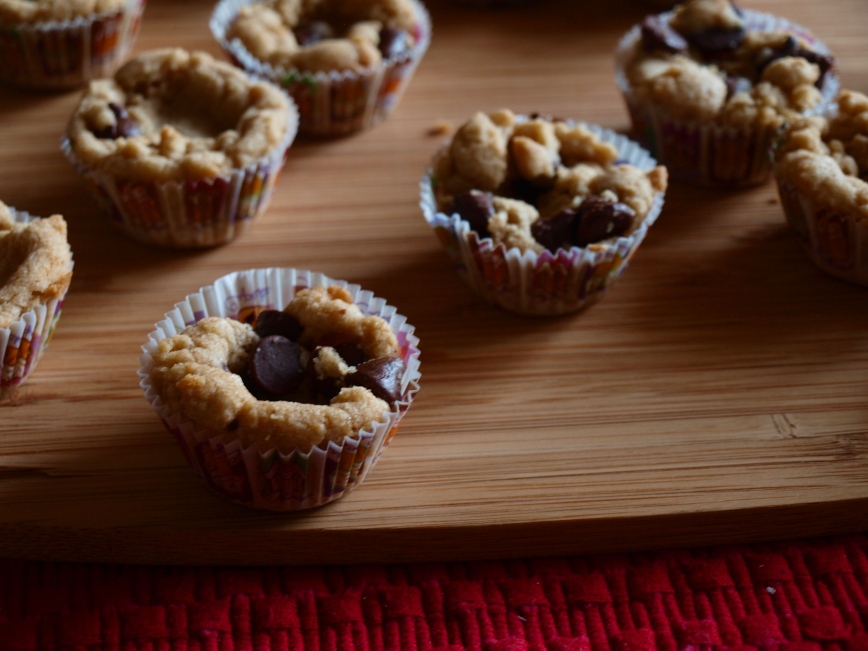
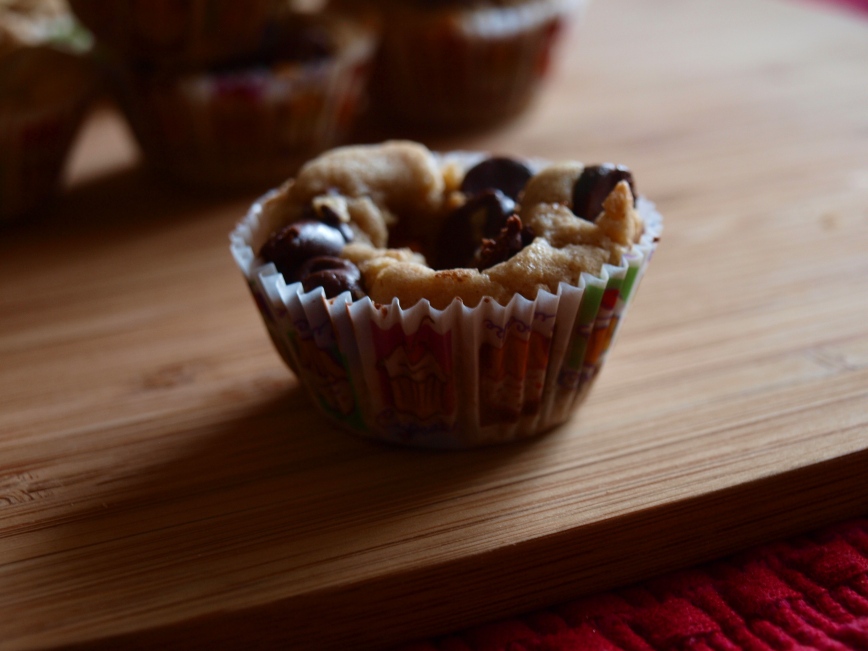
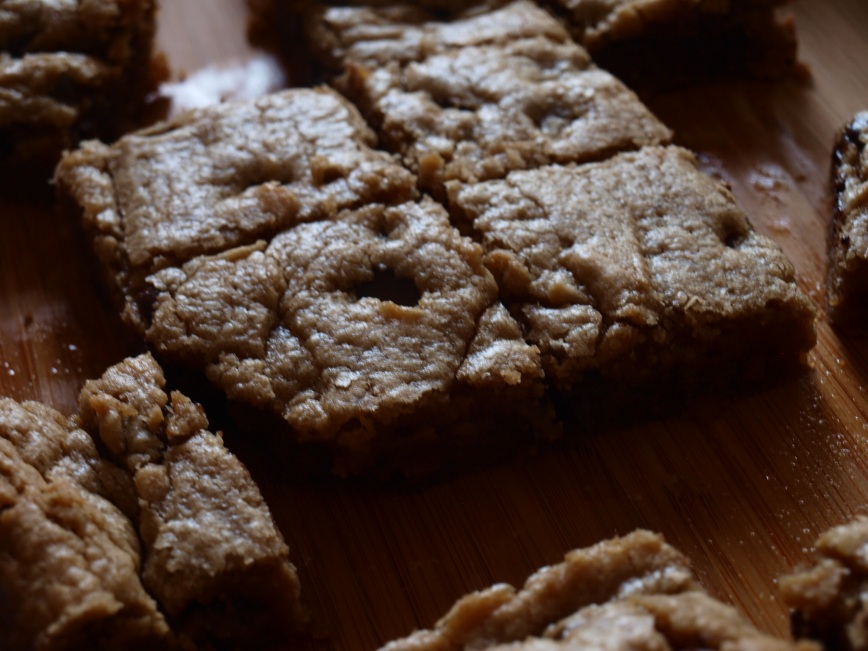
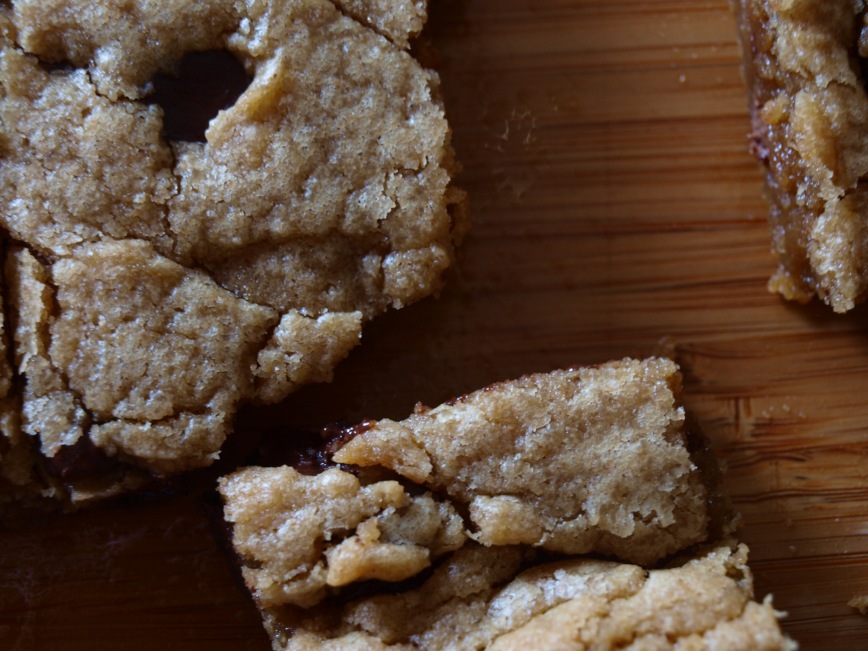
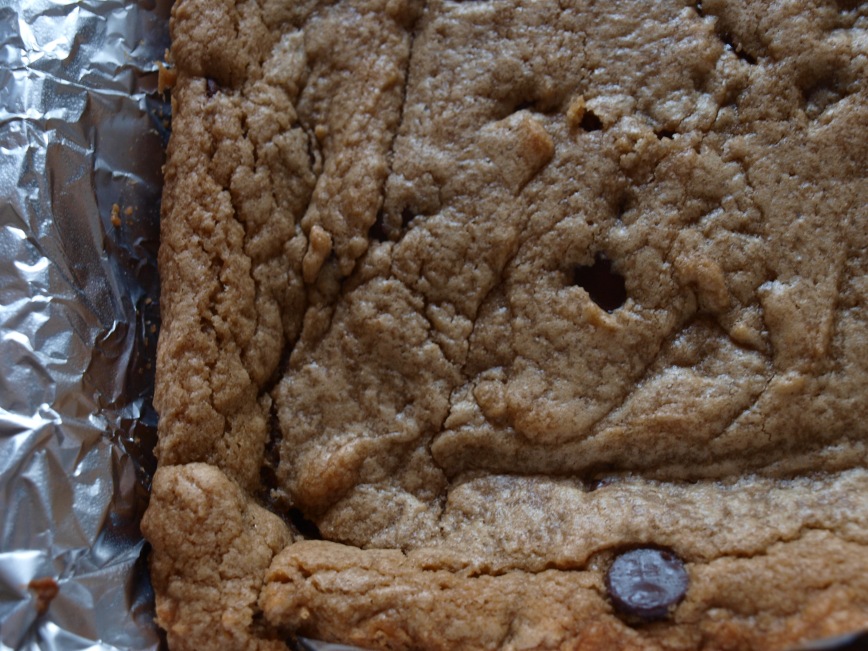
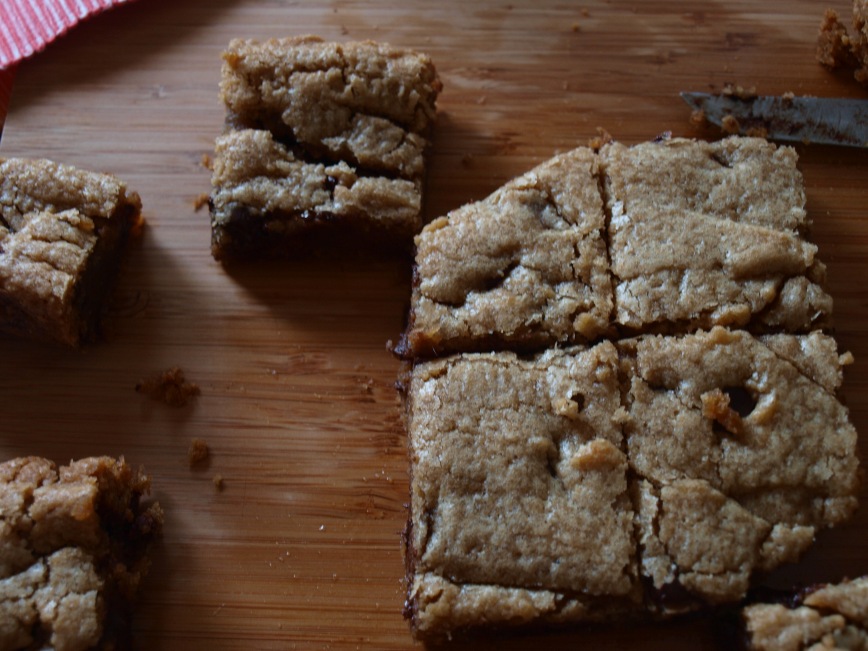
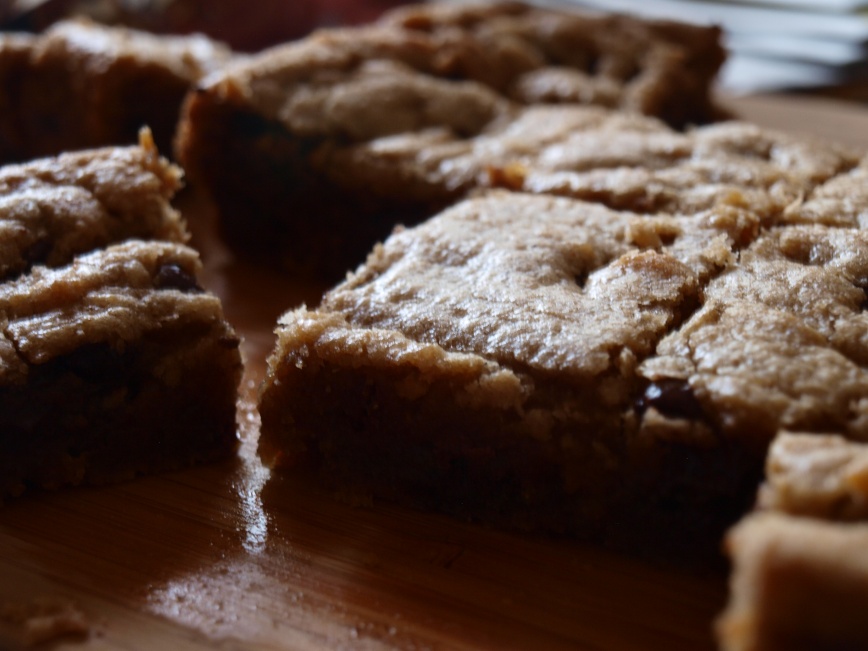
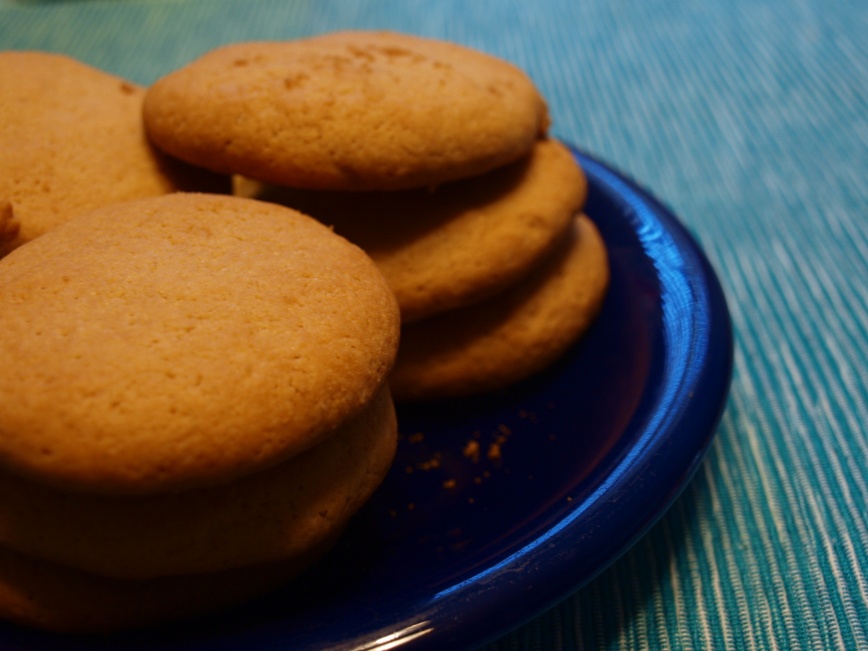
Pretzel Peanut Butter Chocolate Chip Oatmeal Bars.

That title is a mouthful

IMG_1904

of delicious.

Sometimes, I expect myself to give lengthy, eloquent blog posts. Here’s a story, let’s have a laugh or poignant moment, now let me tie it into a baked good and tell you why you should bake and then consume it.

By “sometimes”, I mean “usually.” And by “usually,” I mean “always.”

I’ve never been very succinct.

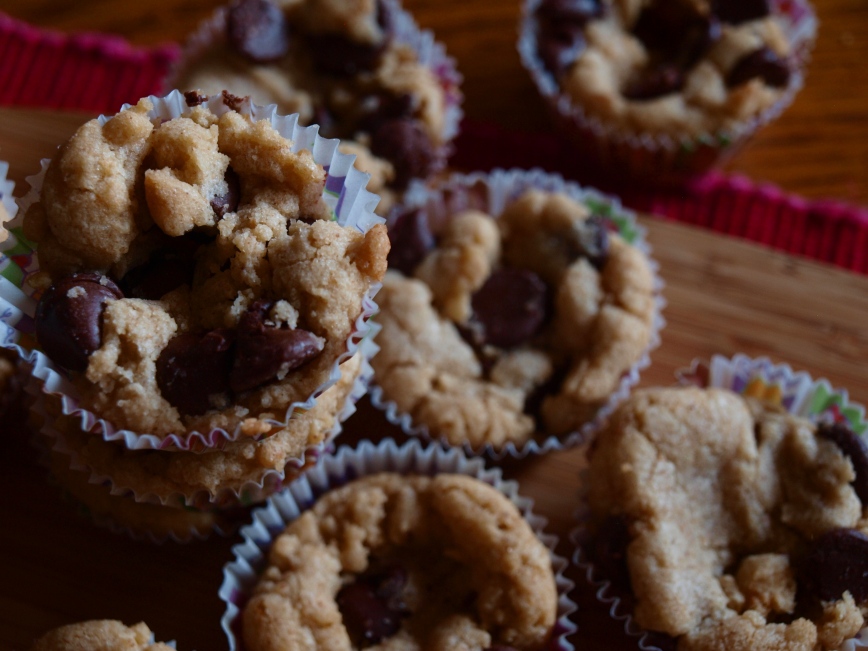
I’m giving myself a break, a mental break. I know that if you’ve stumbled down the page this far, you’ll probably like the recipe. These bars are dense, thick, satisfying, comforting. Let them be a rainy-day treat, enjoyed with a cup of tea by an open window, or a sweet square to slow down your crazy mornings.

IMG_1909

Pretzel Peanut Butter Chocolate Chip Oatmeal Bars
Adapted from Sally’s Baking Addiction
Makes an 8×8 pan

Ingredients

  • 1/2 cup brown sugar
  • 1 cup peanut butter (creamy or chunky)
  • 2 teaspoons vanilla extract
  • 1 cup flour
  • 1 1/4 cup old fashioned oats
  • 1 teaspoon baking soda
  • 1/2 teaspoon salt
  • 3/4 cup milk
  • 1/2 cup chocolate chips
  • 3/4 cup mini pretzels

Directions

  1. Preheat oven to 350 degrees F. Line an 8×8 or 9×9 baking dish with parchment paper, or spray with cooking spray.
  2. In a large mixing bowl, cream together the brown sugar and peanut butter until light and fluffy. Mix in the vanilla.
  3. Mix in flour, oats, salt, and baking soda. As the dough begins to come together, slowly add the milk and mix until the dough forms.
  4. Fold in chocolate chips.
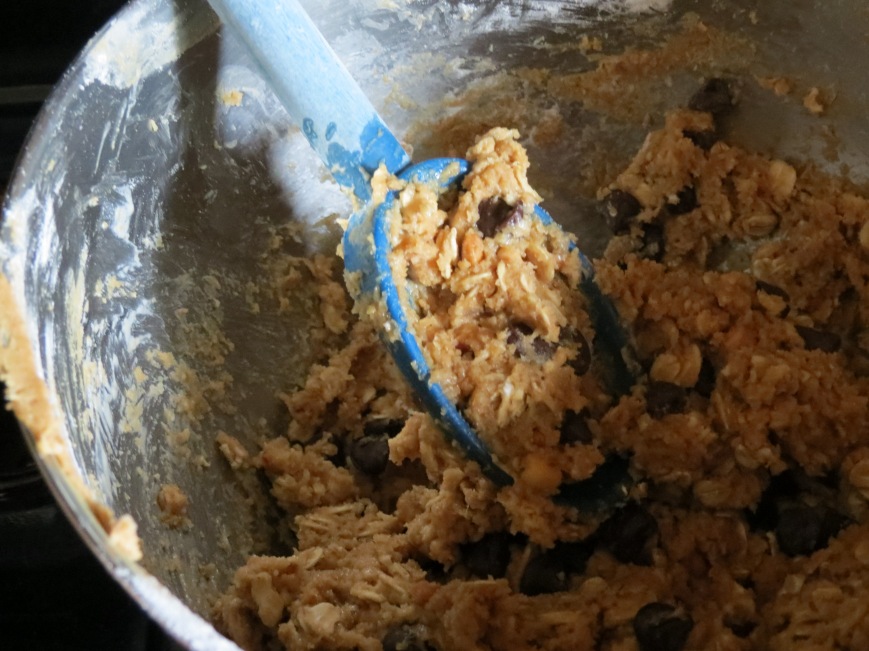
  5. Press into the prepared baking dish. Arrange the pretzels on top of the dough, pressing in lightly. Bake for about 17-20 minutes, until edges are brown. Cool completely and cut into squares. Devour.

“I browned butter for you!” Or, Mini-Caramel Stuffed Snickerdoodle Cookie Cups.

Doesn’t that sound like a line from a soap opera? Scene: Eleanor, finding the door to boyfriend Jonathan’s apartment unlocked, steps inside, only to find Jonathan making out with Alexandra. Alexandra having fled the scene, Eleanor confronts an embarrassed, red-faced Jonathan in his entirely unkempt kitchen.

Eleanor: A year of dating and this? That? You with that woman? My God, Jonathan, I’ve done all I could for you – sat with you as you wept over Jane Eyre, drove you to the bakery every morning when your car was in the shop so you wouldn’t have to live a day without Josie’s bagels, didn’t laugh at the stupid things you said after your wisdom teeth were taken out. I made puff pastry for you from scratch! I slaved over that eighteen-layer cake for your mother’s birthday! I browned butter for you, Jonathan. And there you were, with that tramp who can only make cookies from refrigerated cookie dough.

End scene.

use ii

Maybe I should be a writer.

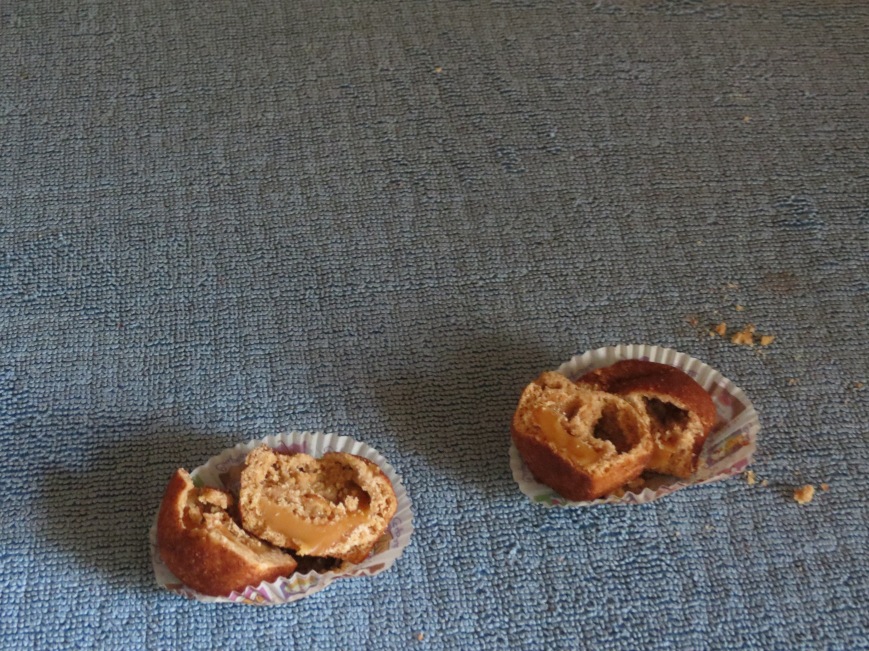
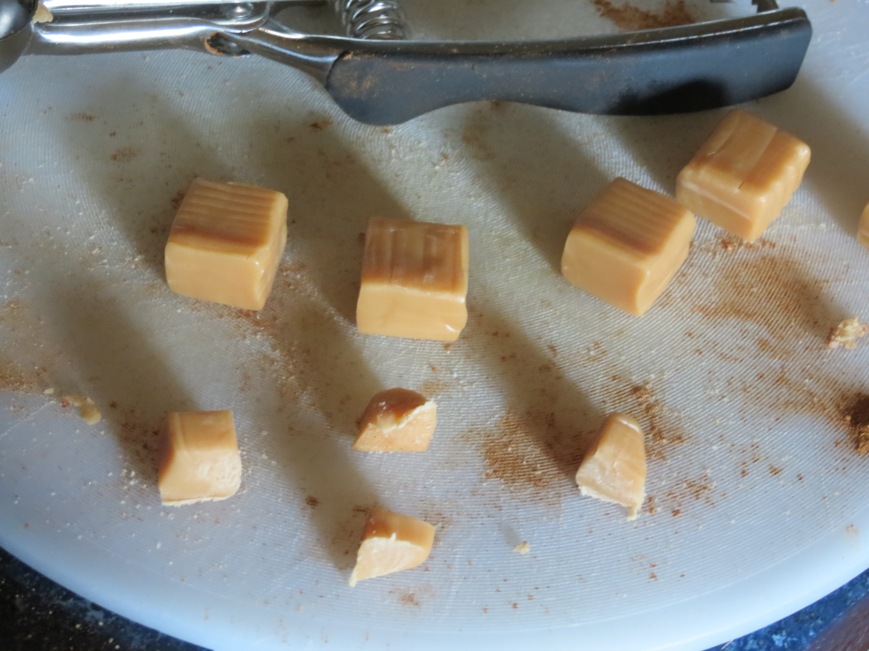
Anyways. I’m still having a love affair with my mini muffin tin, because mini muffins and small cups of various baked goods are automatically 50 zillion times more delicious than any standard-sized or jumbo counterparts. Size matters. And what’s better than cookies baked in a mini-muffin tin? And what’s better than cookies covered in cinnamon and filled with caramel in a mini-muffin tin? (Your boyfriend eating them is even better, actually.)

I’m a big fan of this recipe…but I wanted cups. So I searched the internet and found a recipe for maple snickerdoodle cookie cups…but, the addition of maple was overwhelming. Brown butter? (Everyone says browned butter smells nutty. To me, it smells like pancakes.) Vanilla? Cinnamon? Caramel? And you want me to add maple? No. Can’t do it. Maybe next time, when my caramel fiend of a boyfriend won’t be around.

After tweaking with reckless abandon (sort of), the results are…delicious. And perfect. Also, delicious.

use

#1 rule of baking: always “accidentally” add more vanilla extract than necessary. Oops, my hand slipped. Better let the overflow happen.

#2 rule of baking: there is no such thing as too much cinnamon.

Add the maple if you want. Fill with chocolate if you want. What-ever you want.

Go forth and enjoy. Before any significant others consume them before you get the chance.

IMG_1897

Mini Caramel-Stuffed Snickerdoodle Cookie Cups
Recipe adapted from Beyond Frosting and inspired by Sally’s Baking Addiction

Ingredients

  • 1/2 cup unsalted butter
  • 1/4 cup granulated sugar
  • 3/4 cup brown sugar, lightly packed
  • 1/2 teaspoon cinnamon
  • 1 large egg
  • 1/2 tsp vanilla extract
  • 1 1/2 cup flour
  • pinch of salt
  • 1/4 tsp baking soda
  • 1/4 tsp cream of tartar

For the cinnamon-sugar coating

  • 2 tbsp granulated sugar
  • 1 tbsp cinnamon

Directions

  1. Preheat oven to 350 degrees F. Coat a mini muffin pan with cooking spray or line with muffin liners.
  2. Brown the butter in a sauce pan over medium heat. When the butter is melted, stir constantly until it turns brown with a nutty aroma.
  3. In a mixing bowl, cream the browned butter with sugars and cinnamon. Set aside and allow the butter to cool.
  4. When butter/sugar mixture has cooled, beat in the egg and vanilla.
  5. In a separate bowl, combine flour, baking soda, and cream of tartar.
  6. Stir the dry ingredients into the butter until well combined.
  7. Mix together the sugar and cinnamon for the coating in a small bowl. Roll about a tablespoon of dough in the cinnamon sugar and place into the mini muffin pan.
  8. Bake at 350 degrees F for 8-10 minutes, until cookies are lightly browned.
  9. Allow the cookies to sit in the pan for 15-20 minutes before removing and cooling completely. Devour.

IMG_1879

Mini Browned Butter Chocolate Chip Cookie Cups.

Guess who got off work two hours earlier than planned? This girl. Thus, a celebratory blog post. This one’s been sitting in my drafts for a while – now, voila.

OLYMPUS DIGITAL CAMERA

I’ve noticed I do a lot of things in life “just because”. My lips don’t need a reason to be coated in red lipstick. Why am I driving barefoot? Because I can. I’ll go through chapters of a book reading upside down; I’ve been known to buy random gifts for people months away from their birthday or any holidays simply because.

That’s how most of my baking seems to be – just because. Because it’s Tuesday. Because the sun is shining. Because I need to use up this bag of coconut coconut. Because I have a few hours to kill.

So on & so forth.

When I was browning the butter for these, my father walked in the kitchen and asked what I was doing.

“Browning butter,” I replied. Obviously.

He paused for a minute, looking into my pan, and said, “Oh, you mean, burning it. Cool.”

Burning butter? I guess so.

OLYMPUS DIGITAL CAMERA

Hypothetical conversation:

“What are these?”

“Burned butter cookie cups! Here, try one!”

“Ohh…um…no thanks. I’m allergic to…um…burned things.”

“No, they’re good, I swear!”

Right. There’s a reason it’s called browned butter.

This was my first time browning butter. I’ve heard a lot of fuss about it but never got around to doing it, mostly for fear of ruining it. Yet, for as many times I’ve used the stove, I’ve never burned down a building, so I tried it. Goodness, browning the butter makes these cookie cups sing! Photographing them was horrendous; with my face hovering directly over the cups, it took all my self-control (what little I possess) to not stuff every single one of them into my mouth.

It’s smooth sailing after the butter is browned. Don’t be intimidated by this “browned butter” talk, by the way (isn’t that fun to say? Browned butter, browned butter, browned butter!). Browning butter is nothing more than leaving the butter in the pan on the stove longer than you usually would if you were merely melting it, which causes it to turn brown and smell nutty and fragrant. And beautiful.

Hey, you don’t even need to tablespoon out the dough! Muffin pans really are convenient.

OLYMPUS DIGITAL CAMERA

The final product is thick & ooey-gooey-chewy-delicious. Ridiculously delicious. Never-ending summer delicious. 12-hour-hard-sleep-after-a-long-week delicious. Brand-new-hardcover-book delicious. Melt-your-face-off-delicious.

You can’t tell from the photos, but the wrappers have pictures of muffins on them. And “muffins” is scrawled all over them, multiple times.

See? Cookie cups in muffin tins in muffin wrappers declaring their contents to be muffins, just because I can.

Make these. Make them because it’s Tuesday and Tuesdays are neither popular nor hated. Make them because you want the satisfaction of burning something that ends up tasting really, really good. Make them because you are fearless and have really fabulous hair.

OLYMPUS DIGITAL CAMERA

Make them because you deserve to be good to yourself.

Mini Browned Butter Chocolate Chip Cookie Cups (printable recipe here!)
from Averie Cooks
makes 36 mini cookie cups or 12 normal-sized cookie cups

Ingredients

  • 1/2 cup unsalted butter, browned (see directions)
  • 1 large egg
  • 3/4 brown sugar, packed
  • 1/4 cup granulated sugar
  • 2 teaspoons vanilla extract
  • 1 1/2 cups all-purpose flour
  • 1/2 teaspoon baking soda
  • 1/2 teaspoon salt
  • 1 1/4 cups chocolate chips (milk, semi-sweet, or dark)

Directions

  1. Preheat oven to 350 degrees F. Grease and flour a mini-muffin pan, or line with mini muffin liners. Set aside.
  2. In a skillet or sauce pan, melt butter over medium-low heat, stirring constantly, until the butter turns brown and fragrant (butter will melt and foam, then turn from clear to golden to brown). Remove pan from burner and continue to stir for about one minute.
  3. Poor butter into large mixing bowl and allow to cool momentarily to prevent the egg from scrambling. Stir in egg, sugars, and vanilla.
  4. Add flour, baking soda, and salt; stir until just combined (a few flour streaks is okay). Fold in chocolate chips.
  5. Spoon dough equally into mini-muffin cavities. Bake for about 6-8 minutes.
  6. Allow cookies to cool in the pan for 20 minutes. Devour. (They will keep for about a week at room temperature or 3 months in the freezer.)

OLYMPUS DIGITAL CAMERA

Vanilla Bean Ice Cream.

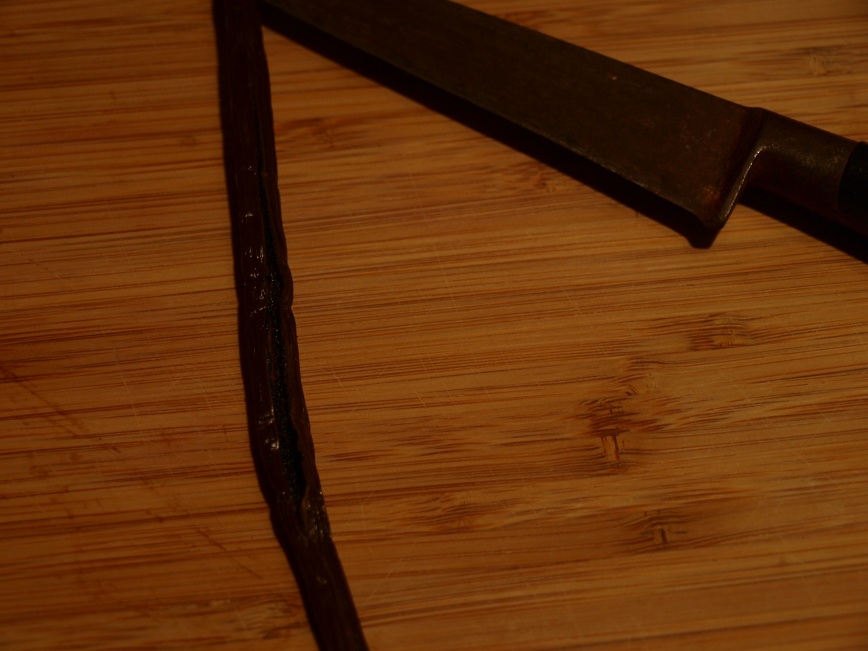
This is one of the most nerve-wracking experiences of my life. Not only was this my first time using the ice cream maker that’s been sitting in our basement for a year, but it was my first time ever making homemade ice cream and the first I’d even touched a vanilla bean.
OLYMPUS DIGITAL CAMERA

It felt like a literal recipe for disaster. It felt like diving blindfolded into an ocean infested with sharks with open wounds. It felt like sword-fighting a pirate with one arm tied behind my back and an inch of wood beneath my feet. It felt like…well, you get the picture.

That aside, the world didn’t end. Yes, it was a struggle. There was a little bit of screaming, a little bit of lip-biting, and a good many frustrated sighs.

I’m not selling this recipe very well, am I?

But look at you. You have the cool, clear eyes of a seeker of wisdom and truth – yet there’s that upturned chin, that grin of impetuous youth. Oh, I believe in you. (Whoops, I have How to Succeed in Business Without Really Trying on the brain! The whole musical is on my iPod. Hee hee.)

Really, though, I believe in you. If I can handle this, so can you.
OLYMPUS DIGITAL CAMERA

Truly, in retrospect, it wasn’t bad at all. Making food brings out the perfectionist in me almost more than any other activity, especially when dealing with long direction lists and expensive ingredients like vanilla beans.

(Admittedly, I am a disgusting perfectionist to a fault. To. A. Fault.)

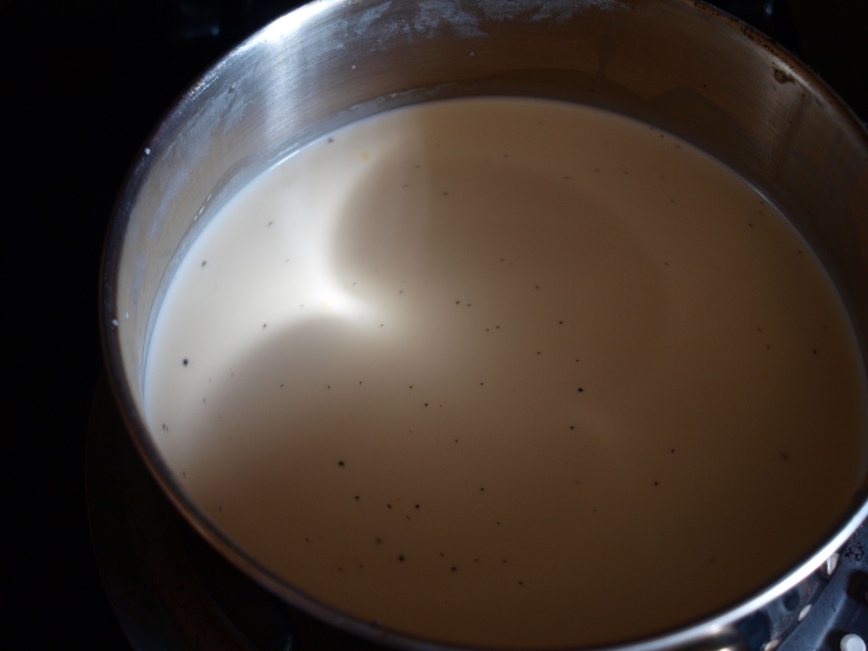
Here’s a run-down (along with additional commentary mostly based on the things I muttered to myself under my breath). After combining the milk and heavy cream (also known as heavy whipping cream) in a sauce pan (see, that’s easy!), you take the vanilla bean, use the sharp tip of a knife to slice it open lengthwise down the middle, and scrape out the little black seeds into the pan with the milk and cream. Don’t forget to add the pod in, too! After you bring it to a boil, let it simmer for half an hour, stirring occasionally. Take a breather. Do some jumping jacks. Feed your cat.
OLYMPUS DIGITAL CAMERA

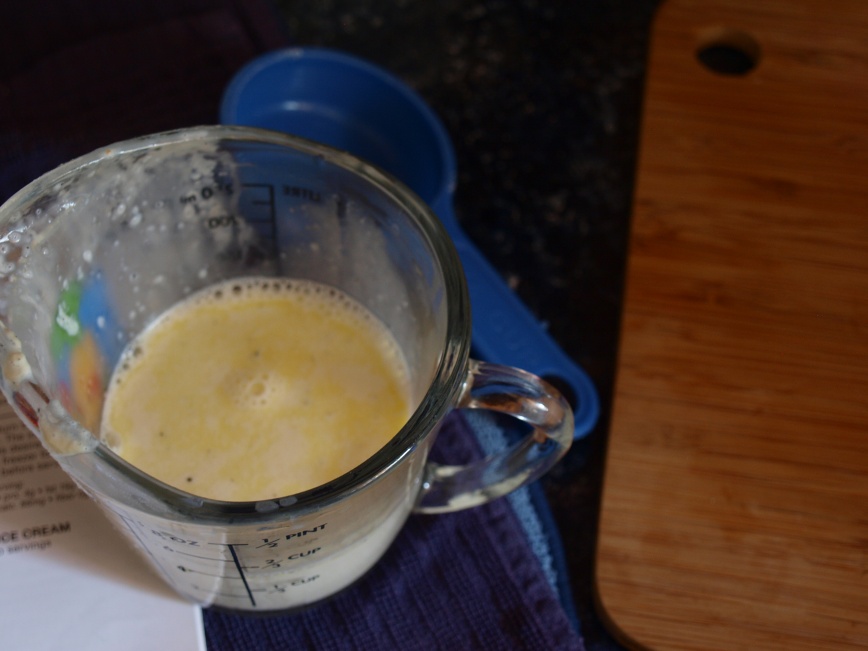
When the time for simmering is nearly up, beat the eggs, egg yolks, and sugar until thick and smooth. The egg yolks will make it incredibly thick. Gently pour in one cup of the hot milk liquid in with the eggs, mix it together, and return it to the sauce pan. Don’t cry when you spill. Stir, stir, stir. Ah, yes, success! It’s starting to look like ice cream. And smell like ice cream. Except it’s not quite ice cream. Yet. Patience.
OLYMPUS DIGITAL CAMERA

(You can’t tell, but I was using a Winnie the Pooh measuring cup. And proud of it.)

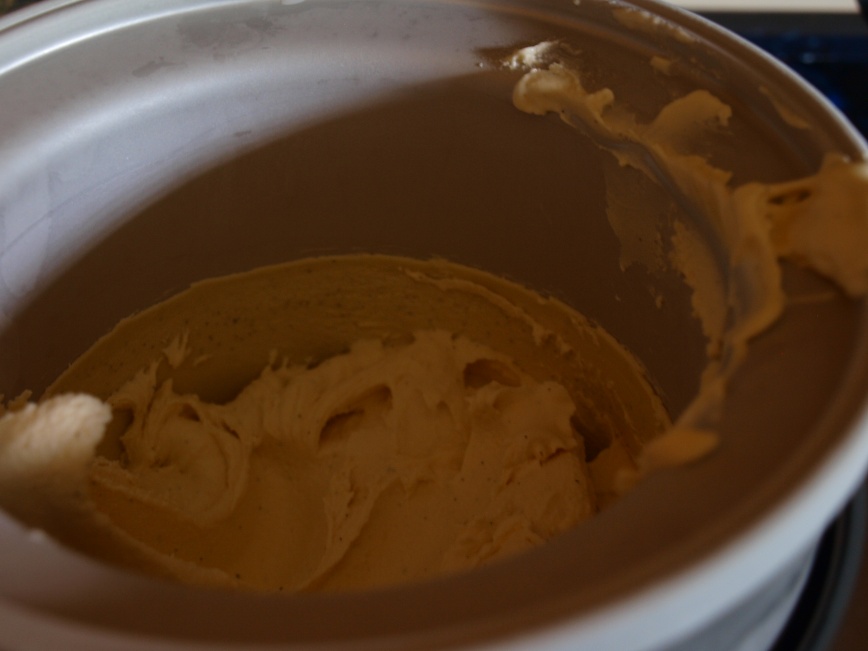
Once it’s really thick, transfer it to a bowl and let it come down to room temperature before adding the vanilla extract to ensure the best flavor. From there, allow it to chill completely – up to 6 hours – before allowing the ice cream maker to do its thing.

Thus, one mental breakdown, lots of shouting, many drips, and an infinite number of hours later (ok, maybe only 24 hours)…
OLYMPUS DIGITAL CAMERA

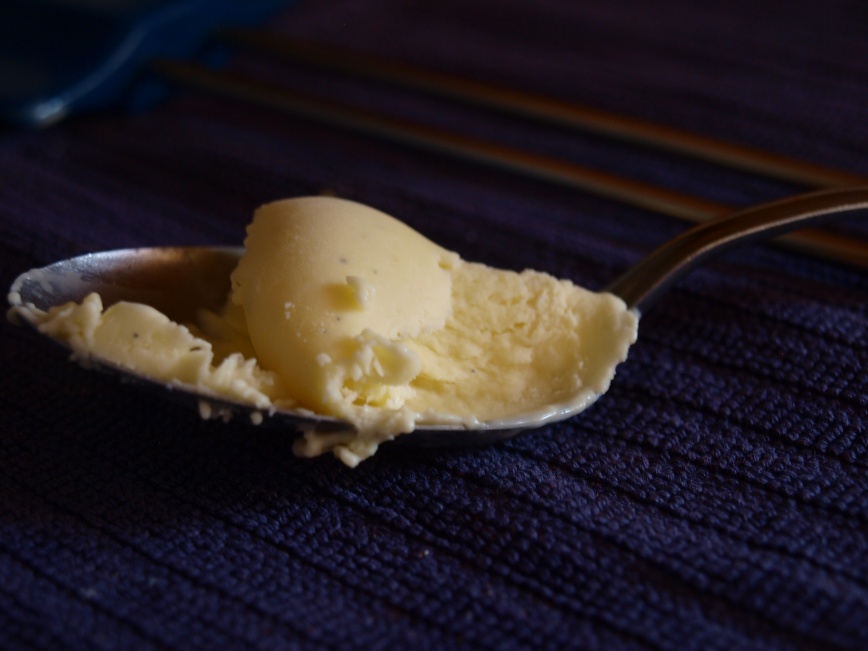
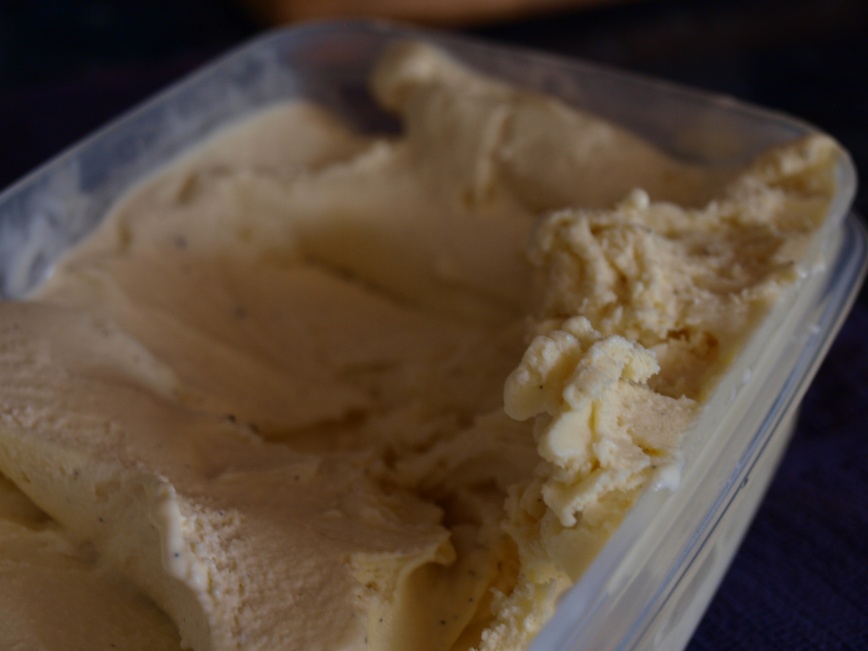
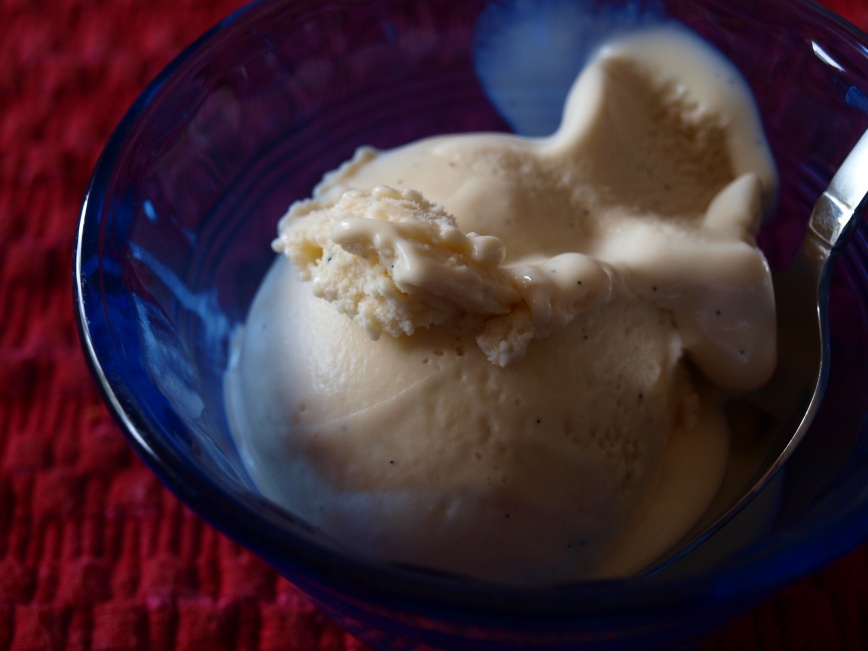
Literally the best ice cream I’ve ever eaten. The creamiest, the tastiest, the sweetest, the most flavorful – just the best. Vanilla bean ice cream is my favorite to begin with, but this is a whole new level of yum. Beautiful little vanilla bean flecks, although virtually undetectable when going on feel alone, are the key to turning (or should I say churning?) this frozen treat from good to great.
OLYMPUS DIGITAL CAMERA

All that stress for nothing.

You’d think I’d have learned by now.

Vanilla Bean Ice Cream (printable recipe here!)
from the Cuisinart’s Pure Indulgence Ice Cream Maker recipe booklet
makes about 14-1/2 cup servings

[NOTE: Keep in mind that most ice cream maker freezing bowls need to be frozen for up to 24 hours before you make your ice cream, or at least the amount of time it takes to completely freeze the coolant liquid. The maker won’t do its thing unless the bowl is completely frozen.
You can substitute a lower-fat milk for the whole milk (I used 2% since I couldn’t find whole milk) or half-and-half for heavy cream. Keep in mind that this will change the texture and taste of your ice cream.]

Ingredients

  • 2 1/3 cups whole milk
  • 2 1/3 cups heavy cream
  • 1 whole vanilla bean
  • 3 large eggs
  • 4 large egg yolks
  • 1 cup + 2 tbsp granulated sugar
  • 2 teaspoons pure vanilla extract

Directions

  1. Combine the milk and cream in a medium sauce pan. Use a sharp knife to split the vanilla bean in half, lengthwise; use the blunt edge to scrape out the seeds into the sauce pan with the milk and cream. Stir in the bean pod as well.
  2. Bring the mixture to a slow boil over medium heat. Reduce the heat to low; simmer for 30 minutes, stirring frequently (but not constantly).
  3. In a medium mixing bowl, combine eggs, egg yolks, and sugar. Using a mixer, beat on medium speed (about 2 minutes) until the mixture is smooth, thick, and pale yellow, similar to mayonnaise.
  4. Remove the vanilla bean pod from the milk/cream mixture; discard. Measure out one cup of the hot liquid. With the mixer on low speed, pour the liquid into the egg mixture in a slow stream.
  5. When thoroughly combined, pour the egg mixture into the sauce pan; stir to combine with the remnants of the cream.
  6. Cook, stirring constantly, on medium-low heat until the mixture is thick enough to coat the back of a spoon. Transfer to a bowl and allow to cool to room temperature. Stir in vanilla extract. Cover with a sheet of plastic wrap placed directly on the custard; chill completely.
  7. Once chilled, pour the custard into the freezer bowl, turn the machine on, and let mix until thickened, approximately 25-30 minutes. Transfer to an airtight container and store in the refirgerator. Remove from the freezer and allow to warm at room temperature about 15 minutes before serving. Devour.
OLYMPUS DIGITAL CAMERA

Peanut Butter Chocolate Chip Cookie Bars.

OLYMPUS DIGITAL CAMERA

My blog felt a little empty without the combination of peanut butter + chocolate chip. Thankfully, these bars have remedied that.

I’d wager that the best things in life are the simplest, like feeling cool grass beneath your toes, having a guy hold the door open for you, sitting in silence with the people you love, waking up to the sound of rain. And strangely enough, the things that are worth it are the most difficult, the most heartwrenching, the most frustrating.

Lucky for us, these bars are both simple and worth it. Why? Here’s a list.

  • chocolate
  • peanut butter
  • one bowl
  • one bowl
  • peanut butter
  • one bowl
  • chocolate
  • one bowl
  • peanut butter + chocolate

And here’s a picture, too.

OLYMPUS DIGITAL CAMERA

Observe the texture. Observe the chocolate chips. Observe the lovely aroma. (Whoops, you can’t do that, can you?)
The peanut butter and chocolate combination sold me right off the bat. No star-crossed food-lovin’ here – peanut butter and chocolate were clearly made for each other. Food soul mates. Then I saw the tablespoon of vanilla extract and very nearly swooned. Vanilla makes me weak-kneed.

Speaking of weak knees, I’ll be honest: initially, these were made for a boy (what I lack in charm I make up with baked goods) BUT, most unfortunately, my plans were foiled when my parents informed me that, instead, we’d be taking them to my cousin’s birthday party. “What? No, of course I didn’t have plans for these, I was just…baking stuff. Because I actually have time to. All right, we can take them to the party…”

OLYMPUS DIGITAL CAMERA

Regardless of how my plans were thwarted, these did not disappoint. After 22 minutes of baking, the toothpick came out clean, and although I freaked out a little because I still thought they were underbaked, they weren’t. The edges puffed up while the middle remained miraculously soft and gooey. Peanut buttery, chocolate chippy, buttery, deliciousy.

Have I mentioned they’re made in one bowl? All the goodness of cookies without the fuss. Perfect if you’re lazy (like me) or in a hurry (like most of humanity). Not too much chocolate (let’s be honest, is that ever possible?), just enough peanut butter (although adding another tablespoon or two wouldn’t hurt too much), and more than enough sweetness. And CRAZY GOOD.

Clearly my cousins thought so, considering all of them were gone within an hour.

OLYMPUS DIGITAL CAMERA

Peanut Butter Chocolate Chip Cookie Bars (printable recipe here!)
from Averie Cooks

[Note: Honestly, I laughed out loud when I saw you could scramble the egg if you mix it in while the butter is still too hot. But apparently it can really happen – make sure the butter is cooled!
Baking time will also depend on how gooey you want your center. I’d wager they could be baked up to 30 minutes if you want a more-set center. Just keep an eye on them.]

Ingredients

  • 1/2 cup (1 stick) butter, melted
  • 1 egg
  • 3/4 cup brown sugar, packed
  • 1/4 cup granulated sugar
  • 1 tablespoon vanilla extract
  • heaping 1/2 cup creamy peanut butter
  • 1 1/4 cups all-purpose flour
  • 1/2 teaspoon baking soda
  • 1/4 teaspoon salt, to taste
  • 6 – 7 ounces (about 3/4 cup) semi-sweet or dark chocolate (chips or chopped)

Directions

  1. Preheat oven to 350 degrees F. Line an 8 x 8 inch baking pan with aluminum foil and spray with cooking spray; set aside.
  2. In a microwave-safe bowl, melt the butter (about 2 30-second intervals). Transfer to a mixing bowl and allow to cool before adding the egg (to prevent it from scrambling).
  3. Stir in egg, sugars, and vanilla extract until well combined. Stir in peanut butter.
  4. Add flour, baking soda, and salt; mix until just incorporated. Stir in chocolate.
  5. Scoop batter into prepared pan, smoothing the top with a rubber spatula. Bake for 20-24 minutes, or until center is set and golden (or toothpick inserted into center comes out clean).
  6. Allow bars to cool in the pan for at least 30 minutes. Cut into slices and devour.

OLYMPUS DIGITAL CAMERA

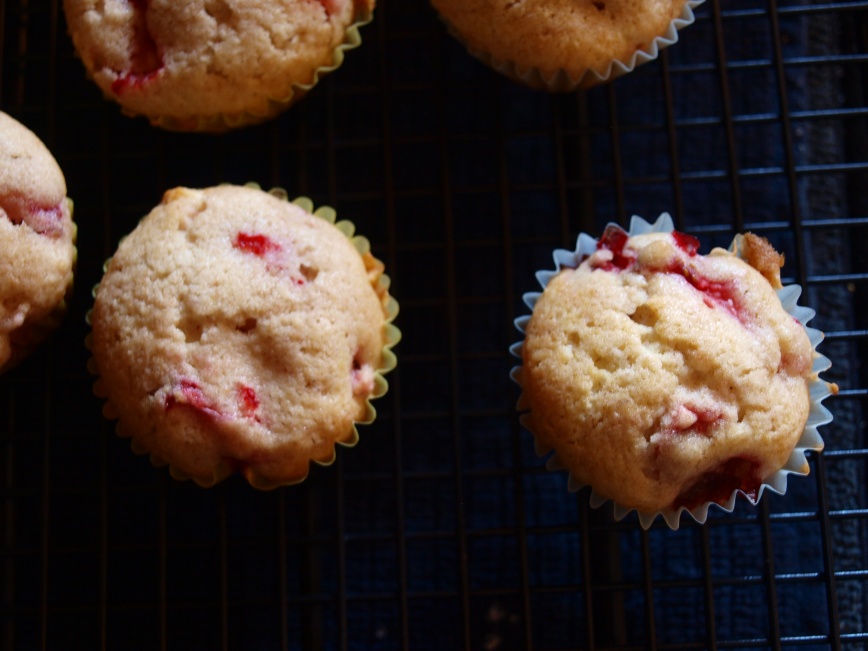
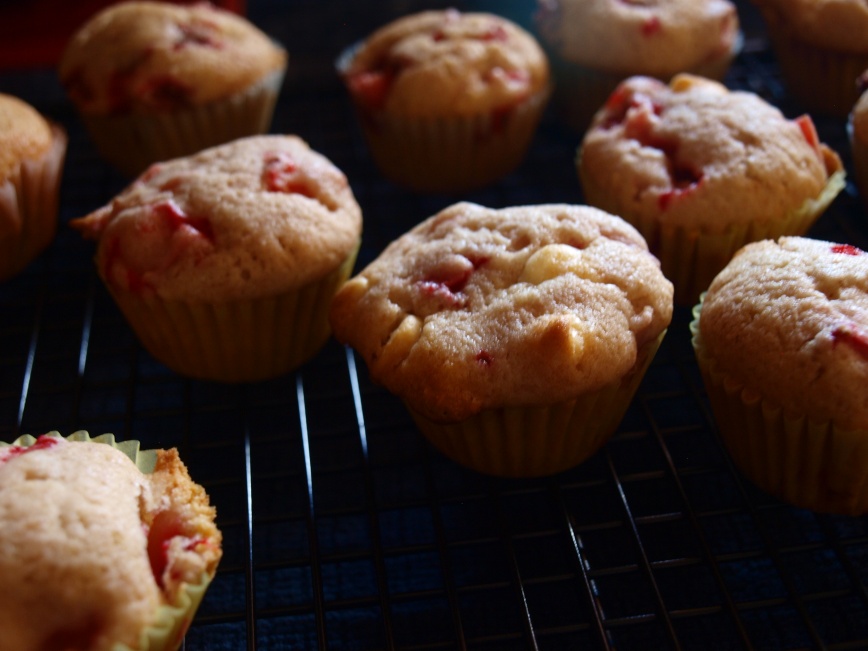
Strawberry White Chocolate Chip Mini Muffins.

[All right, I know this recipe was promised to be published yesterday, but I was having major Internet issues. Now that it’s all taken care of…]

OLYMPUS DIGITAL CAMERA

I will try to make this coherent. It’s been a long, long week. Today was probably the longest day of my life.

Strawberries are my favorite fruit, which is why I’m always reluctant to use them in baked goods for fear of ruining their wonderful flavor and juiciness. Desperate times call for desperate measures.

All right, that was a little dramatic. The parental units made an unannounced trip to our farmer’s market without first informing me and returned with a few of those little green crates that house freshly picked strawberries. Two days later, however, there was still a full crate left in the fridge (apparently, my family likes to buy food and see how they aesthetically compliment the vegetables, yogurt containers, etc. instead of, oh, I dunno, actually eating it) and I just happened to have a get-together with some of my friends that evening that involved food sharing.

OLYMPUS DIGITAL CAMERA

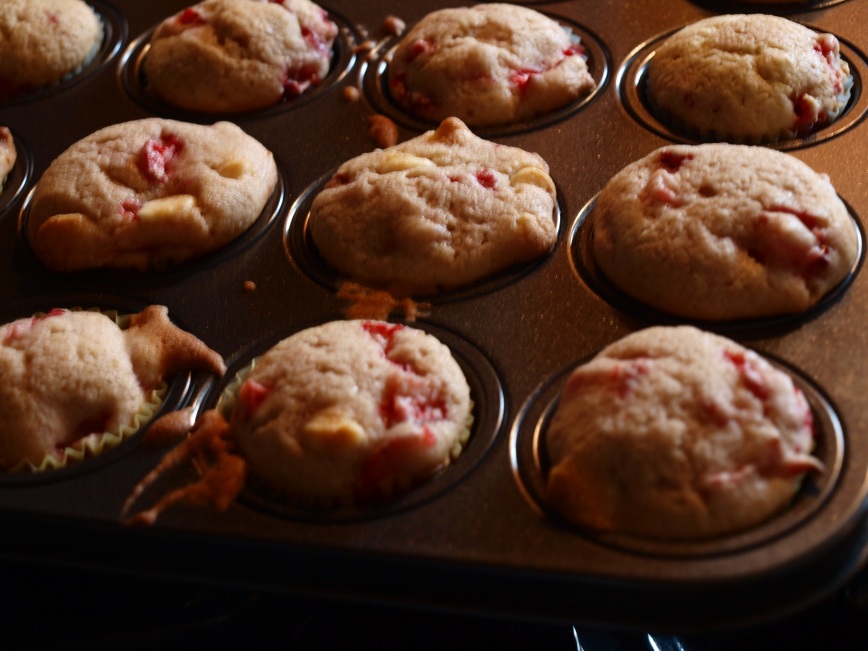
Thus, to prevent disaster from striking, enter the heroes of this story: my mini-muffin pan and this recipe. You might remember how much I adore this pan from my previous mini muffin post. Whenever an opportunity arises to fill these little tins with muffin batter, I spring at the chance. And off I went, taking no survivors, diving fearlessly into the prospect of the collision of white chocolate and strawberries nestled in a sweet muffin.

It suffices to say I was crazy not to use strawberries earlier in baking. It also suffices to say that “good” is not sufficient enough an adjective for these mini muffins. They’re light, fluffy, sweet, and have I mentioned yummy? (I’m not too old to say that, right?) I smell more in my future.

OLYMPUS DIGITAL CAMERA

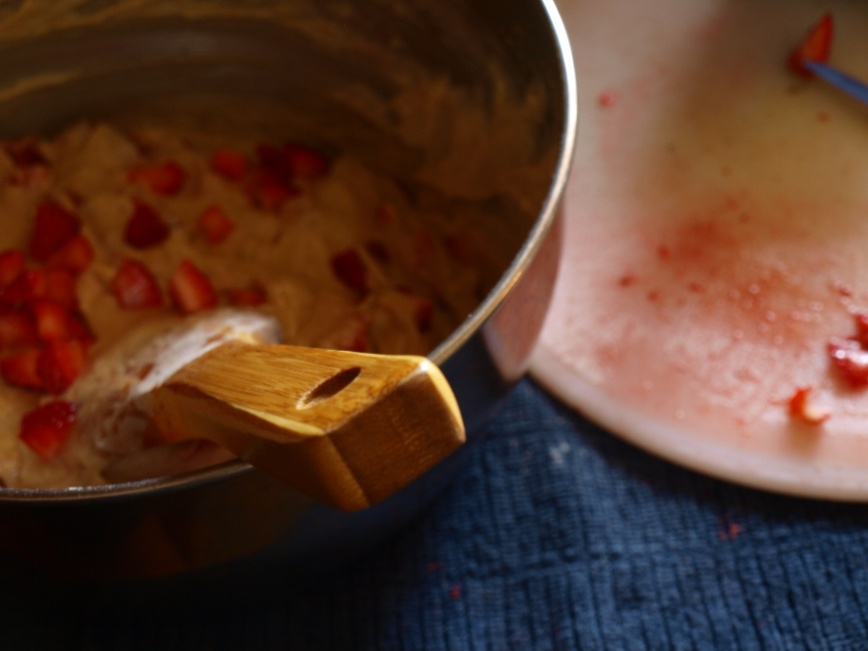
Since I used fresh strawberries, I have no idea how frozen ones would work with this. Try that at your own risk. Before I stirred in the strawberries, I patted them dry – well, at least, comparably drier – between two paper towels to remove the excess moisture to nix any excess water. And when I say “do not overmix”, I mean it! Go crazy whisking the dry ingredients, cream the heck outta that butter and sugar, but when it comes to mixing it all together, mix only until combined, otherwise your mini muffins will become mini bricks or mini lead cups. Mmmm. Don’t omit the almond extract either, unless you can help it! Almond extract is one of my favorite things to use in baking, and it really adds to these.

If you don’t like white chocolate, use mini chocolate chips or chopped chocolate. Or whatever else you desire. The world is your muffin liner.

OLYMPUS DIGITAL CAMERA

It’s the weekend. Treat yourself and the ones you love. And remember, they’re small, so it’s ok to eat two. Or five.

Strawberry White Chocolate Chip Mini Muffins (printable version here!)
adapted from from A Recipe a Day
m
akes 36 mini muffins

Ingredients

  • 1/2 cup butter, softened
  • 3/4 cup granulated sugar
  • 1 egg
  • 1 1/2 cups all-purpose flour
  • 1/2 cup whole wheat flour
  • 2 teaspoons baking powder
  • 1/2 teaspoon salt
  • 1/2 cup milk
  • 1/2 teaspoon vanilla extract
  • 1/4 teaspoon almond extract
  • 1 1/2 cups chopped fresh strawberries
  • 1/2 cup white chocolate chips
  • additional sugar for sprinkling

Directions

  1. Preheat oven to 400 degrees F. Line a mini-muffin pan with liners and set aside.
  2. In a large mixing bowl, cream together butter and sugar. Add egg; mix well.
  3. In a separate bowl, stir together flour, baking powder, and salt.
  4. Add flour and milk alternately to creamed butter mixture. Stir in extracts. Do not overmix!
  5. Gently stir in strawberries and white chocolate chips.
  6. Spoon the batter into the mini muffin tins. Sprinkle with sugar if desired.
  7. Bake for 10-12 minutes or until toothpick inserted into the center of one comes out clean. Allow to cool in the pan for 5 minutes, then remove to cool completely on a wire rack. Devour.

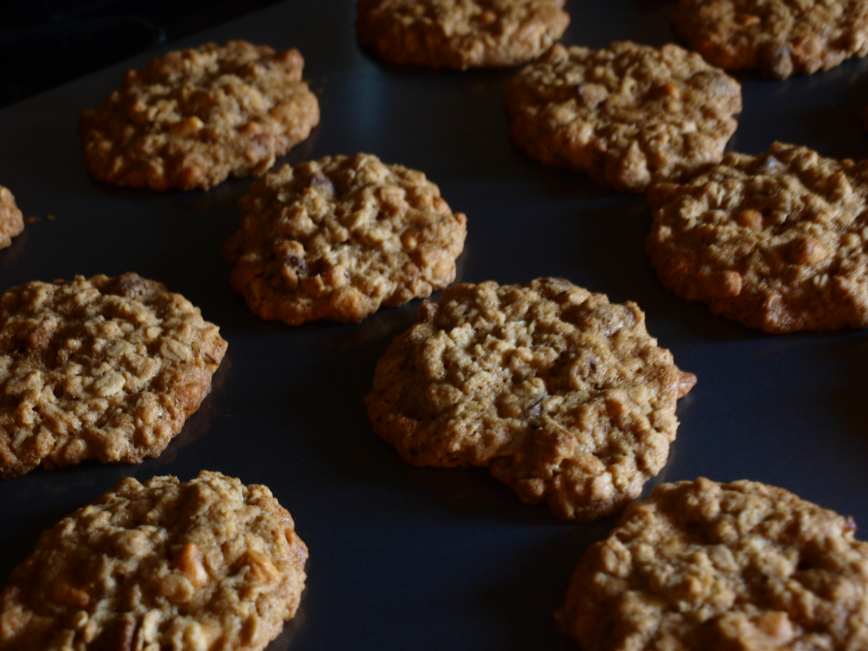
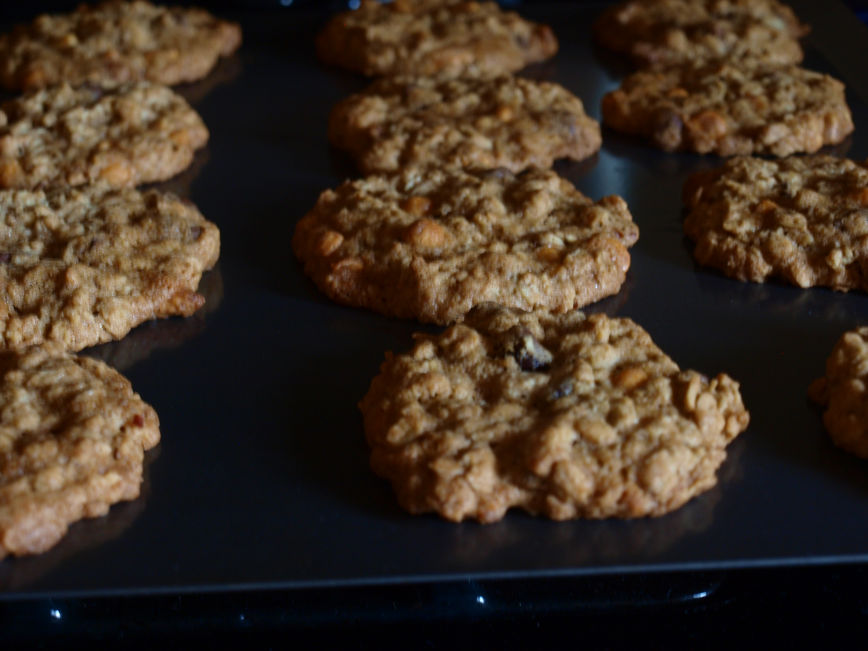
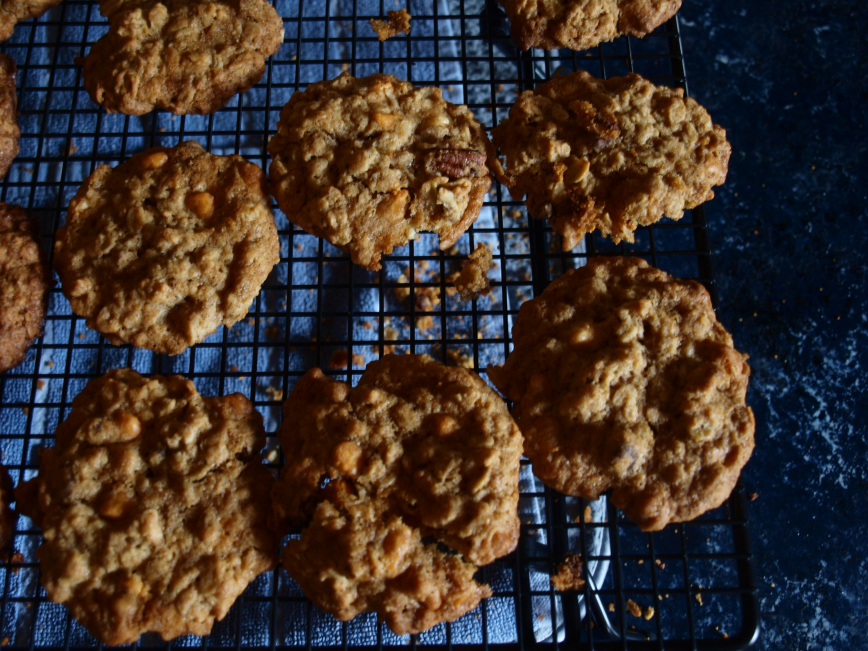
Crispy Oatmeal Pecan Butterscotch Chip Cookies.

[Alternately, Crispy Oatmeal Pecan Triple Chip Cookies.

Or Half-Burned Oatmeal Pecan Triple Chip Cookies.]

use II

Do you ever have those times when you think you’re doing something very, very well, which makes you proud of yourself and suddenly you feel invincible…only to find out later that you weren’t as great as you thought you were?

…that’s what happened with the photographs I took of these cookies. Oh, and the fact that I burned half of them. Oh, and the fact that most of them hopelessly stuck to the bottom of the pans.

Sigh.

It could be worse. It could’ve been a thesis or a big project at work. I could’ve broken one of my great-great-great-grandmother’s vases. I could’ve accidentally bought a plethora of items I thought were on sale but weren’t. I mean, that still doesn’t erase the let-down, but I do feel a little better about myself.

use also

Thankfully, the recipient of these semi-disastrous cookies was none other than my father, the man who has never once refused a baked good from me. With a smile on his face and suddenly a possessor of infinite patience, he would eat anything I made for him without a complaint or critique – whether it was an ice cream “sundae” doused in sprinkles, stale cookies, and weird, edible, red gel, or a burnt, soggy pie. I know I’ve disappointed him in many ways, but my cooking has never been one of them.

Butterscotch cookies, or oatmeal scotchies, are one of his favorite foods. Not just any oatmeal scotchies, though – crisp, crunchy ones. In all my nineteen years of living, I’ve heard hundreds of variations on a phrase he always says: “Cookies are meant to be crunchy, cake is supposed to be soft.” Soft cookies bought from the store are always met with an eye-rolling; cookies in the windows of bakeries are always ignored for their lack of crispy edges.

With Father’s Day weekend here and a small amount of butterscotch chips remaining in the cupboard, I decided to make these for the man who would eat anything I presented him from the heart.

use iii

Since I didn’t have enough butterscotch chips left, I added in some white and semi-sweet chocolate chips, along with a few pecans for extra flavor. More granulated sugar and less brown sugar is one of the secrets of making these crispy.

My final product wasn’t perfect. No, they’re nowhere near perfect, considering a fourth of them have (nearly) black bottoms and another fourth are crumbs. But you know what? It doesn’t really matter that much, because my dad had two of them before the second batch was even out of the oven. Then he told me, with excitement in his eyes, they were fantastic and had another one. With praise like that, who needs perfection?

Whether your dad likes soft or crunchy cookies, brownies or blondies, cake or pie, do something special for him. Appreciate him. Go out of your way to love him.

eh

Even if things fall apart a little.

Crispy Oatmeal Pecan Butterscotch Chip Cookies
adapted from Nestle

Ingredients

  • 1 1/4 cups flour (I used a mixture of whole wheat and all-purpose)
  • 1 teaspoon baking soda
  • 1/2 teaspoon salt
  • 1/2 – 1 teaspoon ground cinnamon
  • 1 cup (2 sticks) butter, softened
  • 1 cup granulated sugar
  • 1/2 cup brown sugar
  • 2 large eggs
  • 1 teaspoon vanilla extract
  • 1/4 teaspoon almond extract
  • 3 1/4 cups old-fashioned oats
  • 1 2/3 cups butterscotch chips OR 1 cup butterscotch chips + 2/3 cup other chips (I used white and semi-sweet)
  • 1/2 cup chopped pecans, optional

Directions

  1. Preheat oven to 375 degrees F. Line baking sheets with parchment paper and set aside.
  2. In a large mixing bowl, cream together butter and sugars. Beat in eggs and extracts; set aside.
  3. In a separate bowl, mix together flour, baking soda, salt, and cinnamon. Gradually add flour to the creamed mixture and stir until well combined.
  4. Stir in oats, chips, and pecans.
  5. Drop by rounded tablespoonful onto baking sheets.
  6. Bake for 8-10 minutes. Cool on baking sheets for two minutes, then transfer to a wire rack to cool completely. Devour.

Easy Strawberry Biscuit Shortcake.

USE

Confession: I’ve never been a fan of strawberry shortcake, which is probably akin to saying I hate America or summertime or butterflies. I mean, for whatever reason, the strawberries always taste more like fake syrup than real fruit. My biggest issue is the tasteless cake’s texture – every shortcake I’ve ever eaten has been incredibly dry, and even when it’s soaked and soggy from the infiltrating strawberry juice, it still seems to be devoid of any flavor or pleasantries.

Whew. Feels good to get that off my chest.

Another confession, or perhaps merely a deprivation due to the sin of my parents: I’ve never eaten fresh strawberries before. I’ve had pounds of fresh vegetables, and I’ve eaten raspberries and blackberries fresh off the bushes in front of a friend’s house, but…never fresh strawberries. Riding in the backseat as we drove through the country when I was a kid, my mouth watered whenever we passed a pick-your-own-berries path or fresh berry stand. Yet for all the desires in my childish heart, I never summoned up enough courage to ask my parents if we could go berry picking out of fear of being shot down.

use II

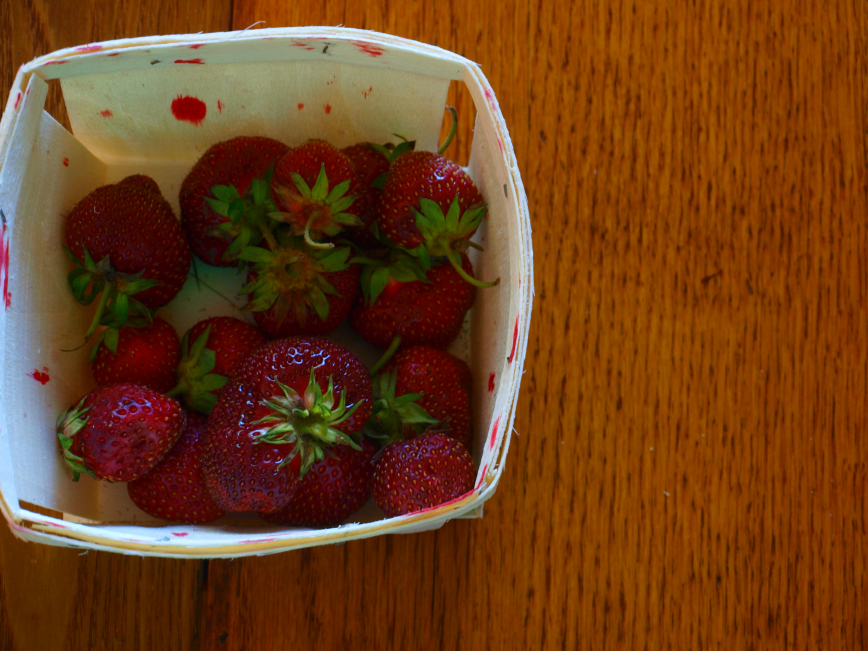
And that, my friends, brings us to this week, when my mother came home after a day with her sister, bearing strawberries that her previously mentioned sister (aka my aunt) had gotten that day. And holy. Cow. I will never look at store-bought strawberries the same again. So juicy, so flavorful! Gah! Maybe I’ll plant some. (Uh, on second thought. No, I don’t have time for that.)

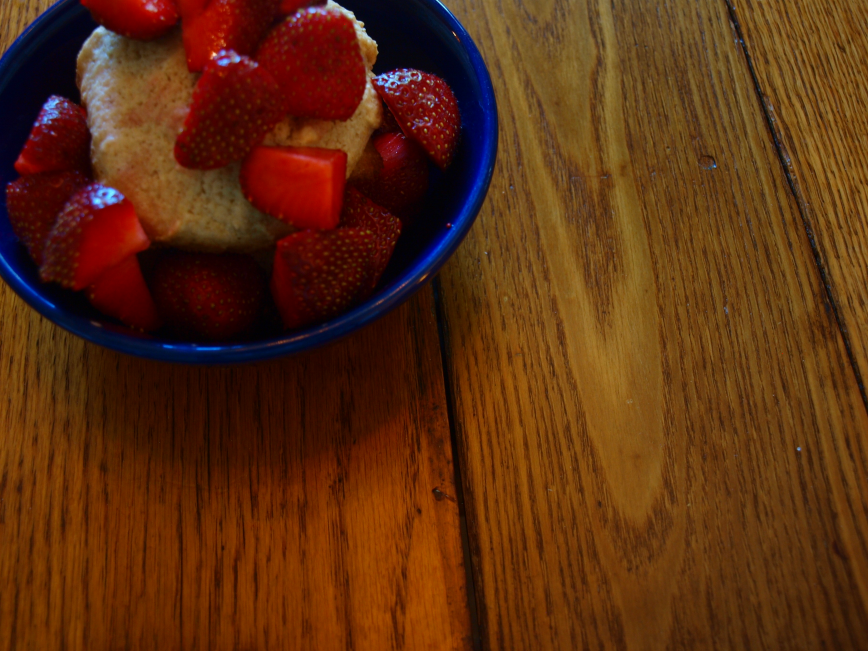
The arrival of fresh strawberries meant only one thing to my father: strawberry shortcake. Desperate to bake something after a long day folding boxes at work, I happily obliged, although he complained that they wouldn’t be made out of Bisquick (the horror!). Along with the strawberries, my aunt had also given me a bag full of cookbooks; conveniently, I found a strawberry biscuit shortcake recipe in one of them and got right to work. On a whim, I threw in a dash of cinnamon and added more flour because what was supposed to be a mound looked a bit like a ball of wet flour. Drop drop drop on the baking pan…and 14 minutes later, they were ready to go.

use iv

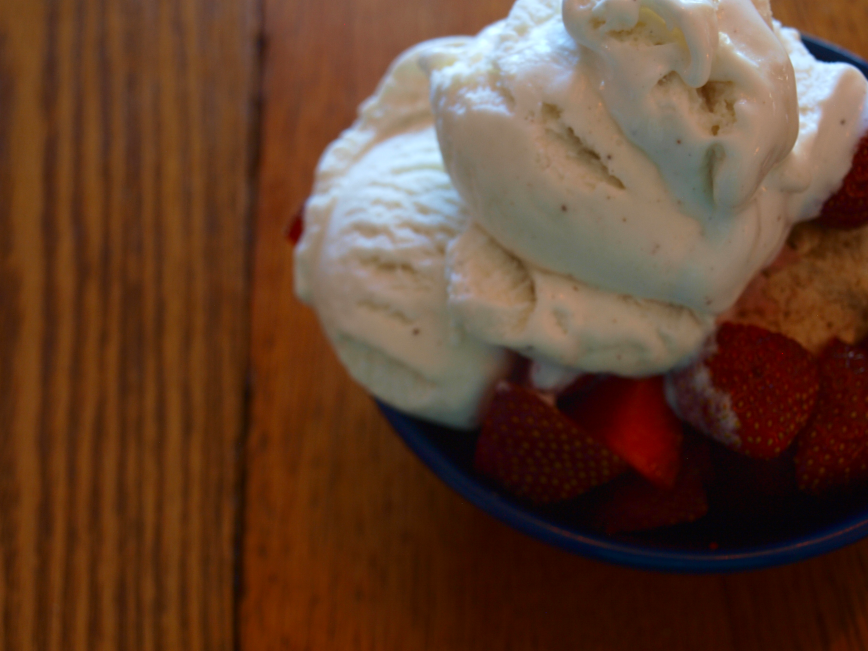
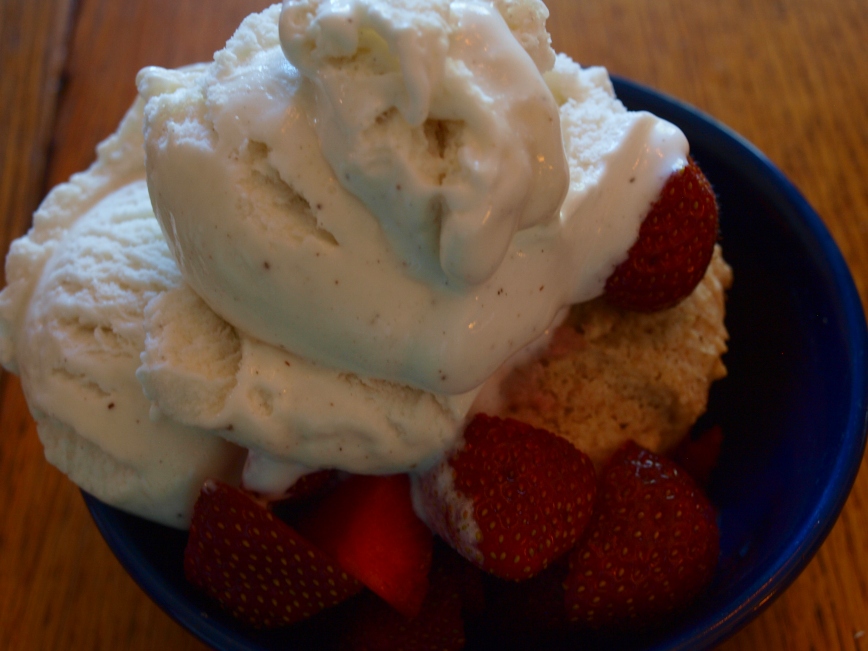
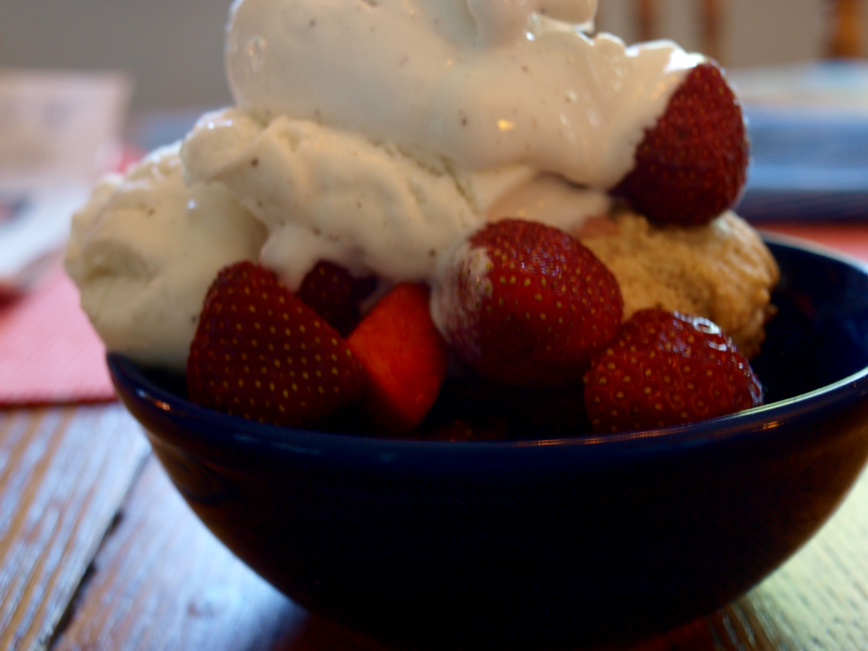
Typical strawberry shortcake dealio: dish, biscuit, strawberries, biscuit, strawberries, whipped cream. Unfortunately, we seemed to be lacking in whipped cream so I substituted vanilla ice bean ice cream (I’m un-American even when I’m trying to be American…ugh). Having two enormous shortcake biscuits left after making an enormous mound for my father, I decided to make a smaller one for myself just out of curiosity.. Dish spoon mouth – and oh man, one bite cured me of my strawberry shortcake aversion. The biscuit was crunchy on the sides and very top, incredibly soft and flavorful. It tasted like something, something good – slightly sweet with a bit of cinnamon kick. Not cardboard, but fluffy, a cross between cake and an abnormally delicious sugar cookie, the perfect seat for a tumble of strawberries and an obscene amount of whipped cream.

use vi

It didn’t take long for my father to come to the same (loud) conclusion. No Bisquick shortcakes in this house.

It’s officially the weekend, and you deserve an easy, delicious bowl of sweet happiness. Go ahead.

Strawberry Biscuit Shortcake
adapted from The Best of Country Cooking 1999

(Note: this is a small recipe that can easily be doubled or even halved if desired. Only use a dash of cinnamon! The number of shortcakes will vary with how big you make the mounds.)

Ingredients

  • 1/2 to 3/4 cup flour (all-purpose or a mix of whole wheat and all-purpose)
  • 1/4 cup sugar
  • 3/4 teaspoon baking powder
  • dash salt
  • dash cinnamon
  • 1 tablespoon butter, cold
  • 4 tablespoons milk, divided
  • 1/4 teaspoon vanilla
  • fresh strawberries, washed, hulled, and sliced
  • whipped cream

Directions

  1. Preheat oven to 375 degrees F. Grease a baking sheet; set aside.
  2. In a mixing bowl, combine flour, sugar, baking powder, salt, and cinnamon. Cut in butter with a pastry cutter until the mixture begins to look like coarse crumbs.
  3. Stir in 3 tablespoons of milk plus the vanilla vanilla until a thick batter forms. If it still seems too wet, at up to an additional 1/4 cup of flour.
  4. Drop the batter in mounds onto the baking sheet and brush with remaining milk.
  5. Bake for 14-16 minutes or until golden brown. Let cool for a few minutes until you can get them off the sheet without breaking them.
  6. To serve: place one of the biscuits on a plate or in a bowl; top with strawberries. Place another biscuit on top of that one; top with more strawberries and whipped cream. Devour.

use v

Sugar-Doodle Cookies.

OLYMPUS DIGITAL CAMERA

I have a confession: I only made these so I could take a big, fat spoonful of cookie dough.

OLYMPUS DIGITAL CAMERA

Yep, like one of those spoonfuls.

I know, I know. Salmonella and sugar comatose and who could forget that one cookie dough overdose encounter? But when I’m right in the middle of that wondrous bloodbath from Mother Nature (sorry, guys, and everyone else who has weak constitutions and just visualized that phrase), I want grease and meat and sugar – but not at the same time, mind you.

Enough of my hormonal cravings. Let’s talk cookies.

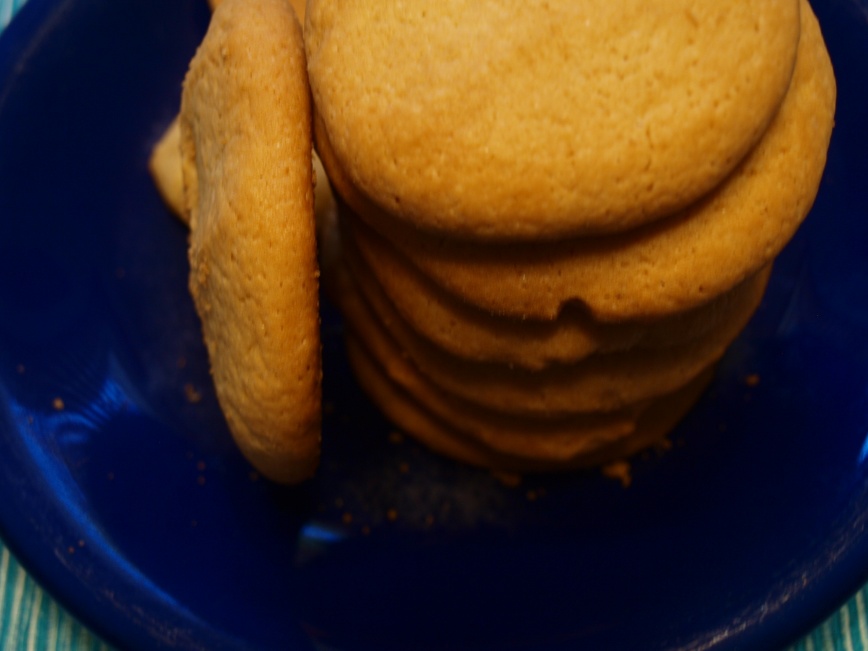
These are the soft, sugary cousins of the snickerdoodle. I will unashamedly admit that I’ve always loved sugar cookies (well, properly-made sugar cookies) for their simplicity. These are even better than your run-of-the-mill sugar cookie…and definitely not a hard, tasteless one. Who wouldn’t like a cookie that tastes like straight-up sugar, butter, and vanilla?

OLYMPUS DIGITAL CAMERA

Oh, and you only need one bowl. None of that “in a separate bowl” nonsense.

The original recipe yields one dozen “generous-sized cookies”, but even after making 20 tablespoon-sized ones, I had enough dough remaining for 9 cookies half the size of my face. If you’re feeling generous, you’ll probably end up with 15 or 16. (Unless I’m doing it wrong. Which is always a valid possibility.) Regardless of how many are made, these are incredibly simple but incredibly delicious…soft, sweet, comforting.

It also calls for bread flour, something I have none of but will hopefully acquire in the future. If you have some on hand, use it! Bread flour will make the cookies softer and chewier. I wouldn’t recommend omitting the salt, either – just a pinch of salt will make the vanilla & sugar more pronounced through its small bit of contrast.

Also, my pictures suck. Mine weren’t pretty enough to photograph…mostly because I had eaten/given away most of the pretty ones.

See? Shoddy photography and unfortunately unattractive cookies. Sigh.

See? Shoddy photography and unfortunately unattractive cookies. Sigh.

Don’t let them fool you, though! Just because they look like beige disks doesn’t mean they will taste bland, or even remotely bland. Let them surprise you.

Only after I put these in the oven did I have the idea of rolling them in (more) sugar. There’s always next time, though.

(The cookie dough stomach ache was worth it, by the way)

Sugar-Doodles
from Averie Cooks
makes 2 dozenish cookies

Ingredients

  • 1/2 cup (1 stick) unsalted butter, softened
  • 1/2 cup granulated sugar
  • 1/2 cup brown sugar, packed
  • 1 large egg
  • 2 tablespoons cream or milk
  • 1 1/2 teaspoons vanilla extract
  • 1 cup all-purpose flour
  • 3/4 cup bread flour (all-purpose can be substituted)
  • 1 teaspoon baking soda
  • 1/4 teaspoon salt, optional
  • Sugar for rolling, optional

Directions

  1. In a large mixing bowl, cream the butter until smooth. Add the sugars and mix until creamed.
  2. Add egg, cream/milk, and vanilla; beat until light and fluffy.
  3. Add flour(s), baking soda, and salt; mix until just combined.
  4. Transfer dough to an airtight container and refrigerate for at least 3 hours (up to 5 days).
  5. Preheat oven to 350 degrees F. Line a baking sheet with parchment or spray with cooking spray. Scoop the dough into mounds the size of your choosing on the baking sheet.
  6. Bake for 8-10 minutes until pale golden and edges have begun to set. (It’s ok if they appear slightly undercooked – they will firm up as they cool) Allow cookies to cool on baking sheets for 10 minutes before transferring to a wire rack to cool completely. Cookies can be stored at room temperature for up to a week or in the freezer for up to 3 months. Devour.

Guest Post(!!): Chocolate Fudge Pomegranate Cookies.

CAKEY’S NOTE: Hi! We’re taking a break from our normally scheduled programming from the world of my kitchen and brain and giving you, with great pleasure, Cakey Bakes’ first-ever guest post, brought to you by my dear friend & partner-in-crime Kathryn, & I wouldn’t have anyone else for our first guest post. I happen to be horrendously jealous of her (don’t tell her!) art, writing, fashion, and sweet-talking skills, not to mention her dedication to everything she endeavors upon. She’s been a huge encouragement to me when it comes to blog matters as well as real-life stuff, and she’s let me use her iPhone to take pictures countless times. She is smart, clever, and all-around fabulous in every sense of the word. Oh, and she knows how to spell “pomegranate”, unlike yours truly. So without any further ado…

IMG_5806

Kathryn: I’d like to consider myself a balanced health-freak.

Which means I work out for an hour and a half a day, eat organic and whole foods (no gluten here), and feed my cat non-chemical-doused food. I do yoga, peruse healthy-cooking blogs, volunteer at the local environmental outreach and Humane Society – if you’re looking for “organic”, here I am…or as granola as a girl who likes designer fashion and jazz can get.

Uh, yes, I’ll take “break-in at Tiffany’s” for 100, please?

IMG_5811

Pomegranate_249298

But where’s the balance, you ask? In these cookies.

These decadent, delicious, sexy cookies provide the balance.

There is nothing even remotely healthy about these treats, which is why I love them so much. Smooth cocoa and rich dark chocolate combined with the dash of salt create a surprisingly soft, gooey center. And the pomegranate arils? Perfection. A little burst of tangy-sweet in every bite. Don’t be intimidated by the pomegranate, please! She may look dangerous, but trust me. You can handle her.

IMG_5803

Horribly, irrevocably seduced yet?

Good.

IMG_5818

Chocolate Fudge Pomegranate Cookies (recipe from How Sweet Eats)

Ingredients:

1 cup butter (melted)
1 1/2 cups sugar
2 eggs
1 1/2 teaspoon vanilla
2 cups flour
1/2 cup cocoa powder
1 teaspoon baking soda
1/8 teaspoon salt
2 tablespoons pomegranate juice
1 cup chocolate chips
1/3 cup pomegranate arils

(*alternatives: replace half the butter with coconut oil, switch out a lower-fat/whatever margarine for the butter, use whole-wheat OR oat flour. You can also replace up to 1/3 of the flour with almond flour, for those of us who can’t have gluten.

Dark chocolate is healthy for you. Don’t replace that sucker with anything. Shut up and enjoy it.)

Directions:

1. Cream together the melted butter, sugar, eggs and vanilla until fluffy.
2. Add the flour, cocoa powder, baking soda and salt.
3. Add pomegranate juice and mix until combined.
3. Fold in chocolate chips and arils. Refrigerate dough for 2-4 hours (or less/more)**.
4. When ready to bake, preheat oven to 350, roll the dough into balls and set on baking sheet.

**I made a batch without refrigerating and they turned out fine. They were actually softer without the chill, so…take that advice as you may.

Tip: freeze any leftover dough for slice-and-bake chocolate fudge pomeganate cookies up to two weeks later!

IMG_5813

Pair with milk, a good book, and enjoy the decadence, lovelies.