Mini Browned Butter Chocolate Chip Cookie Cups.

Guess who got off work two hours earlier than planned? This girl. Thus, a celebratory blog post. This one’s been sitting in my drafts for a while – now, voila.

OLYMPUS DIGITAL CAMERA

I’ve noticed I do a lot of things in life “just because”. My lips don’t need a reason to be coated in red lipstick. Why am I driving barefoot? Because I can. I’ll go through chapters of a book reading upside down; I’ve been known to buy random gifts for people months away from their birthday or any holidays simply because.

That’s how most of my baking seems to be – just because. Because it’s Tuesday. Because the sun is shining. Because I need to use up this bag of coconut coconut. Because I have a few hours to kill.

So on & so forth.

When I was browning the butter for these, my father walked in the kitchen and asked what I was doing.

“Browning butter,” I replied. Obviously.

He paused for a minute, looking into my pan, and said, “Oh, you mean, burning it. Cool.”

Burning butter? I guess so.

OLYMPUS DIGITAL CAMERA

Hypothetical conversation:

“What are these?”

“Burned butter cookie cups! Here, try one!”

“Ohh…um…no thanks. I’m allergic to…um…burned things.”

“No, they’re good, I swear!”

Right. There’s a reason it’s called browned butter.

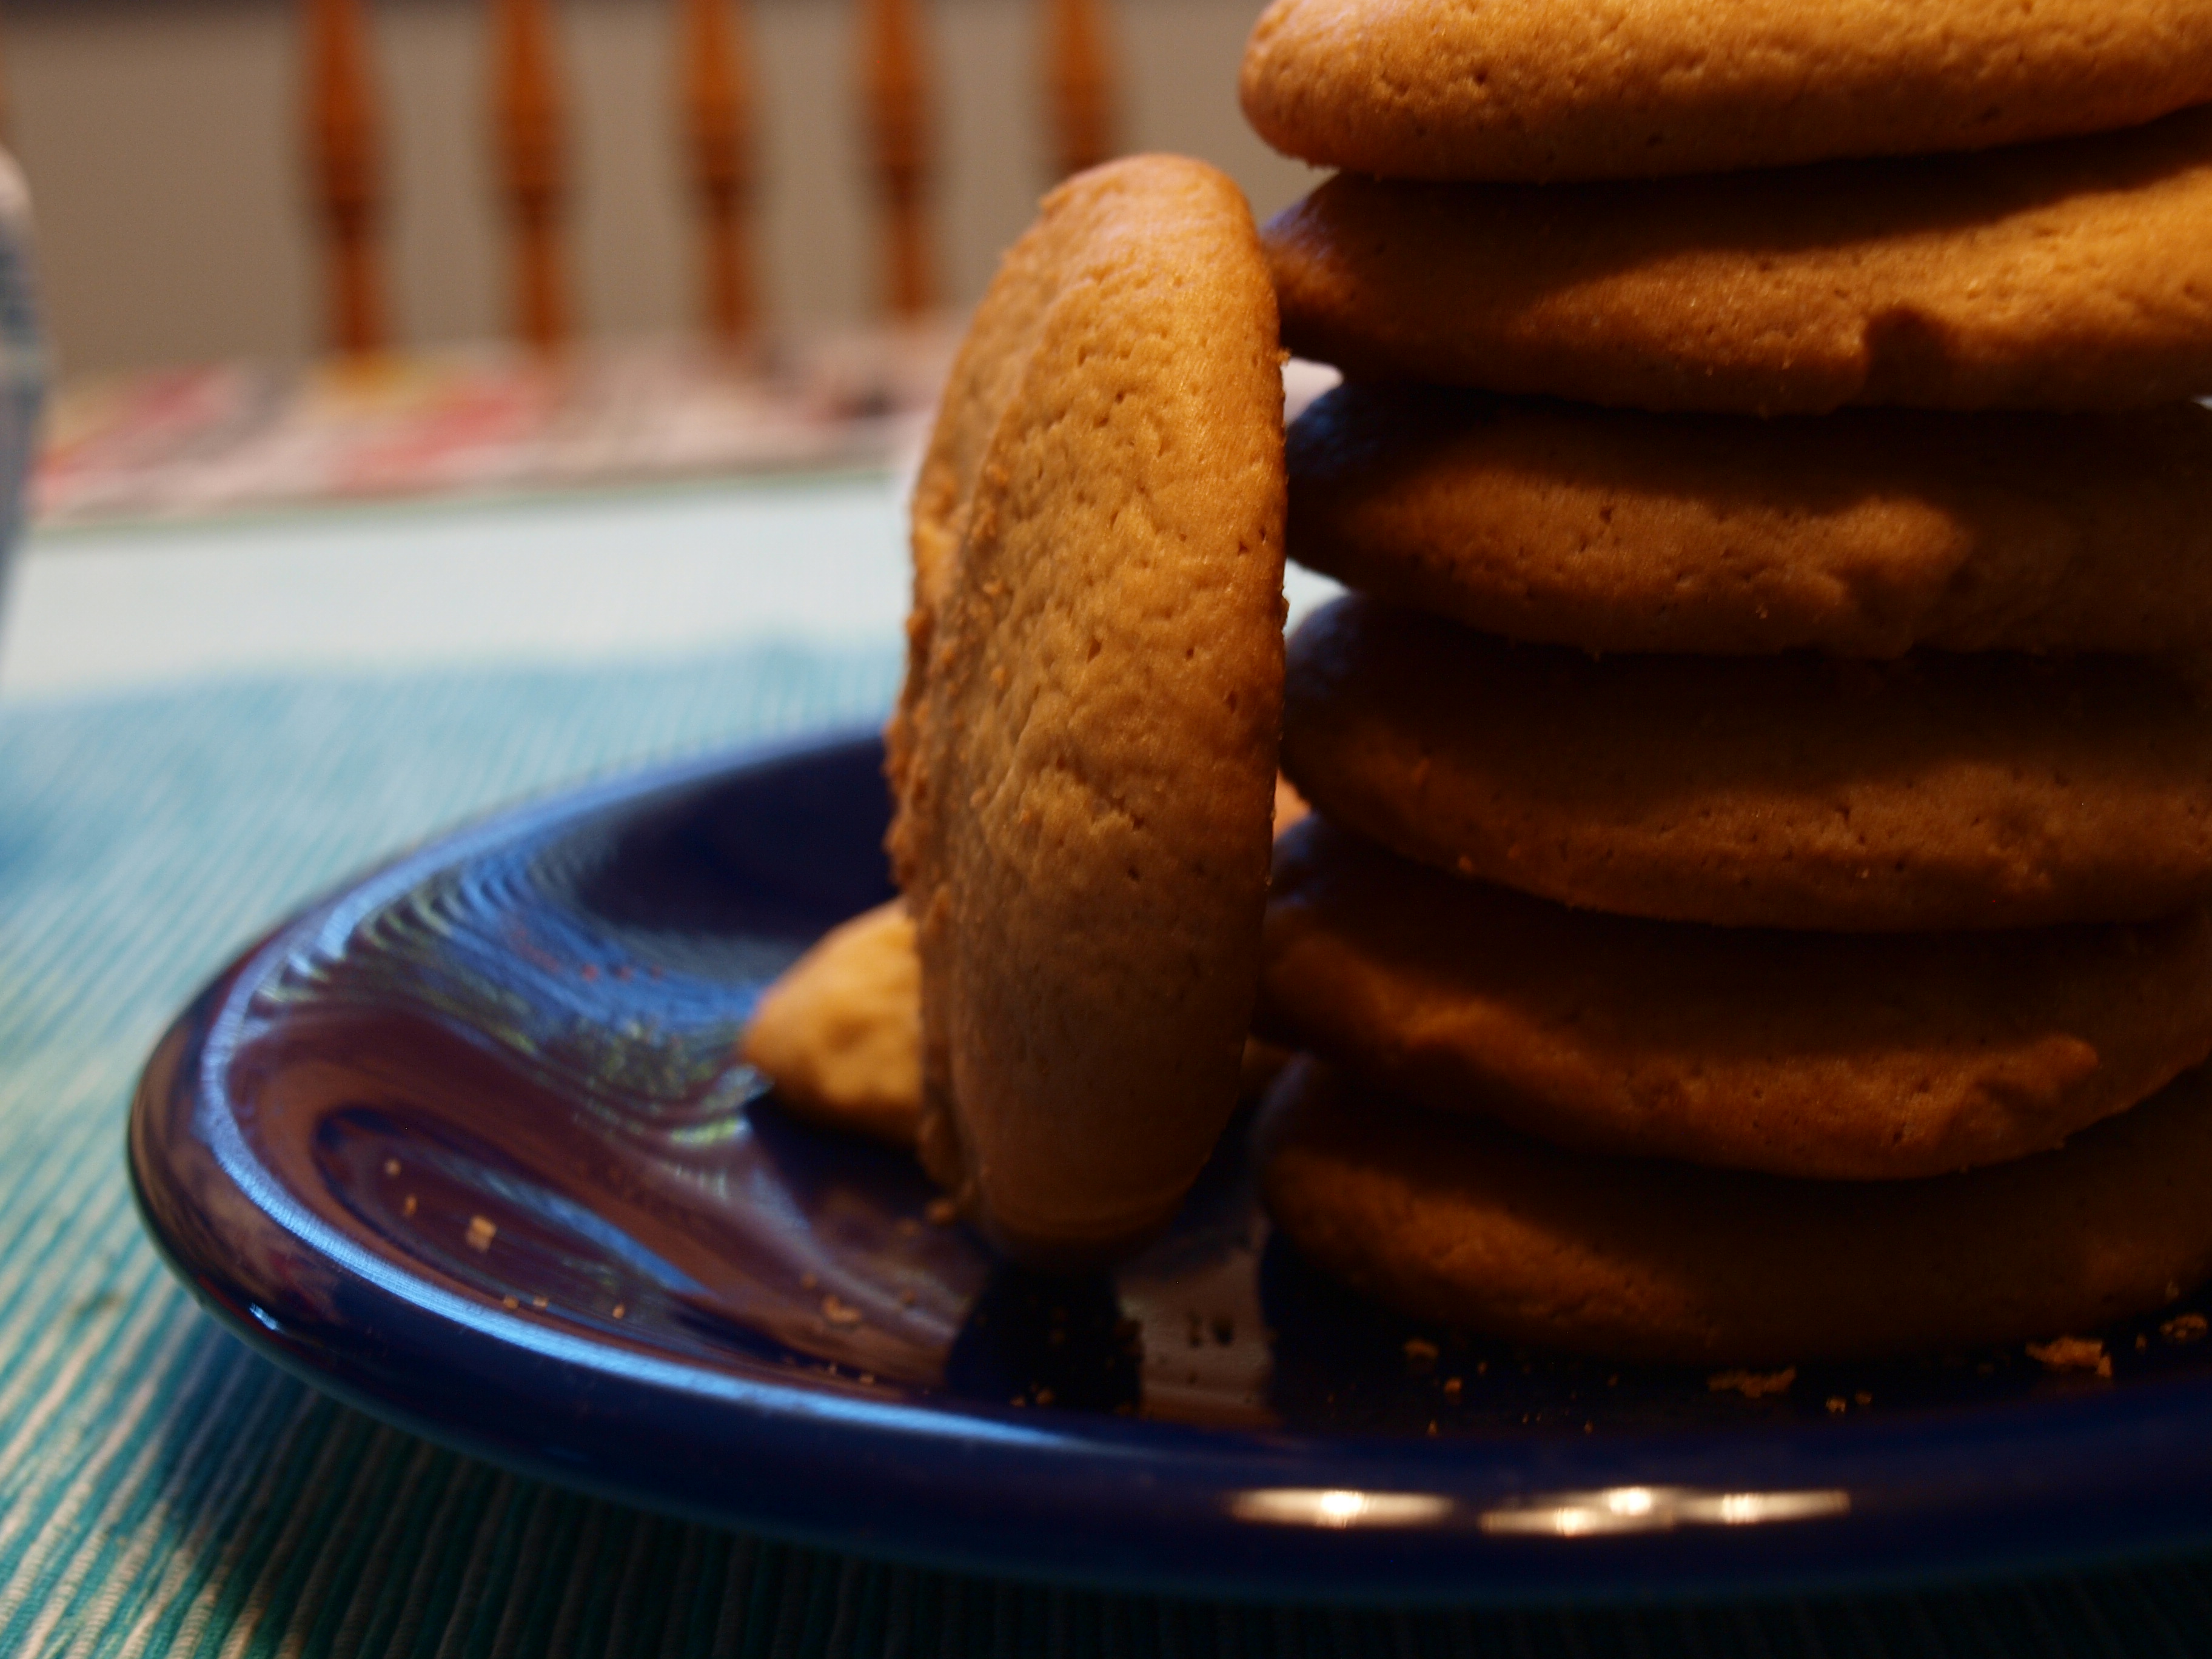
This was my first time browning butter. I’ve heard a lot of fuss about it but never got around to doing it, mostly for fear of ruining it. Yet, for as many times I’ve used the stove, I’ve never burned down a building, so I tried it. Goodness, browning the butter makes these cookie cups sing! Photographing them was horrendous; with my face hovering directly over the cups, it took all my self-control (what little I possess) to not stuff every single one of them into my mouth.

It’s smooth sailing after the butter is browned. Don’t be intimidated by this “browned butter” talk, by the way (isn’t that fun to say? Browned butter, browned butter, browned butter!). Browning butter is nothing more than leaving the butter in the pan on the stove longer than you usually would if you were merely melting it, which causes it to turn brown and smell nutty and fragrant. And beautiful.

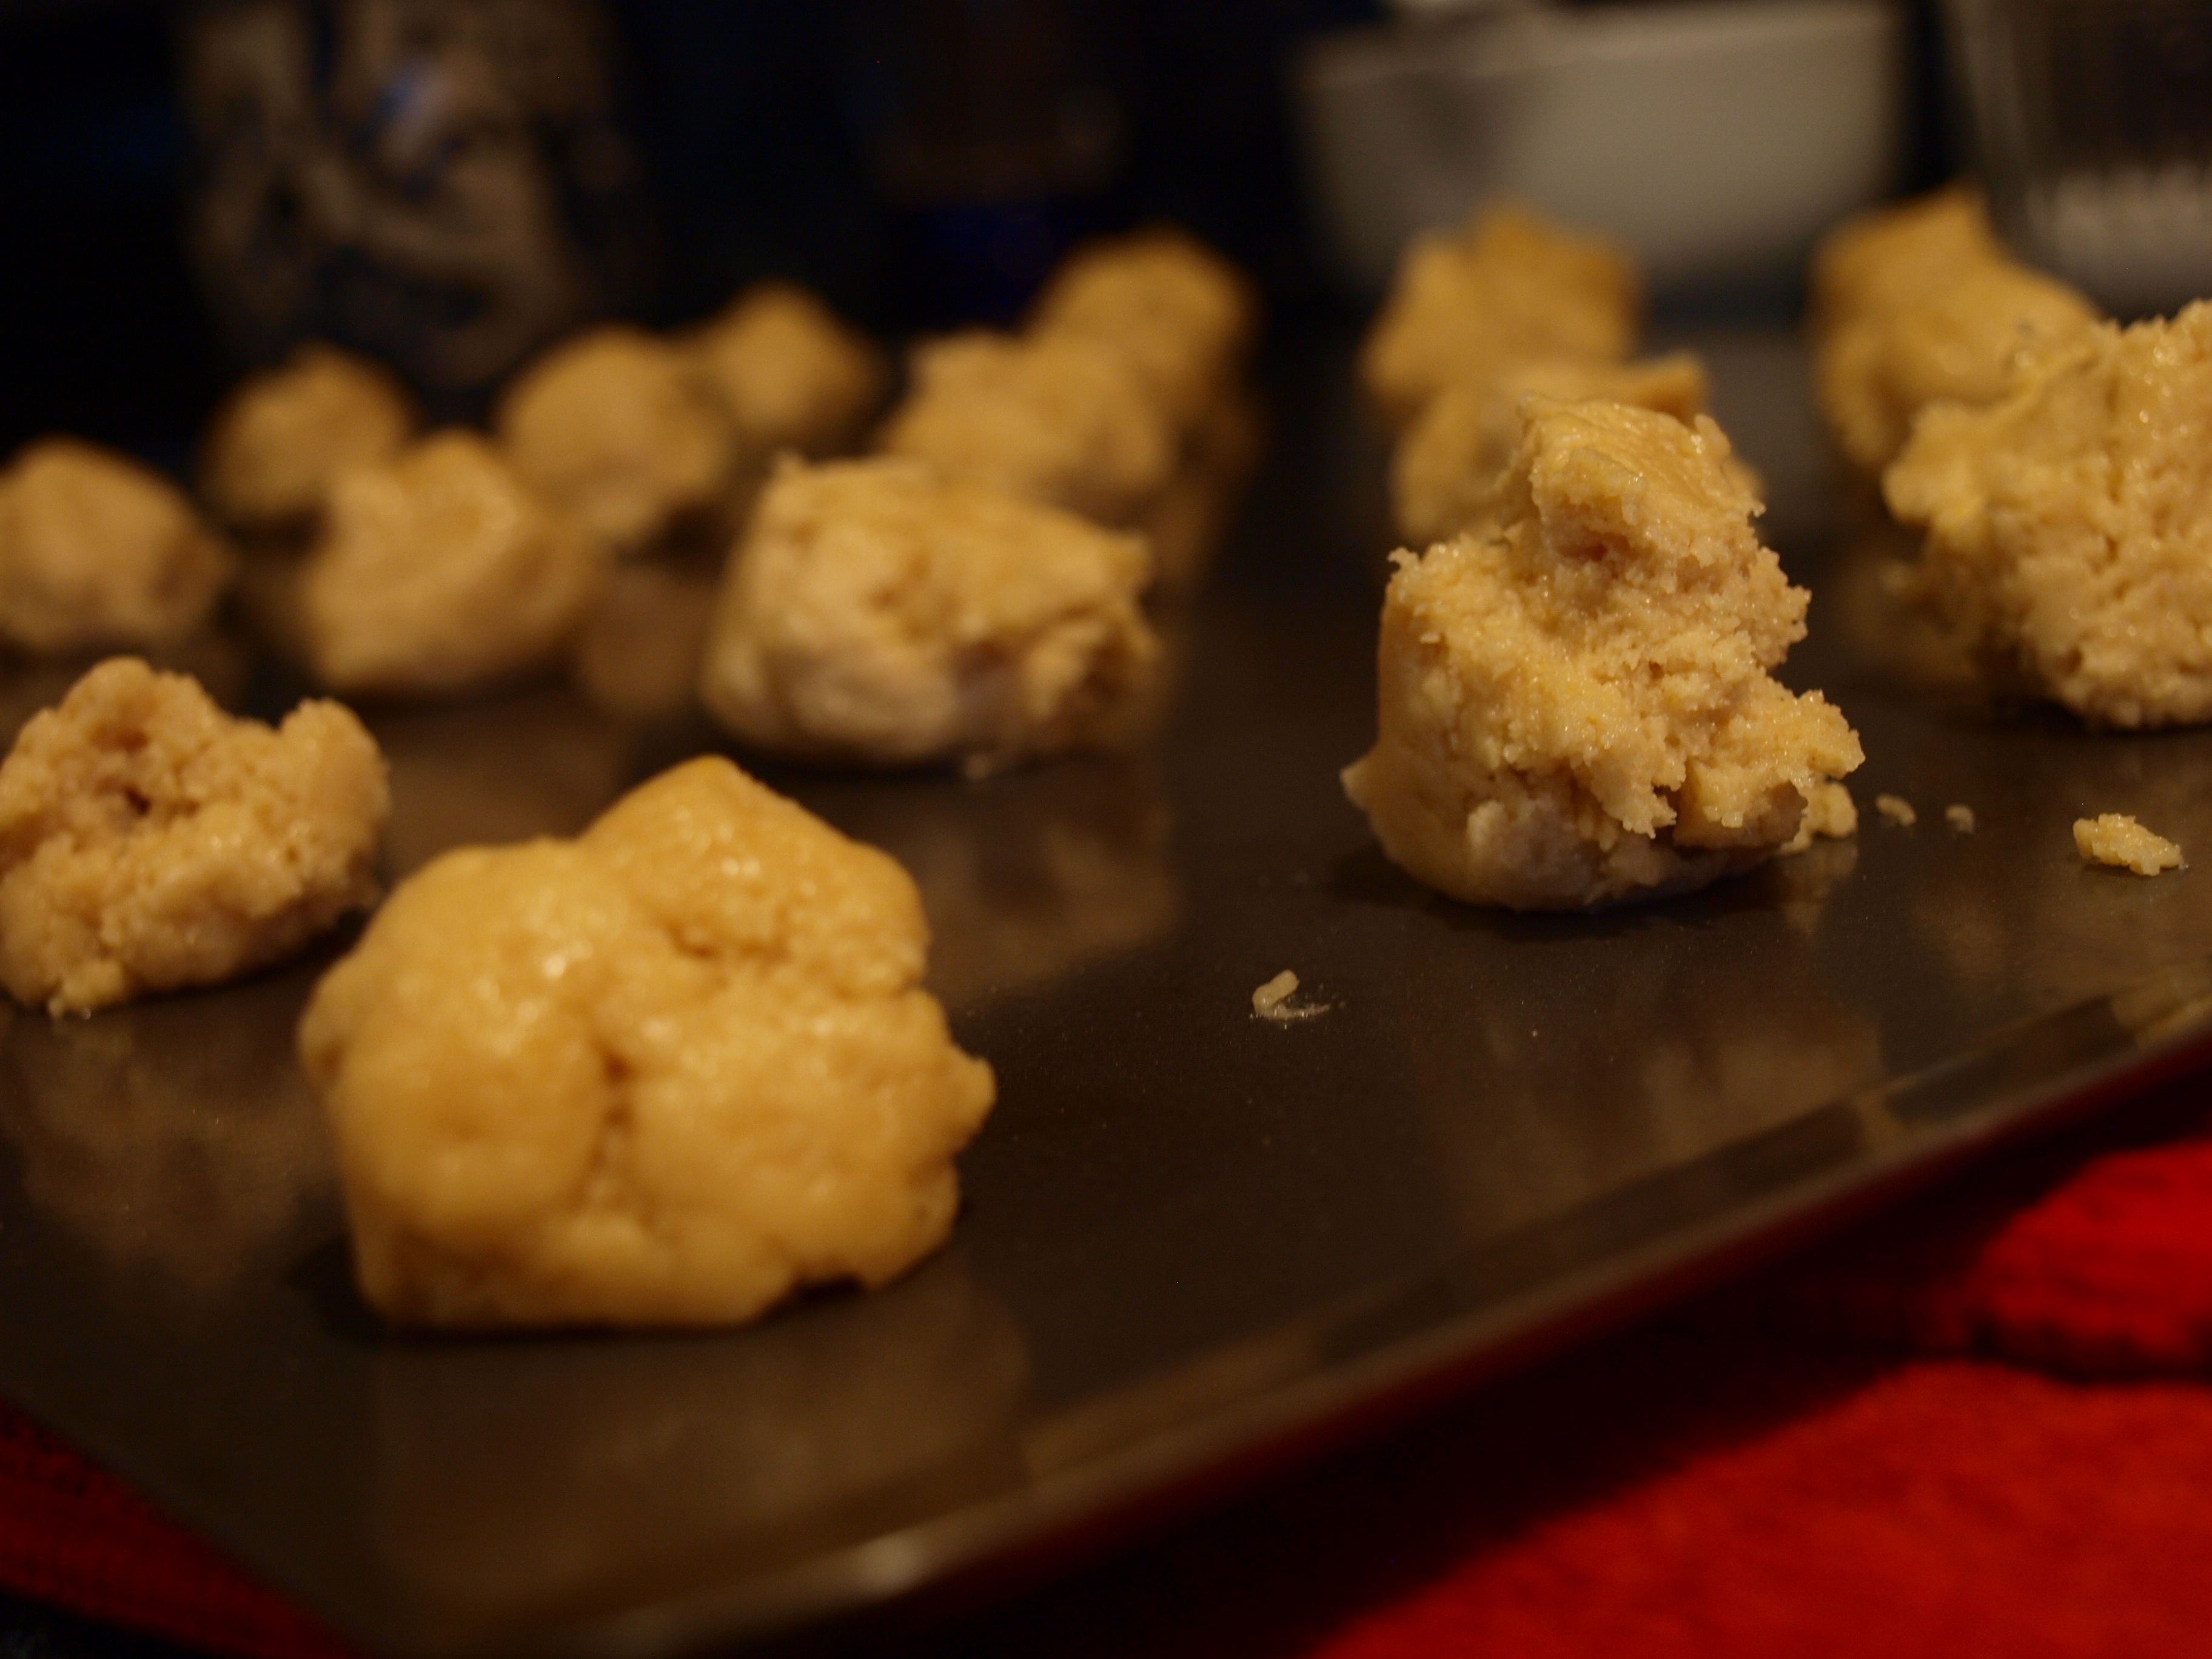
Hey, you don’t even need to tablespoon out the dough! Muffin pans really are convenient.

OLYMPUS DIGITAL CAMERA

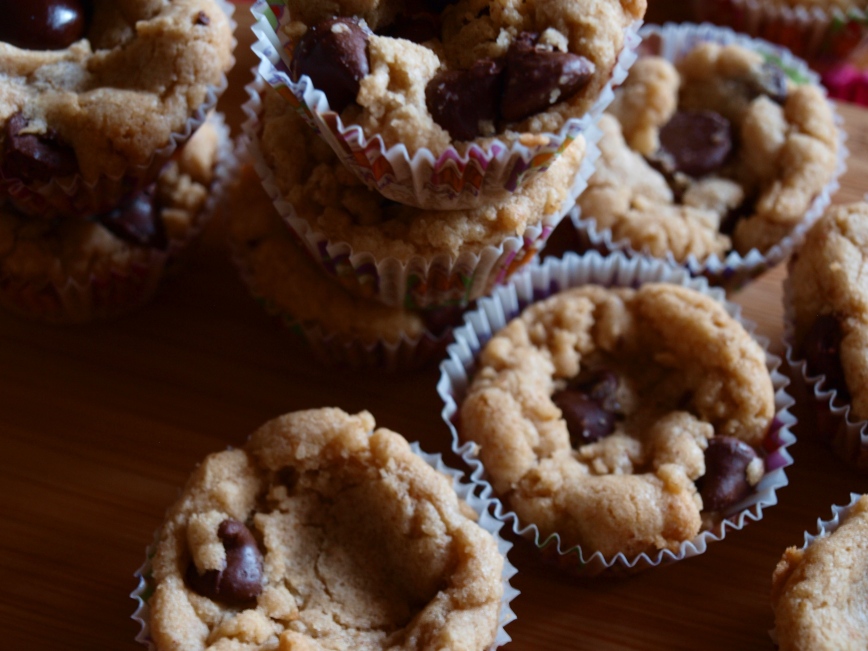
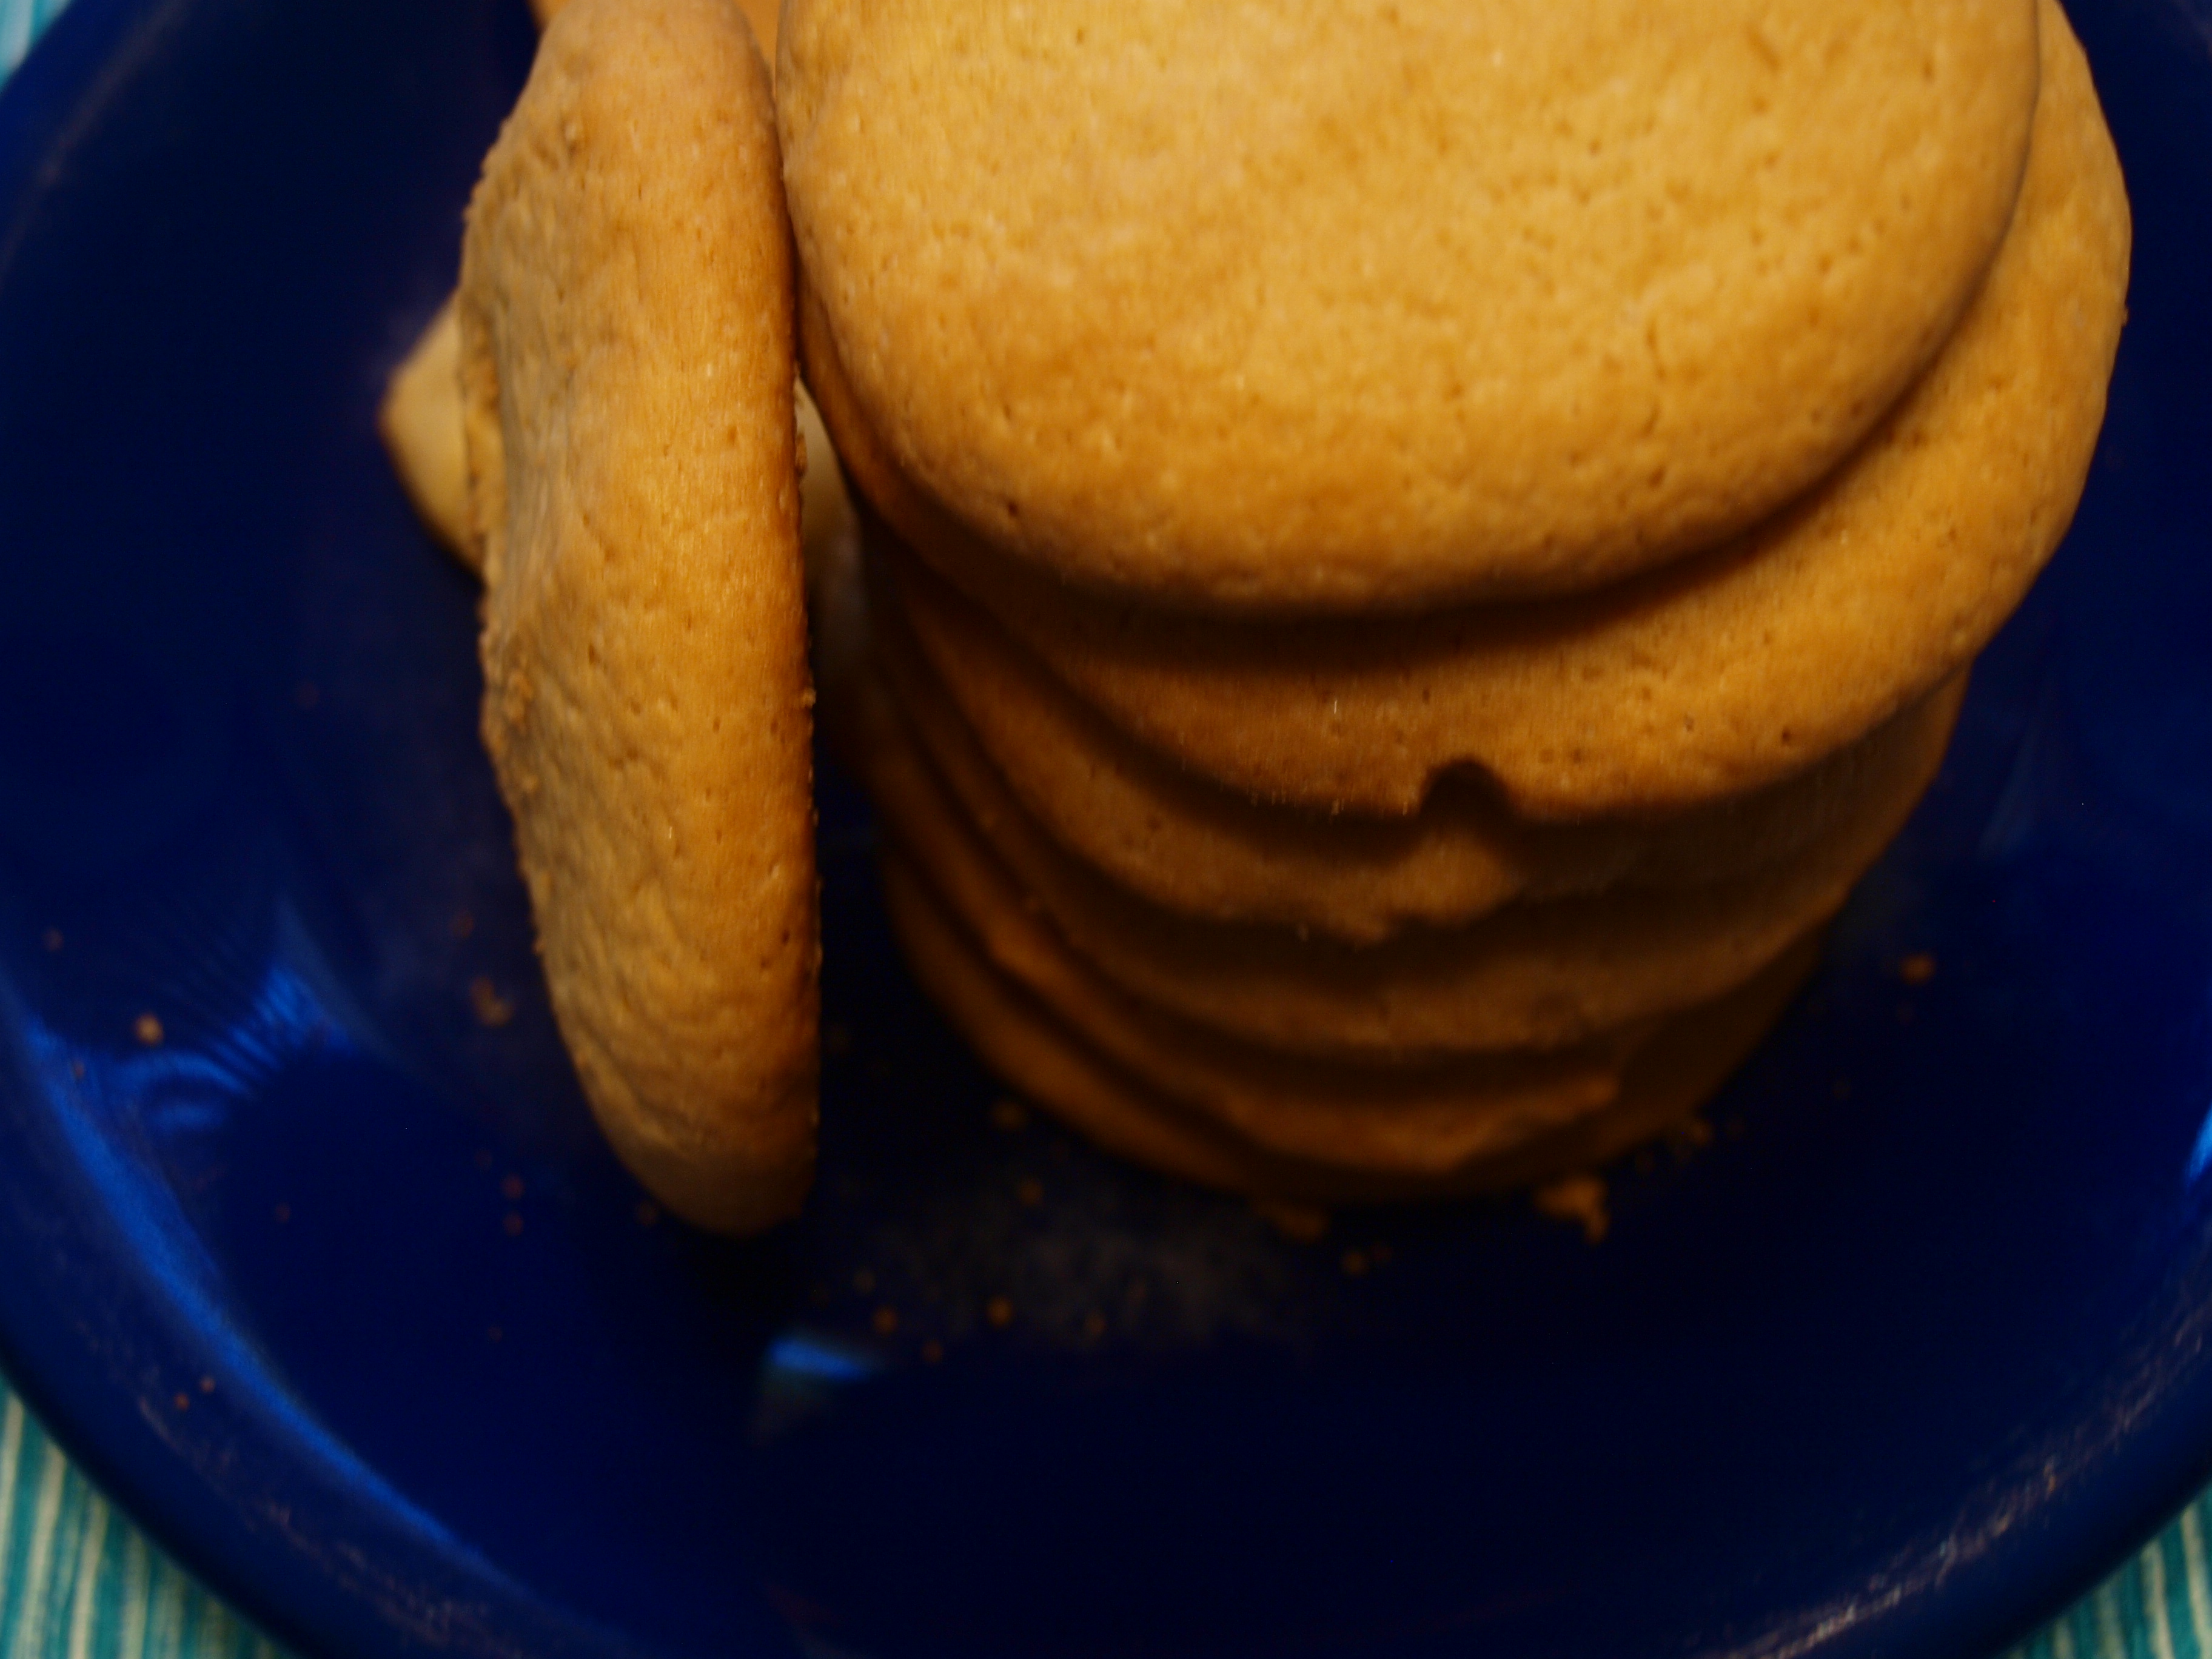
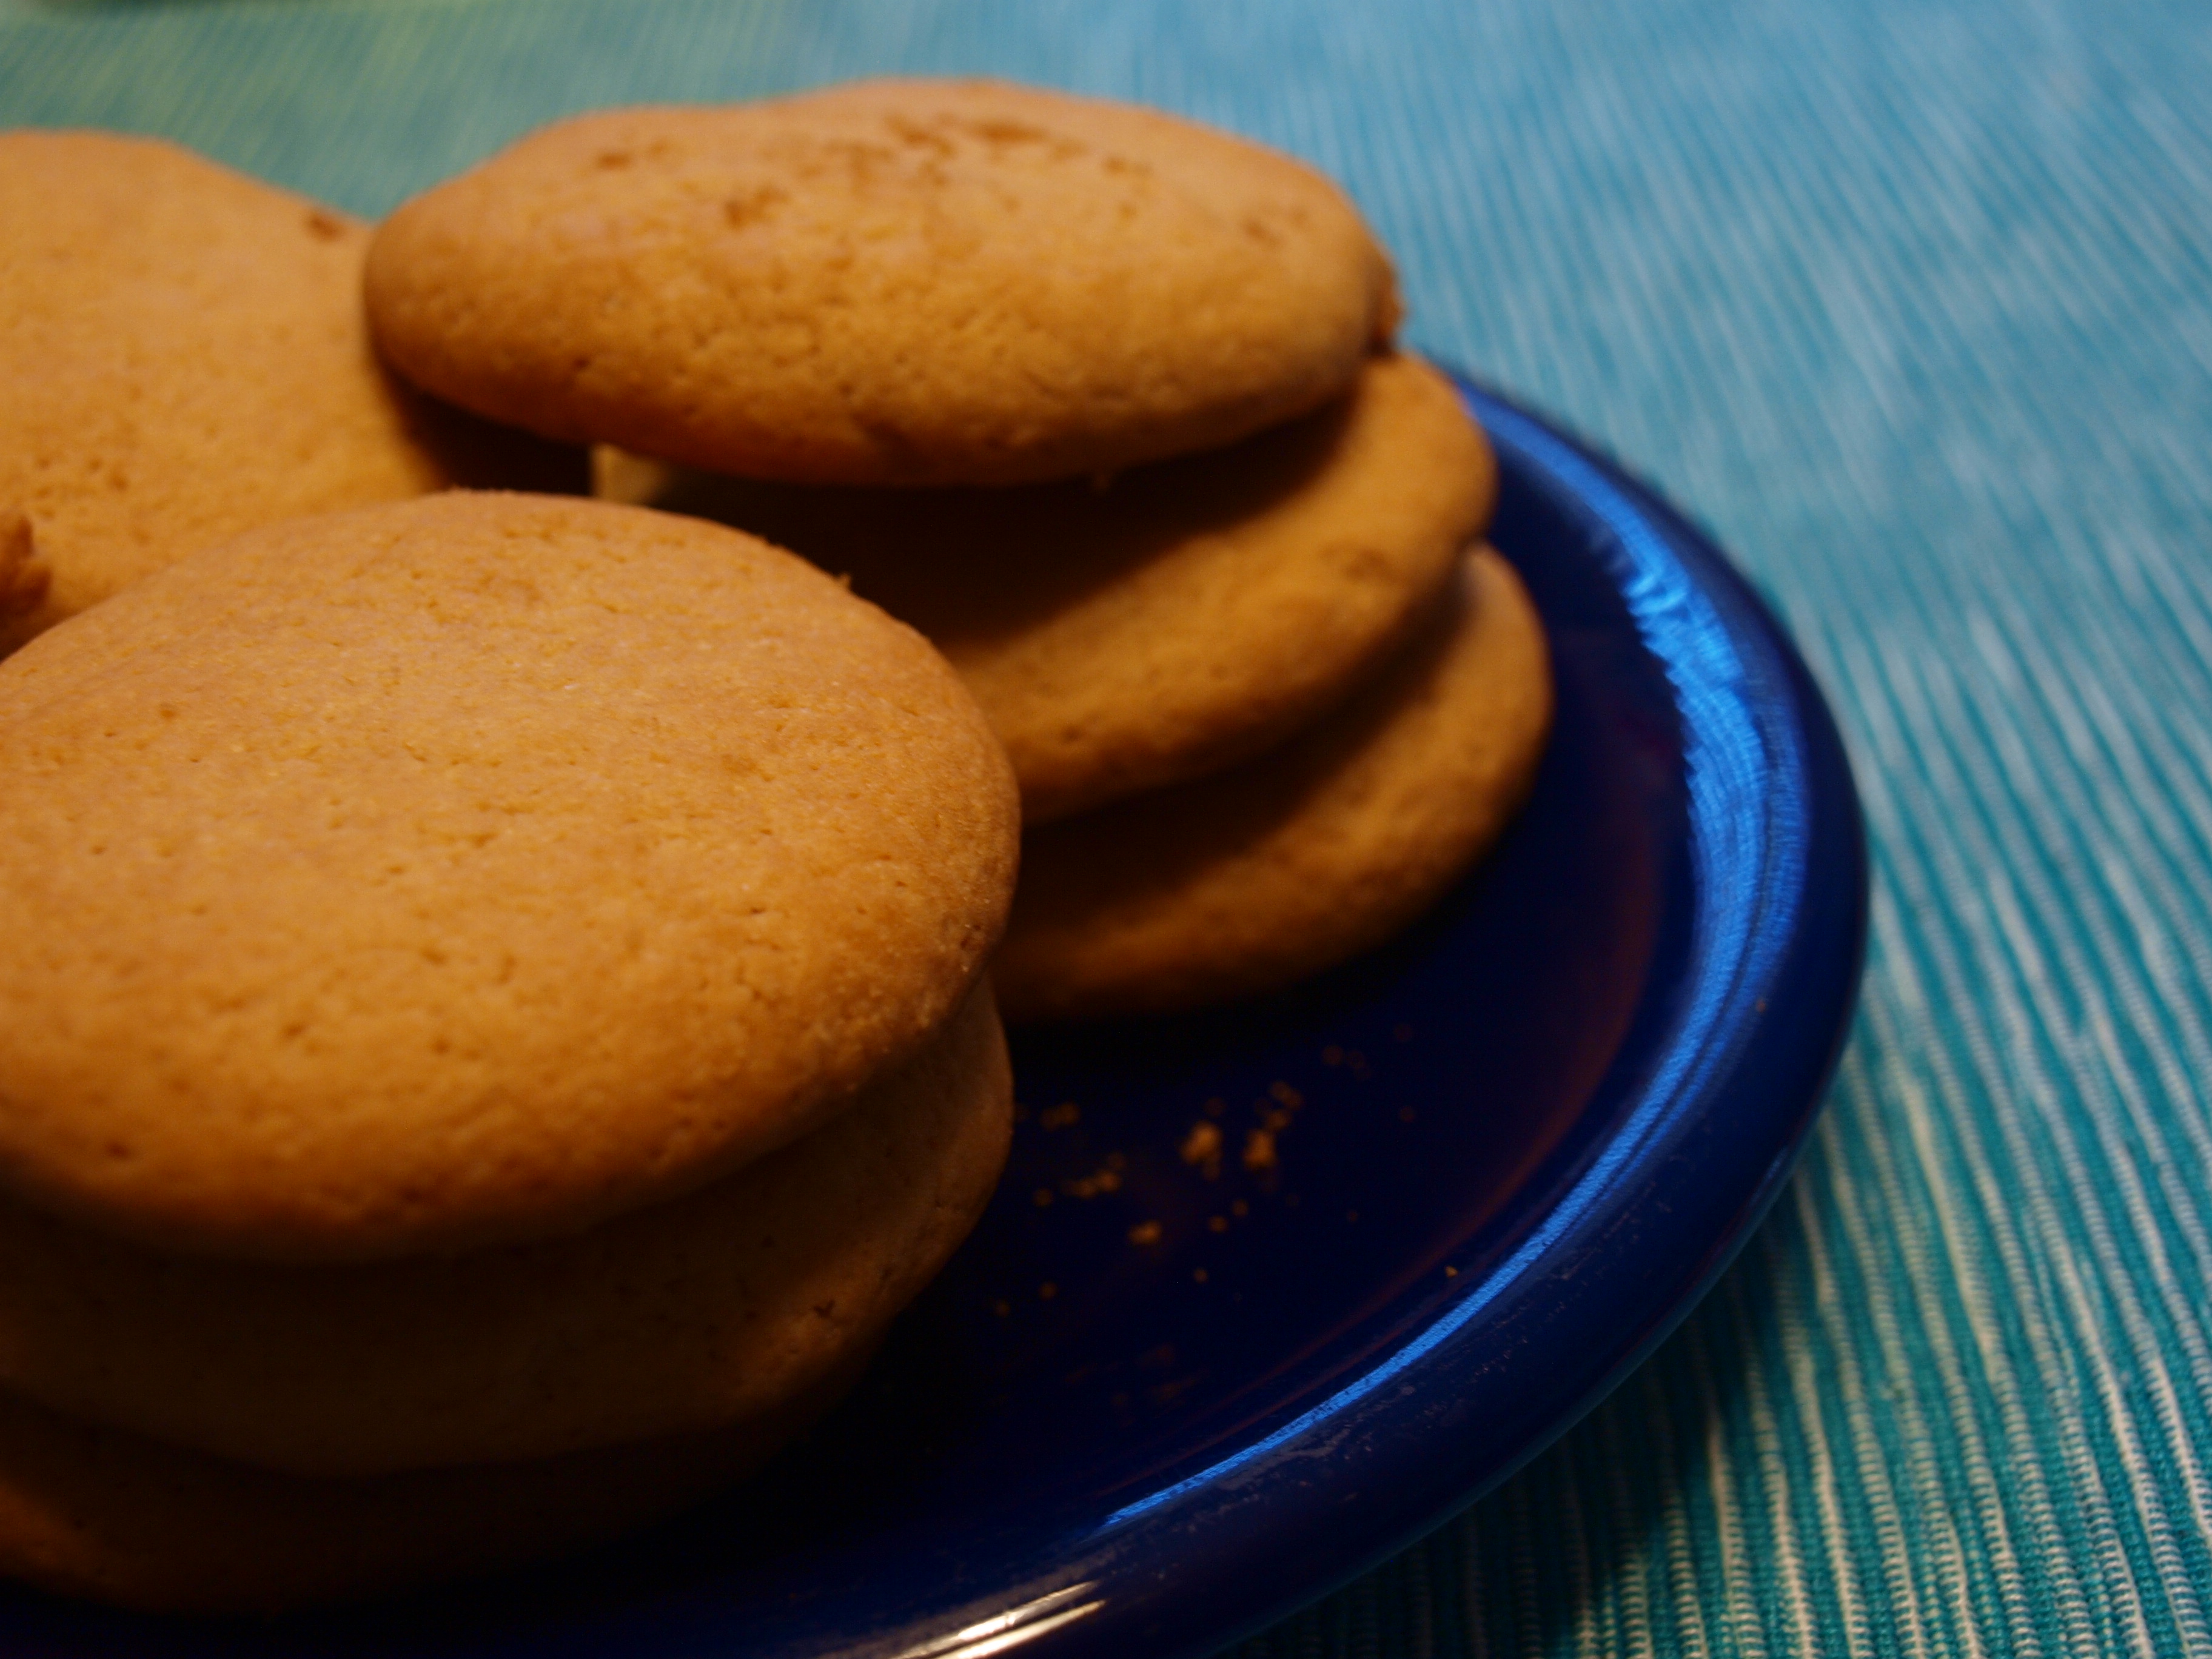
The final product is thick & ooey-gooey-chewy-delicious. Ridiculously delicious. Never-ending summer delicious. 12-hour-hard-sleep-after-a-long-week delicious. Brand-new-hardcover-book delicious. Melt-your-face-off-delicious.

You can’t tell from the photos, but the wrappers have pictures of muffins on them. And “muffins” is scrawled all over them, multiple times.

See? Cookie cups in muffin tins in muffin wrappers declaring their contents to be muffins, just because I can.

Make these. Make them because it’s Tuesday and Tuesdays are neither popular nor hated. Make them because you want the satisfaction of burning something that ends up tasting really, really good. Make them because you are fearless and have really fabulous hair.

OLYMPUS DIGITAL CAMERA

Make them because you deserve to be good to yourself.

Mini Browned Butter Chocolate Chip Cookie Cups (printable recipe here!)
from Averie Cooks
makes 36 mini cookie cups or 12 normal-sized cookie cups

Ingredients

  • 1/2 cup unsalted butter, browned (see directions)
  • 1 large egg
  • 3/4 brown sugar, packed
  • 1/4 cup granulated sugar
  • 2 teaspoons vanilla extract
  • 1 1/2 cups all-purpose flour
  • 1/2 teaspoon baking soda
  • 1/2 teaspoon salt
  • 1 1/4 cups chocolate chips (milk, semi-sweet, or dark)

Directions

  1. Preheat oven to 350 degrees F. Grease and flour a mini-muffin pan, or line with mini muffin liners. Set aside.
  2. In a skillet or sauce pan, melt butter over medium-low heat, stirring constantly, until the butter turns brown and fragrant (butter will melt and foam, then turn from clear to golden to brown). Remove pan from burner and continue to stir for about one minute.
  3. Poor butter into large mixing bowl and allow to cool momentarily to prevent the egg from scrambling. Stir in egg, sugars, and vanilla.
  4. Add flour, baking soda, and salt; stir until just combined (a few flour streaks is okay). Fold in chocolate chips.
  5. Spoon dough equally into mini-muffin cavities. Bake for about 6-8 minutes.
  6. Allow cookies to cool in the pan for 20 minutes. Devour. (They will keep for about a week at room temperature or 3 months in the freezer.)

OLYMPUS DIGITAL CAMERA

Coconut, Almond, & Chocolate Chip Scones.

(Or Almond Joy Scones. Or, more fittingly, Almond Joy the Baker Scones. Have I ever mentioned how much I adore her blog? I do. A ton.) OLYMPUS DIGITAL CAMERA My mother decided to reorganize our silverware drawer. After five and a half years of living in this house, we’ve only had the drawer one way, even after we got new silverware. Now, I’m unconsciously reaching for a knife when I want to eat cereal and finding spoons when I really just want to make a PB&J. Sometimes, the changes are bigger than that. Sometimes, friends will choose to go away permanently, whether on amiable or unfriendly terms. You might uproot your life and travel across continents to chase (and, hopefully, find) your dreams. Routines change; “normal” changes. You find yourself in strange places and even more bizarre scenarios, and as you fumble through life, you do your best, you fight the fight, you gulp the coffee and breathe the best you can. Life is rough. Breakfast can make it better. OLYMPUS DIGITAL CAMERA Mornings feel like the calm before the storm, especially if you’re up before dawn, which is one of the many reasons why breakfast is the most important meal of the day. Settling into a routine gives you a bit of solid ground to stand on. Thus, I bring you scones to help the transition between “blissfully enjoying my 4th hour of sleep” and “I forgot it’s Monday” and all the other worries and anxieties on your mind. Soft, buttery, coconut-y, and comforting, like little bits of home. Biscuits and scones are some of my favorite baked goods to make – no waiting for butter to come down to room temperature, and plus, you get to use a pastry cutter. Or your hands. Like playing in the dirt, except you’re playing with butter and flour. And you’re not in small, flowered overalls. I’d say the most important point in this recipe is the toast the coconut and almonds beforehand. Heat brings out the best in both of those ingredients. And these little biscuits can be adjusted to your sweet tooth, or lack thereof. More coconut? Fewer almonds? White chocolate? Go for it. Whatever makes you feel most at home – whatever’s gonna get you through the day. OLYMPUS DIGITAL CAMERA Make these tonight. Throw one in the microwave or toaster oven tomorrow morning as you’re rushing about, trying not to forget shoes or whatever weekend project you were assigned or all the things your child needs at day camp. Take a bite, take a breath, and go get ’em, tiger. This is your week.

Coconut, Almond, & Chocolate Chip Scones (printable recipe here!)
adapted from Joy the Baker
makes about 10-12 large scones

Ingredients

  • 3 cups all-purpose flour (or a mixture – I used 3/4 cup whole wheat and the rest AP)
  • 2 tablespoons – 1/4 cup granulated sugar
  • 1 tablespoons baking powder
  • 1/2 teaspoons baking soda
  • 3/4 teaspoons salt
  • 3/4 cup (1 1/2 sticks) unsalted butter, cold and cubed
  • 1 large egg
  • 3/4 cup + 2 tablespoons buttermilk
  • 2/3 cup shredded coconut
  • 2/3 cup almonds, slivered or chopped
  • 1/2 cup semi-sweet chocolate chips
  • additional sugar for topping

Directions

  1. Preheat oven to 325 degrees F. Line a baking sheet with parchment paper and place coconut and slivered almonds on it. Put in the oven to toast for 10-12 minutes, checking once or twice to make sure it doesn’t burn. When coconut is golden, remove from oven and allow to cool.
  2. Heat oven to 400 degrees F. Line two baking sheets with parchment paper; set aside.
  3. In a large bowl, combine flour, sugar, baking powder, baking soda, and salt.
  4. Using your hands or a pastry cutter, cut the cold butter into the flour mixture until butter and flour are mostly combined. Set in the fridge for a few minutes.
  5. Whisk together buttermilk and egg.
  6. Remove flour and butter mixture from the fridge; add coconut, almonds, and chocolate chips. Stir together, then create a well in the center. Add the buttermilk/egg mixture to the well all at once.
  7. Stir until wet and dry ingredients are just combined (preferably with a few visible flour streaks).
  8. Place the dough on a lightly floured flat surface. Work the dough into a disk with your hands. Using a cookie cutter, cut out the scones and place on the prepared baking sheets. Sprinkle with sugar, if desired.
  9. Bake scones for 14-18 minutes, until golden brown. Remove from the oven and devour.
OLYMPUS DIGITAL CAMERA

the aftermath.

Apple Strawberry Nut Baked Oatmeal.

OLYMPUS DIGITAL CAMERA

My mom’s birthday was last weekend, so I promised to make her some sort of breakfast. Unfortunately, we left early that morning for the Windy City, and that didn’t allow for time to actually make anything decent beyond “here, I poured you a birthday bowl of cereal!”. Thus it was decided we’d have a nice breakfast/brunch on the 4th of July when we’d all be home and not rushing about.

Baked oatmeal seems to be quite the thing nowadays, something I’ve never gotten around to making since all the members of my family are never in the house at breakfast time. Plus, I’m usually so impatient in the mornings to eat, any attempt at making something taking more than 10 minutes might send me into a grumpy-morning rage.

OLYMPUS DIGITAL CAMERA

OLYMPUS DIGITAL CAMERA

Anyways. Baked oatmeal is incredibly easy, especially if you’re using pre-cut/dried fruit, and incredibly versatile. And incredibly delicious. Still discernibly oatmeal, yes, but definitely different from instant or stove-top. It’s almost like a breakfast cake (real cake for breakfast is better, of course, but not every morning. A sugar crash during the middle of the work day would not be very profitable) – a little crunchy on the top, soft and warm in the middle.

Before this, I had no idea how you actually made baked oatmeal – clearly, putting something in the oven was involved, but beyond that, je ne savais pas. Upon finding a recipe, I really liked layering some fruit at the bottom, covering it with oats, and pouring the milk on top. I’m such a child – drizzling the milk was my favorite part.

OLYMPUS DIGITAL CAMERA

Can you blame me?

Another funny thing: I had no idea what cutting apples “crosswise” meant, so I just sliced them up like that. Unfortunately, crosswise is a lot prettier than slicing.

This is a great dish for breakfast or brunch, and as previously mentioned, super versatile. If you don’t have (or want) strawberries, replace them with other fresh or frozen berries, bananas, other fruits, dried fruits. Any nut works well, too – I’m just partial to whole almonds, and walnuts are my mom’s favorite. Do yourself a favor and toast the nuts!

Wonderful warm from the oven and topped with more milk or yogurt.

OLYMPUS DIGITAL CAMERA

I accidentally asked my mom if she wanted ice cream on hers.

(I meant yogurt, I swear.)

Apple Strawberry Nut Baked Oatmeal (printable recipe here!)
slightly adapted from Brown Eyed Baker (http://www.browneyedbaker.com/2013/01/03/apple-cinnamon-raisin-walnut-baked-oatmeal/)

[NOTE: to toast nuts, spread them evenly on a baking sheet covered in parchment paper. Bake in a 325 degree oven for 10-15 minutes, stirring at least twice, until nuts are brown and fragrant.]

Ingredients

  • 2 cups old-fashioned oats
  • 1/2 cup walnuts, toasted and chopped
  • 1/4 cup almonds, toasted (chopped, slivered, or whole)
  • 1 1/2 teaspoons cinnamon
  • 1 teaspoon baking powder
  • 1/4 – 1/2 teaspoon salt
  • 2 cups milk
  • 1/3 cup maple syrup
  • 1 egg
  • 3 tablespoons unsalted butter, melted
  • 2 teaspoons vanilla extract
  • 1 large Gala apple, cored and cut crosswise
  • 1 1/2 cups fresh strawberries, sliced and divided

Directions

  1. Preheat oven to 375 degrees F. Grease an 8×8 baking dish and set aside.
  2. In a medium bowl, stir together oats, ¼ cup of the walnuts, cinnamon, baking powder, and salt. Set aside.
  3. In a separate mixing bowl, whisk together milk, maple syrup, egg, 2 tablespoons of the butter, and vanilla extract.
  4. Arrange sliced apples in a single layer on the bottom of the baking dish. Sprinkle 1 cup of the strawberries over the apples. Pour the oat mixture on top of the fruit, spreading with a spoon to ensure the fruit is evenly covered.
  5. Drizzle milk mixture over the top of the oats. Sprinkle remaining walnuts, almonds, and strawberries on top.
  6. Bake for 37 to 45 minutes, until top is golden brown and oatmeal is set. Remove from oven and let sit for at least 5 minutes before serving. Drizzle the remaining tablespoon (or more, if desired) of melted butter on top. Devour. (Can be reheated and devoured another day! Or for lunch.)

OLYMPUS DIGITAL CAMERA

Sugar-Doodle Cookies.

OLYMPUS DIGITAL CAMERA

I have a confession: I only made these so I could take a big, fat spoonful of cookie dough.

OLYMPUS DIGITAL CAMERA

Yep, like one of those spoonfuls.

I know, I know. Salmonella and sugar comatose and who could forget that one cookie dough overdose encounter? But when I’m right in the middle of that wondrous bloodbath from Mother Nature (sorry, guys, and everyone else who has weak constitutions and just visualized that phrase), I want grease and meat and sugar – but not at the same time, mind you.

Enough of my hormonal cravings. Let’s talk cookies.

These are the soft, sugary cousins of the snickerdoodle. I will unashamedly admit that I’ve always loved sugar cookies (well, properly-made sugar cookies) for their simplicity. These are even better than your run-of-the-mill sugar cookie…and definitely not a hard, tasteless one. Who wouldn’t like a cookie that tastes like straight-up sugar, butter, and vanilla?

OLYMPUS DIGITAL CAMERA

Oh, and you only need one bowl. None of that “in a separate bowl” nonsense.

The original recipe yields one dozen “generous-sized cookies”, but even after making 20 tablespoon-sized ones, I had enough dough remaining for 9 cookies half the size of my face. If you’re feeling generous, you’ll probably end up with 15 or 16. (Unless I’m doing it wrong. Which is always a valid possibility.) Regardless of how many are made, these are incredibly simple but incredibly delicious…soft, sweet, comforting.

It also calls for bread flour, something I have none of but will hopefully acquire in the future. If you have some on hand, use it! Bread flour will make the cookies softer and chewier. I wouldn’t recommend omitting the salt, either – just a pinch of salt will make the vanilla & sugar more pronounced through its small bit of contrast.

Also, my pictures suck. Mine weren’t pretty enough to photograph…mostly because I had eaten/given away most of the pretty ones.

See? Shoddy photography and unfortunately unattractive cookies. Sigh.

See? Shoddy photography and unfortunately unattractive cookies. Sigh.

Don’t let them fool you, though! Just because they look like beige disks doesn’t mean they will taste bland, or even remotely bland. Let them surprise you.

Only after I put these in the oven did I have the idea of rolling them in (more) sugar. There’s always next time, though.

(The cookie dough stomach ache was worth it, by the way)

Sugar-Doodles
from Averie Cooks
makes 2 dozenish cookies

Ingredients

  • 1/2 cup (1 stick) unsalted butter, softened
  • 1/2 cup granulated sugar
  • 1/2 cup brown sugar, packed
  • 1 large egg
  • 2 tablespoons cream or milk
  • 1 1/2 teaspoons vanilla extract
  • 1 cup all-purpose flour
  • 3/4 cup bread flour (all-purpose can be substituted)
  • 1 teaspoon baking soda
  • 1/4 teaspoon salt, optional
  • Sugar for rolling, optional

Directions

  1. In a large mixing bowl, cream the butter until smooth. Add the sugars and mix until creamed.
  2. Add egg, cream/milk, and vanilla; beat until light and fluffy.
  3. Add flour(s), baking soda, and salt; mix until just combined.
  4. Transfer dough to an airtight container and refrigerate for at least 3 hours (up to 5 days).
  5. Preheat oven to 350 degrees F. Line a baking sheet with parchment or spray with cooking spray. Scoop the dough into mounds the size of your choosing on the baking sheet.
  6. Bake for 8-10 minutes until pale golden and edges have begun to set. (It’s ok if they appear slightly undercooked – they will firm up as they cool) Allow cookies to cool on baking sheets for 10 minutes before transferring to a wire rack to cool completely. Cookies can be stored at room temperature for up to a week or in the freezer for up to 3 months. Devour.