Pretzel Peanut Butter Chocolate Chip Oatmeal Bars.

That title is a mouthful

IMG_1904

of delicious.

Sometimes, I expect myself to give lengthy, eloquent blog posts. Here’s a story, let’s have a laugh or poignant moment, now let me tie it into a baked good and tell you why you should bake and then consume it.

By “sometimes”, I mean “usually.” And by “usually,” I mean “always.”

I’ve never been very succinct.

I’m giving myself a break, a mental break. I know that if you’ve stumbled down the page this far, you’ll probably like the recipe. These bars are dense, thick, satisfying, comforting. Let them be a rainy-day treat, enjoyed with a cup of tea by an open window, or a sweet square to slow down your crazy mornings.

IMG_1909

Pretzel Peanut Butter Chocolate Chip Oatmeal Bars
Adapted from Sally’s Baking Addiction
Makes an 8×8 pan

Ingredients

  • 1/2 cup brown sugar
  • 1 cup peanut butter (creamy or chunky)
  • 2 teaspoons vanilla extract
  • 1 cup flour
  • 1 1/4 cup old fashioned oats
  • 1 teaspoon baking soda
  • 1/2 teaspoon salt
  • 3/4 cup milk
  • 1/2 cup chocolate chips
  • 3/4 cup mini pretzels

Directions

  1. Preheat oven to 350 degrees F. Line an 8×8 or 9×9 baking dish with parchment paper, or spray with cooking spray.
  2. In a large mixing bowl, cream together the brown sugar and peanut butter until light and fluffy. Mix in the vanilla.
  3. Mix in flour, oats, salt, and baking soda. As the dough begins to come together, slowly add the milk and mix until the dough forms.
  4. Fold in chocolate chips.
  5. Press into the prepared baking dish. Arrange the pretzels on top of the dough, pressing in lightly. Bake for about 17-20 minutes, until edges are brown. Cool completely and cut into squares. Devour.

Apple Strawberry Nut Baked Oatmeal.

OLYMPUS DIGITAL CAMERA

My mom’s birthday was last weekend, so I promised to make her some sort of breakfast. Unfortunately, we left early that morning for the Windy City, and that didn’t allow for time to actually make anything decent beyond “here, I poured you a birthday bowl of cereal!”. Thus it was decided we’d have a nice breakfast/brunch on the 4th of July when we’d all be home and not rushing about.

Baked oatmeal seems to be quite the thing nowadays, something I’ve never gotten around to making since all the members of my family are never in the house at breakfast time. Plus, I’m usually so impatient in the mornings to eat, any attempt at making something taking more than 10 minutes might send me into a grumpy-morning rage.

OLYMPUS DIGITAL CAMERA

OLYMPUS DIGITAL CAMERA

Anyways. Baked oatmeal is incredibly easy, especially if you’re using pre-cut/dried fruit, and incredibly versatile. And incredibly delicious. Still discernibly oatmeal, yes, but definitely different from instant or stove-top. It’s almost like a breakfast cake (real cake for breakfast is better, of course, but not every morning. A sugar crash during the middle of the work day would not be very profitable) – a little crunchy on the top, soft and warm in the middle.

Before this, I had no idea how you actually made baked oatmeal – clearly, putting something in the oven was involved, but beyond that, je ne savais pas. Upon finding a recipe, I really liked layering some fruit at the bottom, covering it with oats, and pouring the milk on top. I’m such a child – drizzling the milk was my favorite part.

OLYMPUS DIGITAL CAMERA

Can you blame me?

Another funny thing: I had no idea what cutting apples “crosswise” meant, so I just sliced them up like that. Unfortunately, crosswise is a lot prettier than slicing.

This is a great dish for breakfast or brunch, and as previously mentioned, super versatile. If you don’t have (or want) strawberries, replace them with other fresh or frozen berries, bananas, other fruits, dried fruits. Any nut works well, too – I’m just partial to whole almonds, and walnuts are my mom’s favorite. Do yourself a favor and toast the nuts!

Wonderful warm from the oven and topped with more milk or yogurt.

OLYMPUS DIGITAL CAMERA

I accidentally asked my mom if she wanted ice cream on hers.

(I meant yogurt, I swear.)

Apple Strawberry Nut Baked Oatmeal (printable recipe here!)
slightly adapted from Brown Eyed Baker (http://www.browneyedbaker.com/2013/01/03/apple-cinnamon-raisin-walnut-baked-oatmeal/)

[NOTE: to toast nuts, spread them evenly on a baking sheet covered in parchment paper. Bake in a 325 degree oven for 10-15 minutes, stirring at least twice, until nuts are brown and fragrant.]

Ingredients

  • 2 cups old-fashioned oats
  • 1/2 cup walnuts, toasted and chopped
  • 1/4 cup almonds, toasted (chopped, slivered, or whole)
  • 1 1/2 teaspoons cinnamon
  • 1 teaspoon baking powder
  • 1/4 – 1/2 teaspoon salt
  • 2 cups milk
  • 1/3 cup maple syrup
  • 1 egg
  • 3 tablespoons unsalted butter, melted
  • 2 teaspoons vanilla extract
  • 1 large Gala apple, cored and cut crosswise
  • 1 1/2 cups fresh strawberries, sliced and divided

Directions

  1. Preheat oven to 375 degrees F. Grease an 8×8 baking dish and set aside.
  2. In a medium bowl, stir together oats, ¼ cup of the walnuts, cinnamon, baking powder, and salt. Set aside.
  3. In a separate mixing bowl, whisk together milk, maple syrup, egg, 2 tablespoons of the butter, and vanilla extract.
  4. Arrange sliced apples in a single layer on the bottom of the baking dish. Sprinkle 1 cup of the strawberries over the apples. Pour the oat mixture on top of the fruit, spreading with a spoon to ensure the fruit is evenly covered.
  5. Drizzle milk mixture over the top of the oats. Sprinkle remaining walnuts, almonds, and strawberries on top.
  6. Bake for 37 to 45 minutes, until top is golden brown and oatmeal is set. Remove from oven and let sit for at least 5 minutes before serving. Drizzle the remaining tablespoon (or more, if desired) of melted butter on top. Devour. (Can be reheated and devoured another day! Or for lunch.)

OLYMPUS DIGITAL CAMERA

Sugar-Doodle Cookies.

OLYMPUS DIGITAL CAMERA

I have a confession: I only made these so I could take a big, fat spoonful of cookie dough.

OLYMPUS DIGITAL CAMERA

Yep, like one of those spoonfuls.

I know, I know. Salmonella and sugar comatose and who could forget that one cookie dough overdose encounter? But when I’m right in the middle of that wondrous bloodbath from Mother Nature (sorry, guys, and everyone else who has weak constitutions and just visualized that phrase), I want grease and meat and sugar – but not at the same time, mind you.

Enough of my hormonal cravings. Let’s talk cookies.

These are the soft, sugary cousins of the snickerdoodle. I will unashamedly admit that I’ve always loved sugar cookies (well, properly-made sugar cookies) for their simplicity. These are even better than your run-of-the-mill sugar cookie…and definitely not a hard, tasteless one. Who wouldn’t like a cookie that tastes like straight-up sugar, butter, and vanilla?

OLYMPUS DIGITAL CAMERA

Oh, and you only need one bowl. None of that “in a separate bowl” nonsense.

The original recipe yields one dozen “generous-sized cookies”, but even after making 20 tablespoon-sized ones, I had enough dough remaining for 9 cookies half the size of my face. If you’re feeling generous, you’ll probably end up with 15 or 16. (Unless I’m doing it wrong. Which is always a valid possibility.) Regardless of how many are made, these are incredibly simple but incredibly delicious…soft, sweet, comforting.

It also calls for bread flour, something I have none of but will hopefully acquire in the future. If you have some on hand, use it! Bread flour will make the cookies softer and chewier. I wouldn’t recommend omitting the salt, either – just a pinch of salt will make the vanilla & sugar more pronounced through its small bit of contrast.

Also, my pictures suck. Mine weren’t pretty enough to photograph…mostly because I had eaten/given away most of the pretty ones.

See? Shoddy photography and unfortunately unattractive cookies. Sigh.

See? Shoddy photography and unfortunately unattractive cookies. Sigh.

Don’t let them fool you, though! Just because they look like beige disks doesn’t mean they will taste bland, or even remotely bland. Let them surprise you.

Only after I put these in the oven did I have the idea of rolling them in (more) sugar. There’s always next time, though.

(The cookie dough stomach ache was worth it, by the way)

Sugar-Doodles
from Averie Cooks
makes 2 dozenish cookies

Ingredients

  • 1/2 cup (1 stick) unsalted butter, softened
  • 1/2 cup granulated sugar
  • 1/2 cup brown sugar, packed
  • 1 large egg
  • 2 tablespoons cream or milk
  • 1 1/2 teaspoons vanilla extract
  • 1 cup all-purpose flour
  • 3/4 cup bread flour (all-purpose can be substituted)
  • 1 teaspoon baking soda
  • 1/4 teaspoon salt, optional
  • Sugar for rolling, optional

Directions

  1. In a large mixing bowl, cream the butter until smooth. Add the sugars and mix until creamed.
  2. Add egg, cream/milk, and vanilla; beat until light and fluffy.
  3. Add flour(s), baking soda, and salt; mix until just combined.
  4. Transfer dough to an airtight container and refrigerate for at least 3 hours (up to 5 days).
  5. Preheat oven to 350 degrees F. Line a baking sheet with parchment or spray with cooking spray. Scoop the dough into mounds the size of your choosing on the baking sheet.
  6. Bake for 8-10 minutes until pale golden and edges have begun to set. (It’s ok if they appear slightly undercooked – they will firm up as they cool) Allow cookies to cool on baking sheets for 10 minutes before transferring to a wire rack to cool completely. Cookies can be stored at room temperature for up to a week or in the freezer for up to 3 months. Devour.

Crispy Coconut Cookies.

Oh, look. A recipe not involving chocolate or peanut butter.

OLYMPUS DIGITAL CAMERA

Coconut is one of those foods most people either love or hate – I’ve never met someone who is on the fence about it. Some of my friends vehemently detest its existence, while others would top any dessert with coconut and be happy.

I’m a fan of the coconut. It’s tropical, unique, and delicious. Coconut oil is incredible, not to mention mind-boggling (solid at room temperature…but it melts so easily? Tastes absolutely dreadful when eaten straight out of the jar, but adds a beautiful sweetness to baked goods? What is this magic?); shredded coconut, straight out of the bag, has become one of my go-to snacks if I just need a little something sweet; toasted coconut is absolutely divine.

Speaking of toasted coconut, toasting is the secret to these wonderful cookies. Simply toast the coconut before you make the cookies. Heat often brings out the best in food (hmm, can we say the same about humans, perhaps? Ok, no more philosophy).

OLYMPUS DIGITAL CAMERA

What is it about coconut, though? It’s so different. Its taste is matchless, so unlike any other flavor. It’s distinct and capable of taking a dish from good to great. Just like people. (Ok, now I’m done with the philosophy.)

My father wanted macaroons, but he got these instead. And, by some weird twist of fate, he hasn’t stopped raving about these since I made them. Then again, neither have I. Coconut is so simple and incredibly complementary to other ingredients brown sugar, cinnamon, vanilla, and almond (any recipe involving almond extract gets me excited). They’re crispy, they’re sweet, they won’t let you down.

One minor mishap: I had problems with the dough. Like, big, sticky problems. Even after I added extra flour, they wouldn’t roll out, they wouldn’t cut out, they wouldn’t stay together, even after I refrigerated them for quite some time. Being the incredibly impatient human I am, I just went with the tablespoon-drop standby and smashed them flat into thin circles. If you have the patience, go ahead and roll them out or figure out what I did wrong. Mine still turned out delicious.

OLYMPUS DIGITAL CAMERA

Besides, these aren’t just any flawlessly shaped, boring circles. Imperfect cookies have a lot of character. Just like you.

Crispy Coconut Cookies
from Joy the Baker

Ingredients

  • 1 1/2 cups sweetened shredded coconut
  • 2 cups all-purpose flour
  • 3/4 teaspoon baking powder
  • 1/8 teaspoon salt
  • 1/2 teaspoon cinnamon
  • 3/4 cup butter, at room temperature
  • 1 cup packed brown sugar
  • 1 large egg
  • 1 teaspoon vanilla extract
  • 1/2 teaspoon almond extract

Directions

  1. Preheat oven to 300 degrees F. Spread the coconut evenly on a baking sheet. Bake for about 8-10 minutes, stirring two or three times, until coconut is evenly golden. Make sure to keep an eye on it because coconut will burn easily. Set aside to cool.
  2. Increase oven temperature to 350 degrees F. Line two baking sheets with parchment paper and set aside.
  3. Combine flour, baking powder, salt, and cinnamon in a medium bowl; set aside.
  4. In a large bowl, beat butter and brown sugar until smooth and fluffy. Add egg and vanilla and almond extracts; mix well until blended.
  5. Add flour mixture, mixing until just incorporated together. Stir in the toasted coconut.
  6. Divide the dough into two portions. Roll out the portions of dough between two pieces of wax paper. Cut cookies into preferred shapes after removing the top sheet of wax paper.
  7. Transfer the cookies to the baking sheets (if you have trouble with this, you can try putting the dough in the fridge for a few minutes to harden). Bake for about 12 to 15 minutes or until edges and bottoms are lightly browned. Transfer for a wire rack to cool. Devour.

Incredibly Versatile Granola Bars.

OLYMPUS DIGITAL CAMERA

Waiting for a call to schedule a job interview is probably one of the more stressful waiting games I’ve played. Last week, the manager of the bakery (yes, bakery!) I applied to told me he’d call me back yesterday. Yesterday, I missed his call because I was driving and couldn’t call him back until a few hours later. When I finally called him back that evening, he wasn’t there. After waiting all morning and part of the early afternoon to see if he’d return my message, I called him instead, and left another message. Needless to say, I’m a little stressed. Especially because I hate talking on the telephone.

Stressful situations call for stress-baking.

There’s something comforting about nearly upsetting everything in my cupboards as I root around for measuring cups and mixing bowls. The familiar rhythm of pouring and stirring is comparable to giving a fussing child his favorite pacifier. It’s a sort of sedative, which is why I instinctively reach for a cook book in times of anxiety.

Enter the glorious homemade granola bar.

OLYMPUS DIGITAL CAMERA

Quaker Chewy granola bars have never been my favorite. I know, I know, I must have malformed tastebuds or something. Honestly, they’re not as flavorful or satisfying as, say, a Kashi bar. Maybe that’s the health freak in me preferring whole almonds over weird crispy things (what ingredients make up a Chewy bar, anyways?), but I honestly think it’s just the fact I prefer my granola bars to be…well, chewy. For real chewy. With identifiable ingredients.

The great thing about homemade granola bars is that you can add basically anything you want – different types of dried fruit, nuts and seeds (pecans, almonds, peanuts, walnuts, sunflower seeds, pumpkin seeds…the list goes on, and on, and on), flavorings and spices, nut butter, honey or maple syrup…it goes on forever. If it’s small enough to mix in, go for it.

The cinnamon comes through perfectly, and for once, I can say that I wouldn’t add any more. Unless you prefer to up the cinnamon. The more, the merrier.

OLYMPUS DIGITAL CAMERA

Perfect for breakfast (I’ve been crumbling mine up like cereal & eating it with milk), snack, post-workout, whatever. The world is your…granola bar.

Homemade Granola Bars
Based off this recipe
Makes 12-16, depending on the size you cut them

Ingredients

  • 1/4 cup butter, softened
  • 1/2 cup packed brown sugar
  • 1 egg
  • 2 tablespoons ground flaxseed
  • 2 tablespoons honey
  • 3 cups old-fashioned oats
  • 1/2 cup all-purpose flour
  • 1/3 cup whole wheat flour
  • 1 teaspoon ground cinnamon
  • 1/2 teaspoon baking soda
  • 1/2 – 3/4 cup dried fruit of your choosing (I used golden raisins and mixed berries)
  • 1/2 cup shredded coconut, optional
  • 1/4 cup dark chocolate chips, optional
  • 3/4 cup nuts and seeds (I used pecans and almonds)

Directions

  1. Preheat oven to 350 degrees F. Line an 8 1/2 x 11 baking dish with parchment paper or grease it. Set aside.
  2. In a large bowl, beat butter and brown sugar together until creamy. Add egg and beat well. Stir in flax and honey.
  3. In a separate bowl, combine oats, flour, cinnamon, and baking soda; stir into creamed mixture until just blended.
  4. Stir in fruit, nuts, and other add-ins.
  5. Press firmly into the baking dish. Bake for 16-20 minutes or until middle is set and edges are lightly browned.
  6. Cool completely on a wire rack. Cut into bars. Devour.

Strawberry Swirl Cheesecake: A Mother’s Day Treat.

OLYMPUS DIGITAL CAMERA

[Yes, yes, I’m a week late, I know. Job hunting has been excruciating, not to mention the massive amount of house cleaning, preparations for a garage sale, and less-than-stellar internet connection.]

Every mother has a favorite dessert – blueberry pie, lemon cake, walnut brownies, strawberry mousse. My mother’s just happens to be cheesecake.

OLYMPUS DIGITAL CAMERA

Even though she is a self-professed chocoholic, one bite of chocolate cake will cause her to sit back in her chair, smack her lips, and proclaim, “Too rich!” Usually, she can’t make it through a whole brownie because it overwhelms her.

But all that is put aside when she is given cheesecake.

Since my childhood, I’ve witnessed my mom crushing graham cracker crumbs, beating sugar and cream cheese, carefully scraping the batter into a fancy pan, and bake for hours. The waiting was always agony and I was usually sentenced to tip-toeing around the house in case I accidentally managed to upset the baking cheesecake. Oftentimes I wouldn’t even get to try the finished product because she’d take it to a get-together with her friends or some grown-up party.

Then again, she usually didn’t get to try it, either.

OLYMPUS DIGITAL CAMERA

Being away from my mom all year was difficult, so I wanted to make sure I did something extra special for Mother’s Day. What do you get for the mom who already has everything, whose taste in jewelry is far beyond your price range, whose husband groans whenever she receives another sentimental “knick-knack”, and who insists she wants nothing for Mother’s Day except the presence of you and your father?

Cheesecake.

OLYMPUS DIGITAL CAMERA

I’ll spare you from the boring details and enthusiasm received when this was set on the table. All you need to know is that this recipe is delicious. You make the curd, you make the cheesecake, let it cool and refrigerate. It’s important, though, to refrigerate it overnight!

Don’t be intimidated by the curd, either. It’s basically a thick jam. You could even double the curd recipe if you want your cheesecake extra strawberry-y…which is what I’ll do next time. I tweaked the original recipe a little bit, using fewer graham cracker crumbs because the crust ended up being higher than the actual cheesecake and far too crumbly. Fortunately, my family cares more about taste than presentation and the crumbs were generously sprinkled over the slices.

OLYMPUS DIGITAL CAMERA

Best when topped with fresh strawberries.

And love.

Strawberry Swirl Cheesecake
from Chocolate Moosey

Ingredients
For the strawberry curd

  • 1/2 cup sliced strawberries
  • 1-2 tsp sugar (to taste)
  • 1 tbsp lemon juice
  • 1 1/4 tsp corn starch

For the cheesecake

  • 2 cups graham cracker crumbs
  • 1/2 cup butter, melted
  • 3 8 oz. packages of Neufchatel, softened
  • 1 cup sugar
  • 3 eggs
  • 1/2 tbsp lemon juice
  • 1 tbsp vanilla extract
  • 1/4 tsp almond extract (optional)
  • 1/2 cup strawberry curd

Directions

  1. To make the strawberry curd: Combine strawberries and sugar into a blender or food processor; puree until smooth.
  2. In a small bowl, whick together lemon juice and corn starch; add to strawberry mixture and puree until as smooth as possible.
  3. Strain the mixture into a small sauce pan; discard the seeds.
  4. Cook over medium heat, stirring frequently, until the mixture starts to boil. Cook a few more minutes until the mixture thickens.
  5. Strain again into a heatproof container. Let cool to room temperature.
  6. To make the cheesecake: Preheat the oven to 350 degrees F. Grease a 9-inch springform pan and set aside.
  7. In a small bowl, mix together graham cracker crumbs and melted butter. Press into the bottom and sides of the greased pan; place on a cookie sheet and set aside.
  8. In a large bowl, beat cream cheese and sugar until smooth. Add eggs one at a time, beating after each addition.
  9. Beat in lemon juice and extracts. Make sure there are no lumps left in the batter.
  10. Pour the batter into the pan. Add spoonfuls of the strawberry curd to the top and swirl with a knife. Bake for 60 minutes or until center is mostly set.
  11. Cool for ten minutes on a wire rack; run a knife around the edge of the pan to loosen it. Let cool completely on the wire rack, then refrigerate overnight. Devour.

Chocolate Chip Mini Muffins.

OLYMPUS DIGITAL CAMERA

One of the best feelings I’ve experienced in my short life: coming home after a long year at a college six hours away from home. No more shower shoes, no more paying $2 for each mound of laundry, no more small, confined space. Real food, access to a car…and my very own clean, well-stocked, well-equipped kitchen.

It took a lot of self-control not to fall on the floor and kiss it, let me tell you. Home, sweet, sweet home.

I’ve been itching to use the mini-muffin tin my mom bought me for my birthday. Mini-muffins are (pardon the word) super cute and perfectly porportioned. Don’t get me wrong, I adore the enormous, sugar-covered muffins sold at bakeries, but sometimes, they’re a lot to handle. It’s a big commitment.

OLYMPUS DIGITAL CAMERA

Never before in my life have I used “cute” to describe food. In grade school, I was the tomboy who scoffed at the other girls at my lunch table who referred to baby carrots as “adorable” or my small Tupperware containers as “cute”. “How can food or plastic be considered cute? ‘Cute’ is reserved for cats and puppies, not tiny vegetables.”

Obviously, things have changed.

Cuteness factor aside: the actual excellence of these muffins lies in their flavor. It’s reminiscent of unbaked cookie dough. One ingredient I couldn’t resist adding was almond extract. It’s a staple in my house, bought almost as often as vanilla extract; ever since I was a child, it’s been added to recipes from pancakes to cookies to cheesecake. You only need a little bit, but it makes a difference, taking these muffins from good to great.

OLYMPUS DIGITAL CAMERA

Yes, I know they’re oddly shaped. For some reason, my brain calculated 3 dozen to 24. Whoops.

Anyways. Another contributing factor to this greatness? Buttermilk. On principle, I use buttermilk in any recipe calling for milk. It makes the end product more tender and flavorful. It’s also easy to make if you don’t have any buttermilk on hand – simply add replace one tablespoon of one cup of milk with a tablespoon of lemon juice or distilled white vinegar, stir, and then let sit 5-10 minutes. Et voila, buttermilk!

The original recipe calls for mini chocolate chips, but I used regular-sized ones and they turned out fine. They’re best when warmed up before serving…or eaten straight from the oven.

You’ll never even know there’s whole wheat flour involved.

OLYMPUS DIGITAL CAMERA

Chocolate Chip Mini Muffins
Adapted from Taste of Home
Makes 36 mini muffins or 12 normal-sized muffins

Ingredients

  • 1/2 cup granulated sugar
  • 1/4 cup butter
  • 1 egg
  • 1/2 cup buttermilk
  • 3/4 tsp vanilla extract
  • 1/4 tsp almond extract
  • 1 cup all-purpose flour (or 1/2 whole wheat, 1/2 all-purpose)
  • 1/2 teaspoon baking soda
  • 1/2 teaspoon baking powder
  • 1/4 teaspoon salt
  • 2/3 cup chocolate chips, preferably miniature

Directions

  1. Preheat oven to 375 degrees F. Grease or line a mini muffin pan and set aside.
  2. In a large mixing bowl, cream sugar and butter until light and fluffy.
  3. Beat in egg, followed by milk and extracts.
  4. In a separate bowl, combine flour, baking soda, baking powder, and salt.
  5. Add to butter mixture until just combined. Fold in chocolate chips.
  6. Spoon 1 tablespoon of batter into mini-muffin tin. Bake for 10-13 minutes, or until a toothpick inserted in the center comes out clean.
  7. Cool in pans for about 5 minutes, then place on wire racks to cool completely. Most delicious when served warm. Devour.

Oatmeal Peanut Butter Chocolate Chip Banana Bread.

Hello. It’s been far too long. Life is so crazy. Can you ever forgive me?

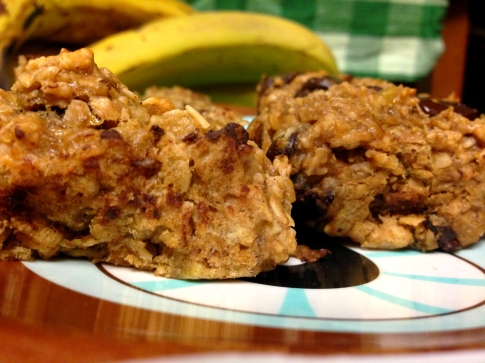
Here, I brought you some incredibly delicious banana bread to make it better.

GOOD II

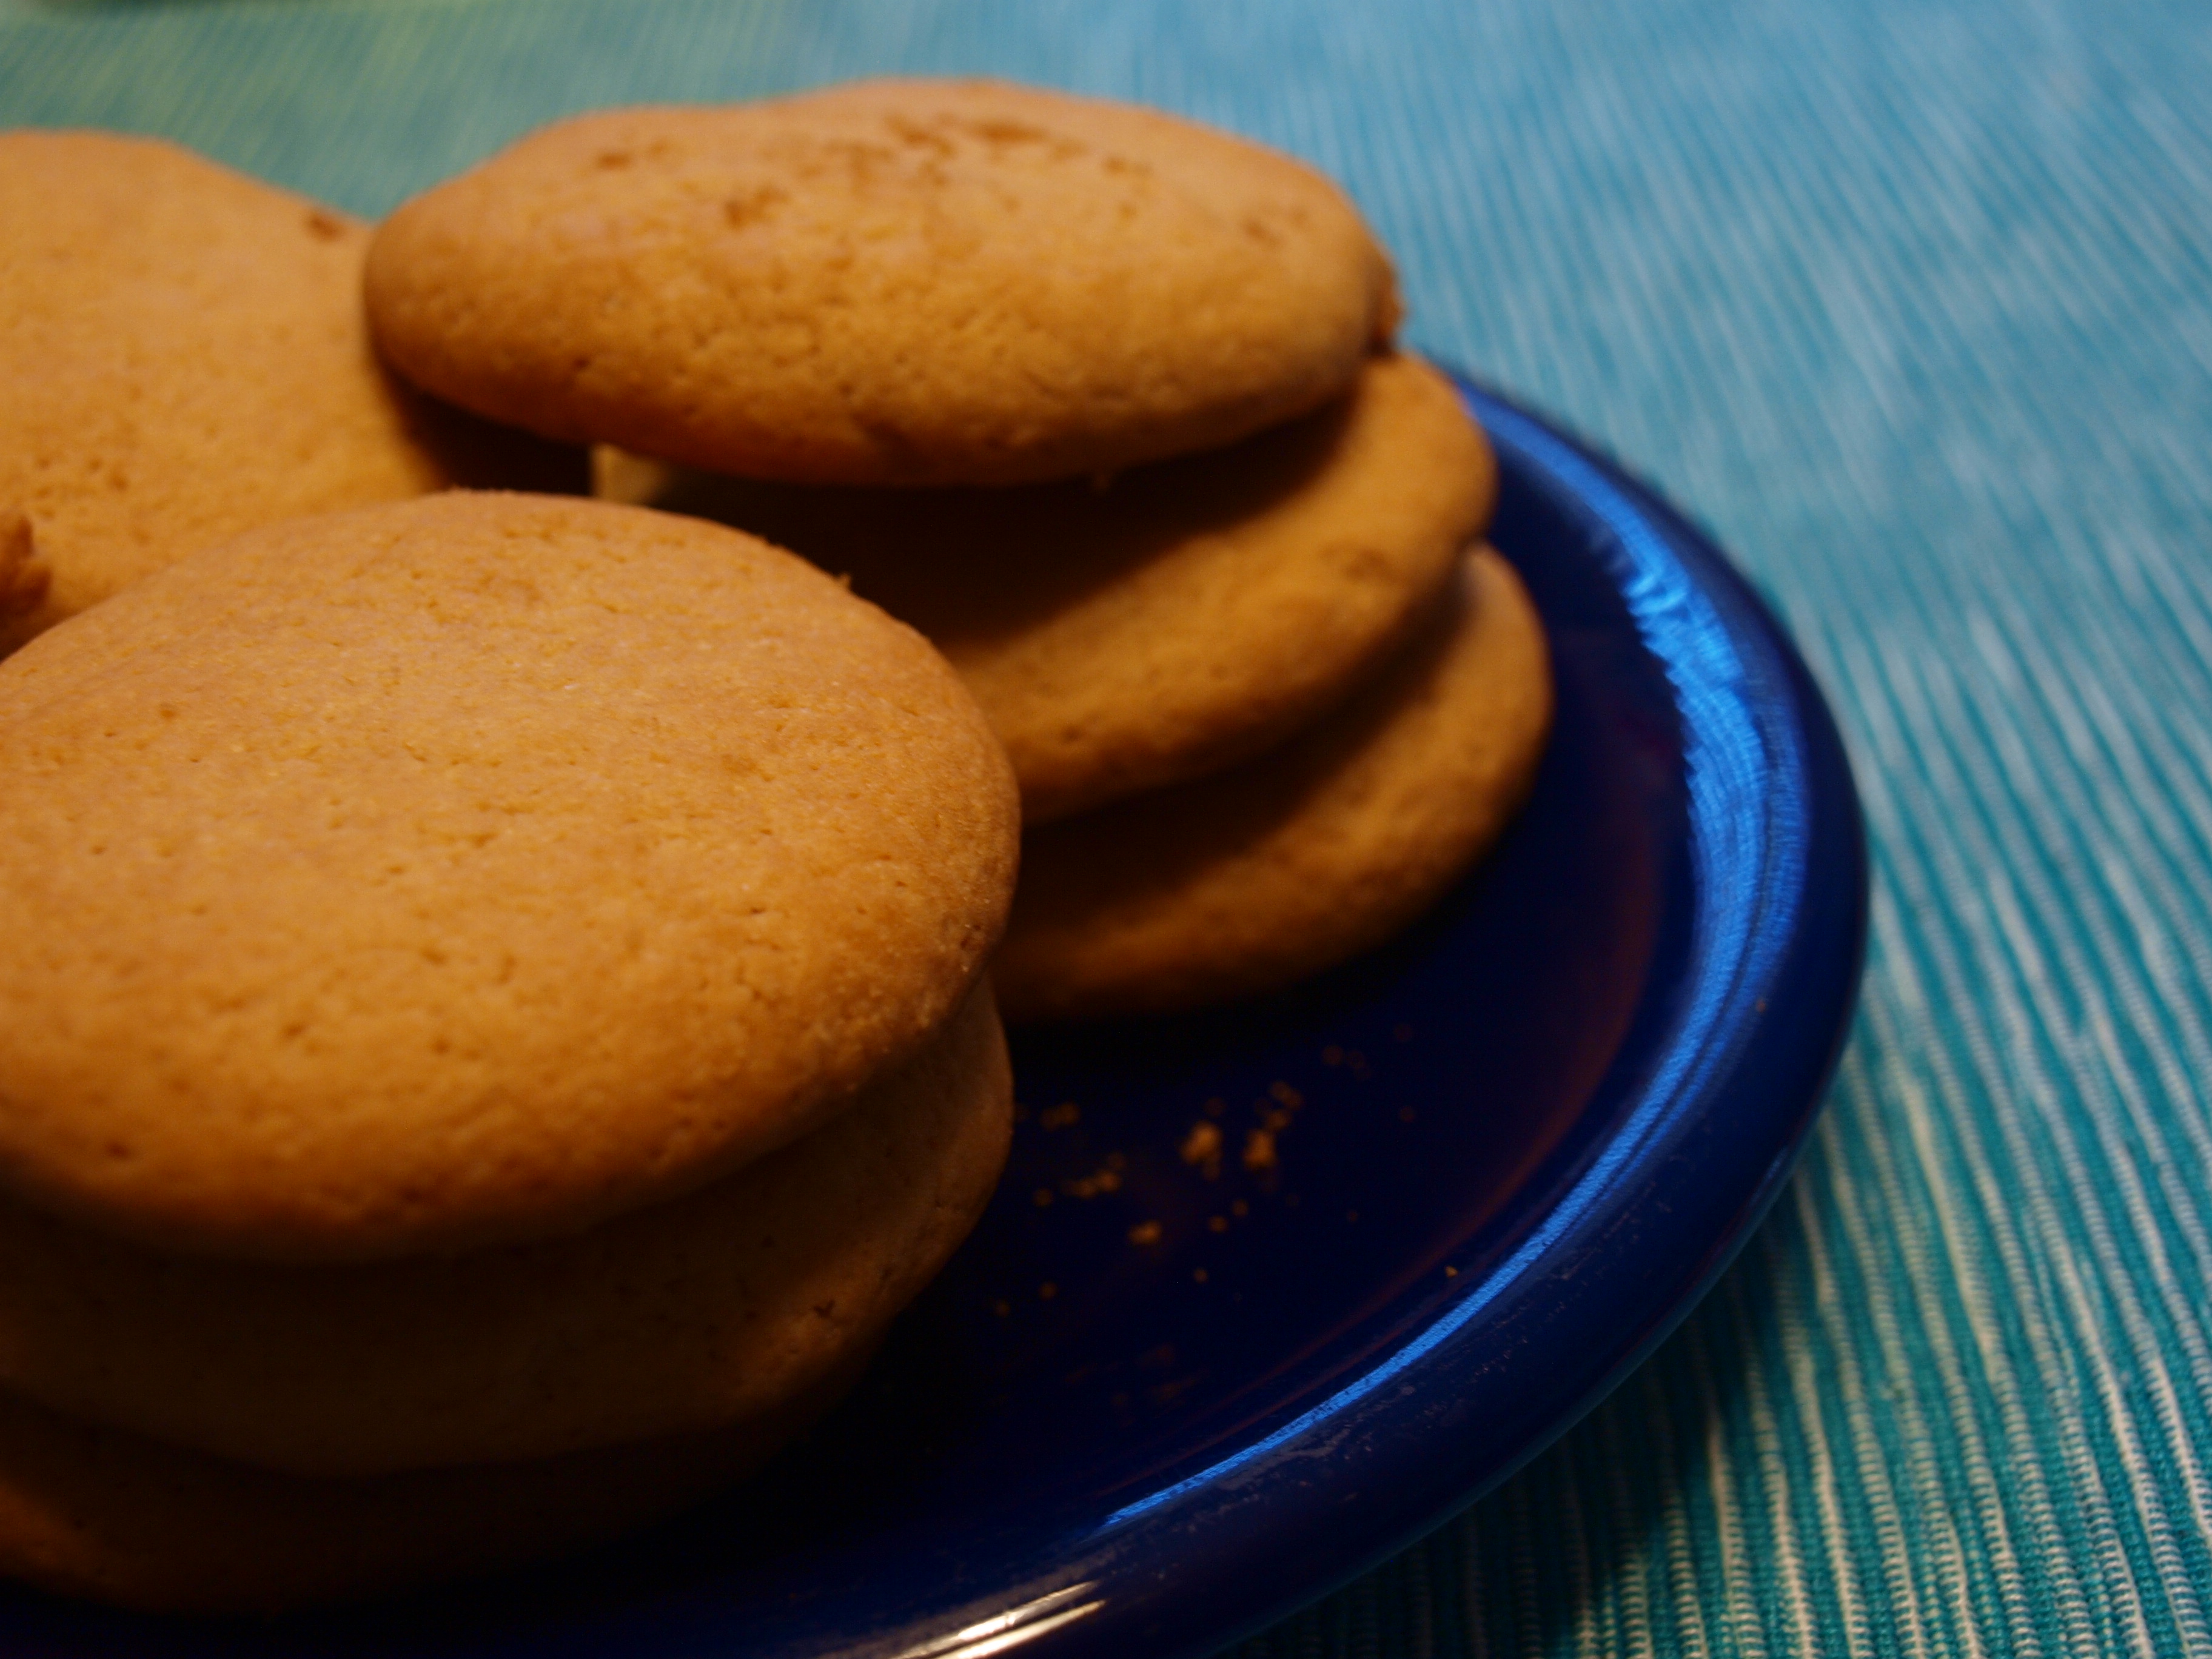
Or banana mush. Or banana muffins. Or banana cookies.

Or whatever form fits your fancy.

I must first add a brief disclaimer: the oatmeal must first be ground in some sort of food-processing device before adding the rest of the ingredients. If your kitchen just happens to be lacking in a food processor, place the oatmeal in a large plastic bag and use a meat mallet (or some other utensil to that effect) to grind it up to a meal-like consistency.

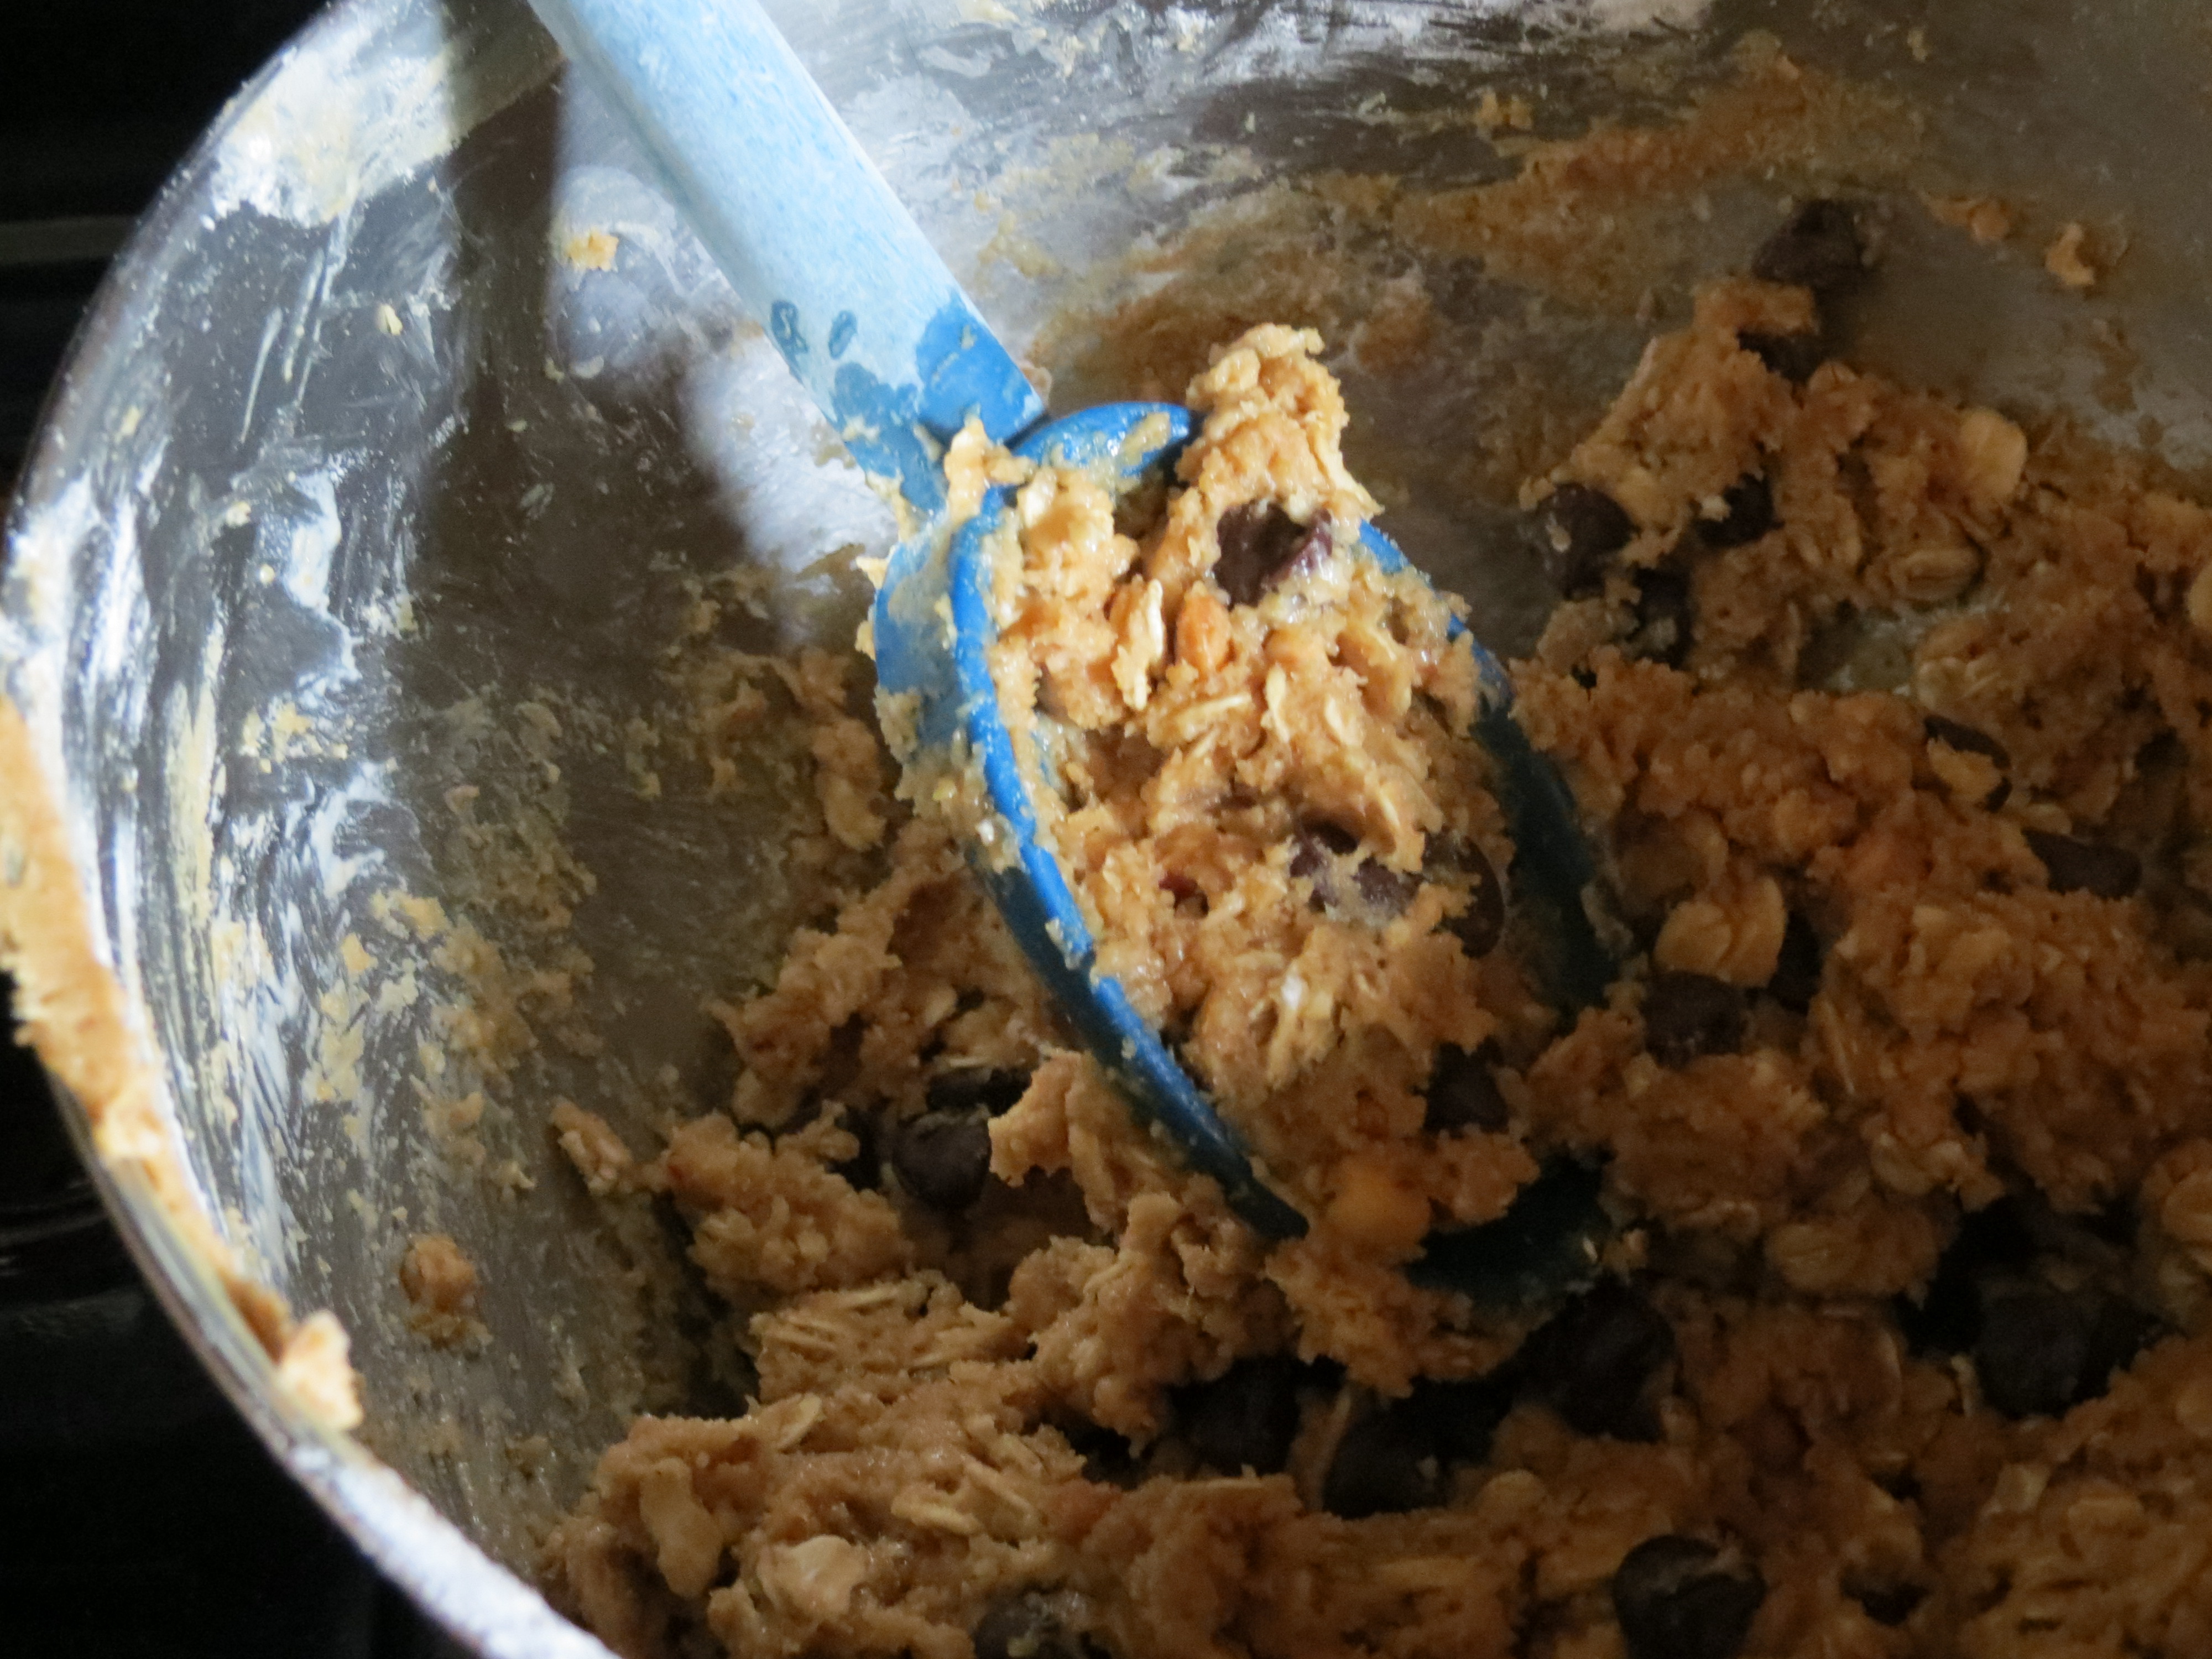
Second disclaimer: your batter may not make it into the pan. Really, there would have been more of the final product had I possessed enough self-control to keep my fingers out of the mixing bowl.

use

Whoops.

However, there is no worry of potential acquisition of salmonella; this is an eggless recipe! Which means no stray eggshells will end up in your bread (also, I originally typed “beard” instead of “bread”. Probably a sign I should drink something caffeinated).

How many times have I already raved about peanut butter? Or peanut butter and chocolate? Or peanut butter and banana? Or…peanut butter? Probably enough for you to remember that I really, really love peanut butter.

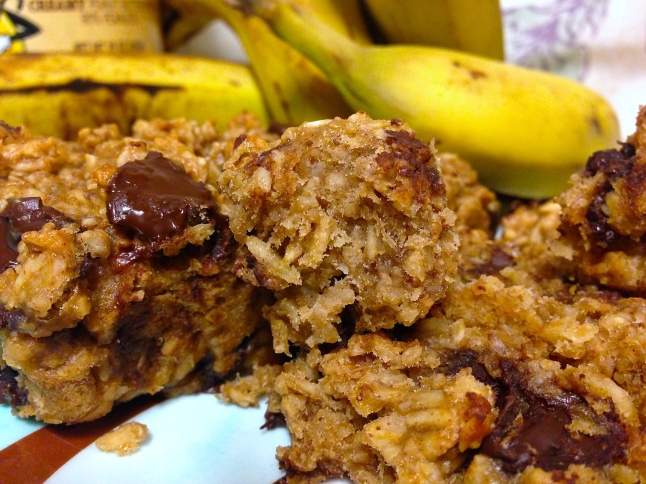
And this recipe combines many of my favorite things: bananas, chocolate, peanut butter, and oatmeal. Oatmeal is one of my favorite baking ingredients; not only does it add a beautifully chewy texture and substance, but it also adds a distinct, nutty flavor. Oats are intrinsically satisfying.
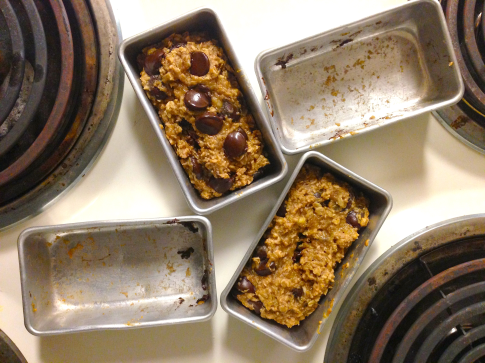
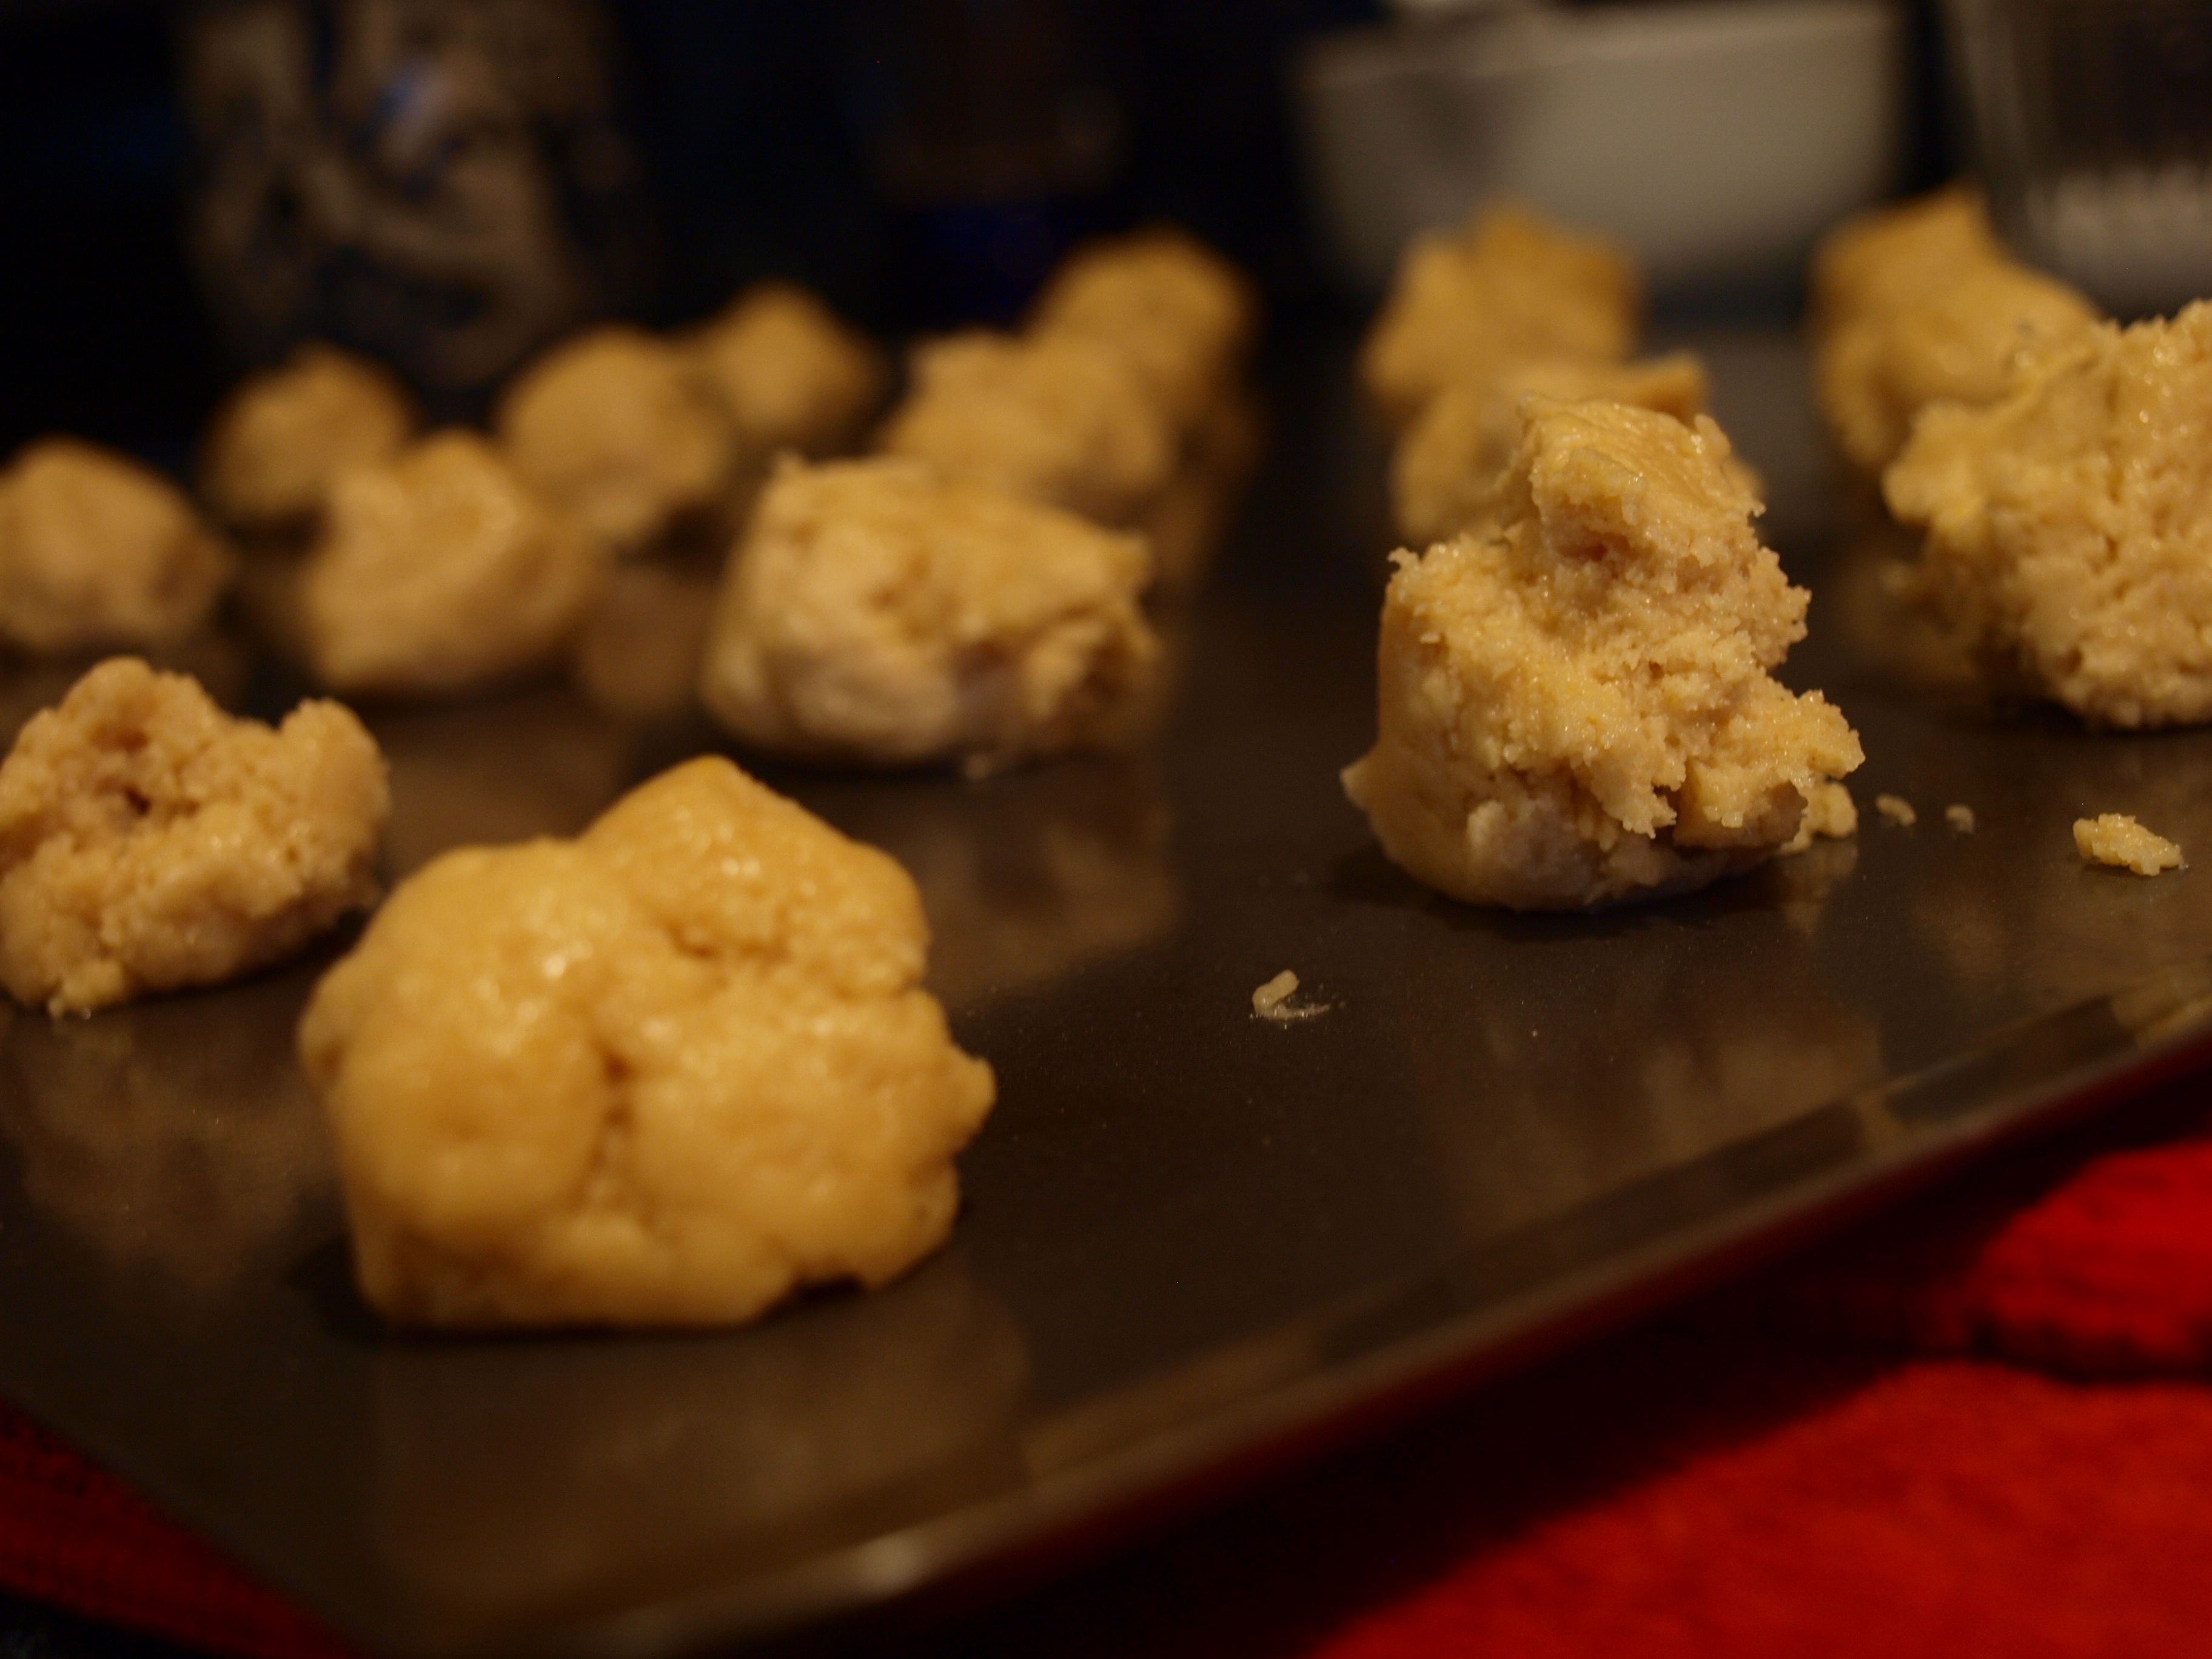
use II

Aren’t they cute?

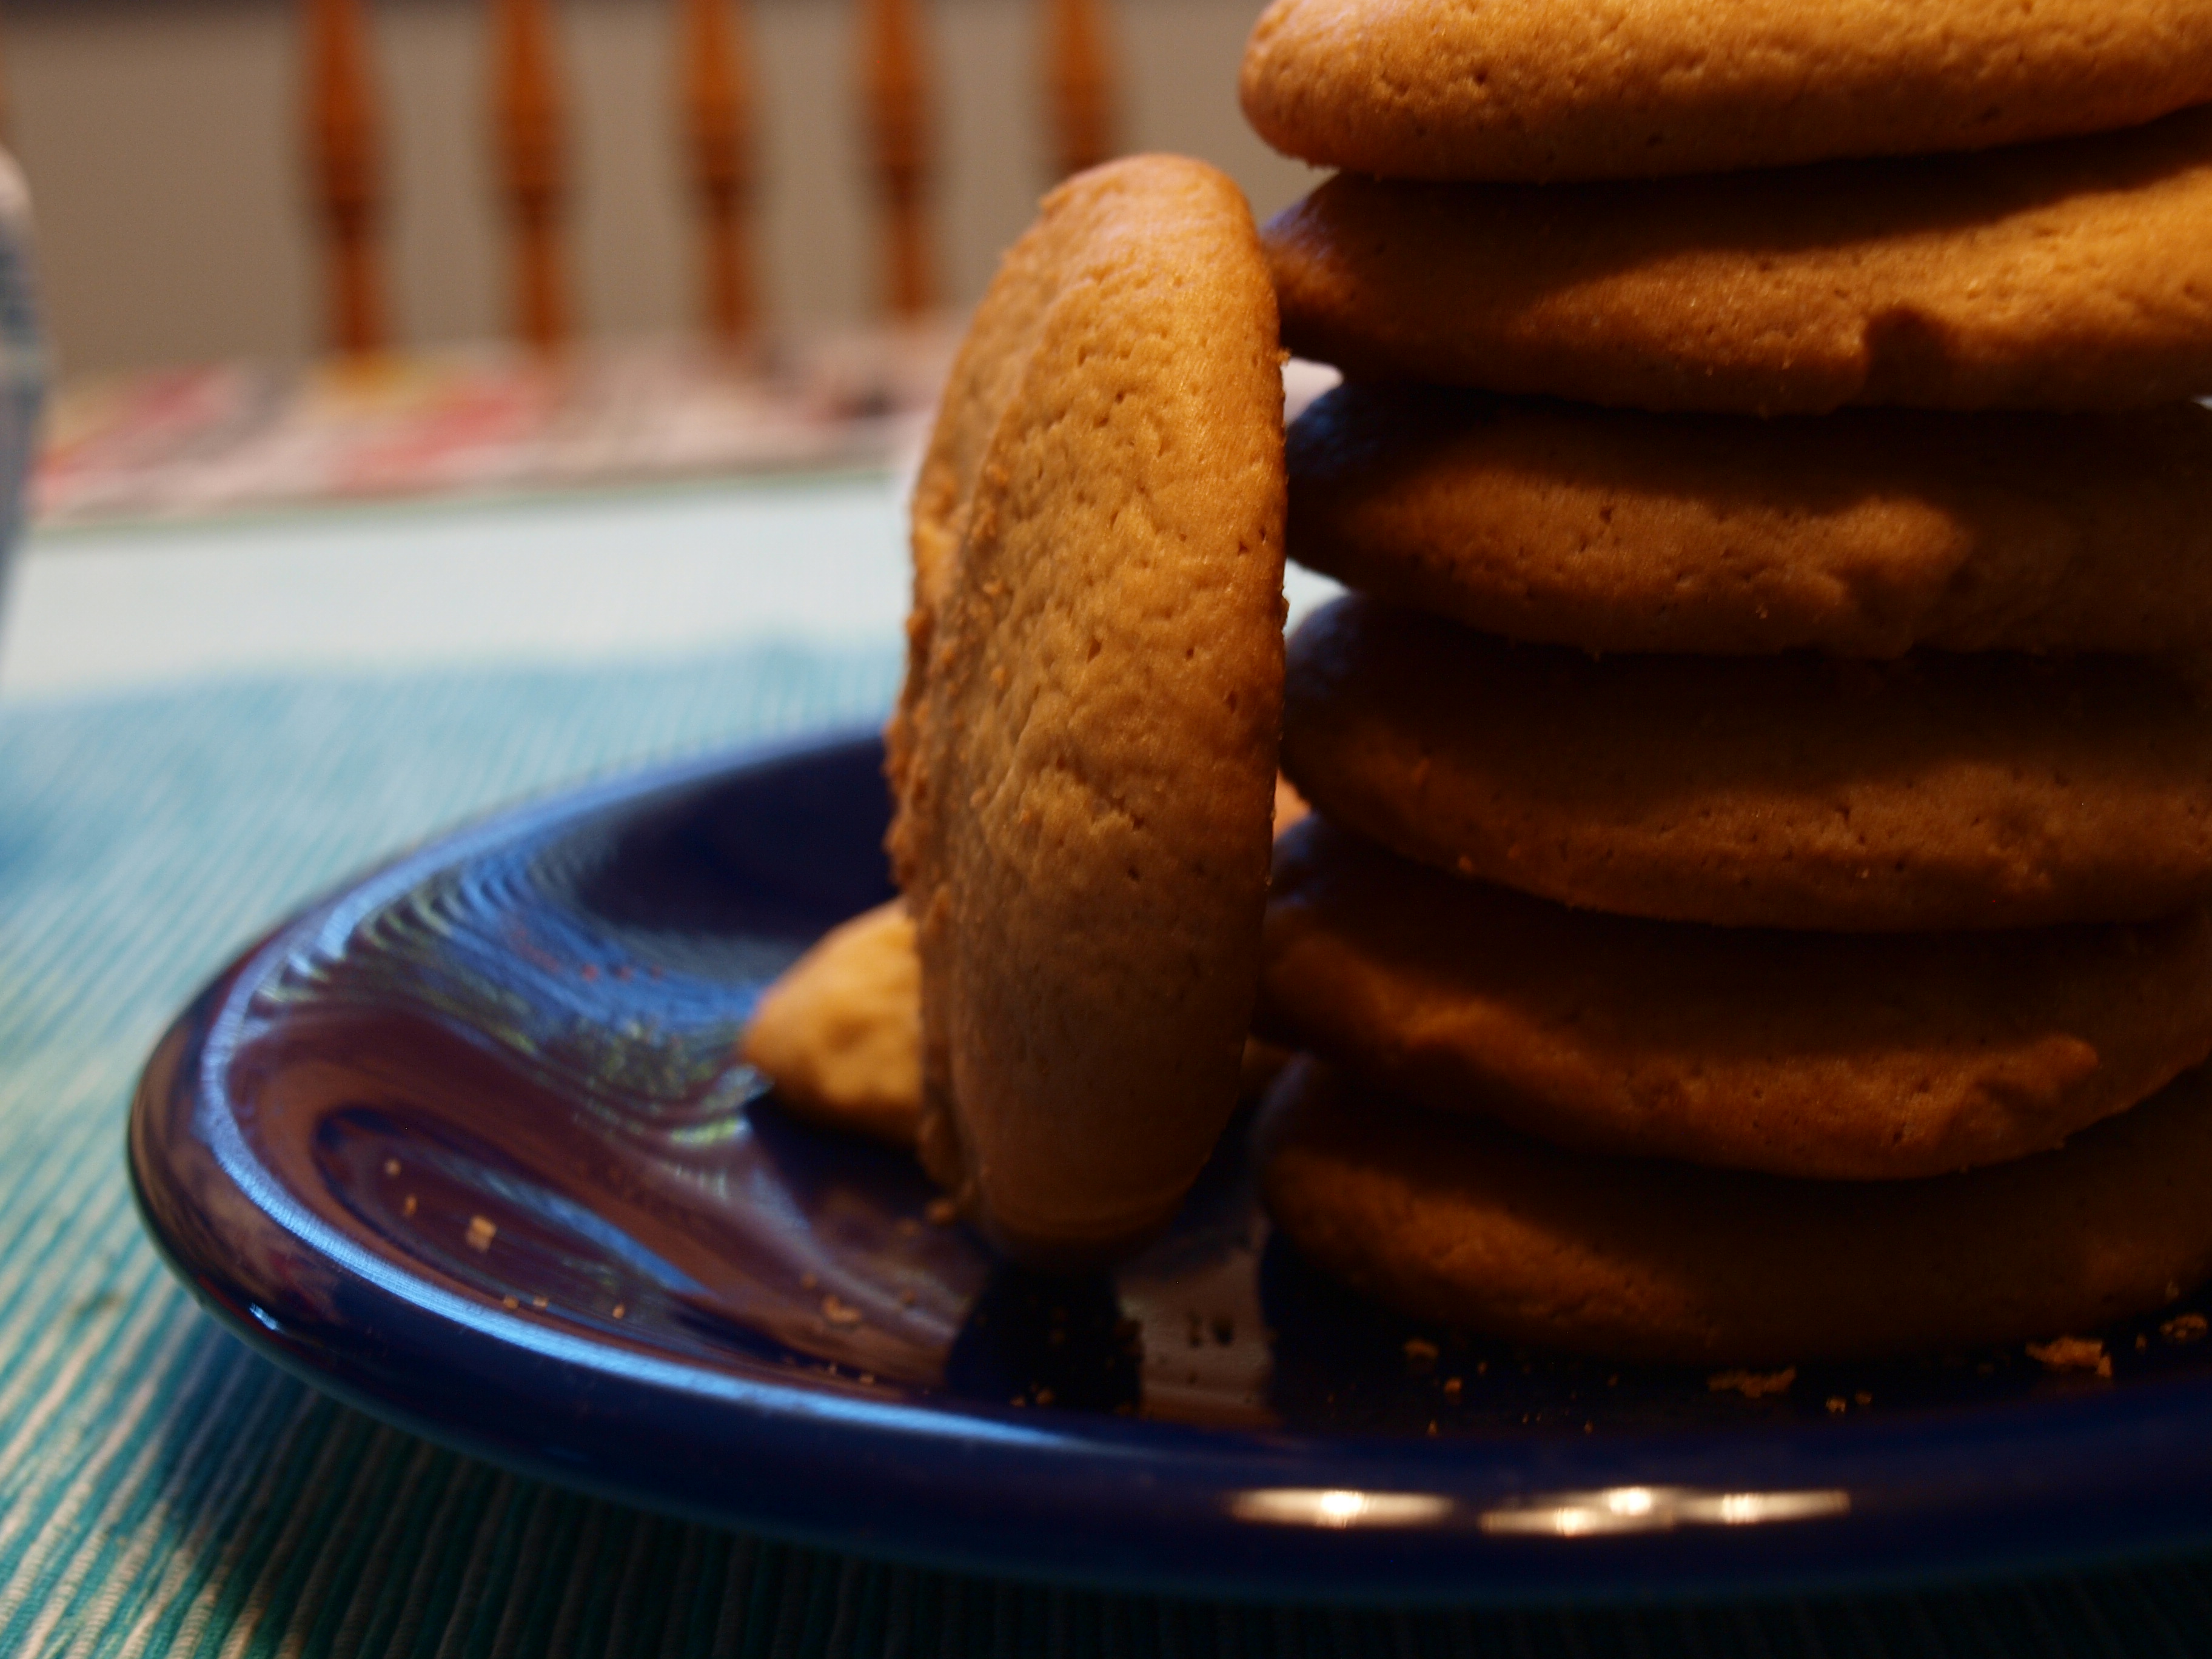
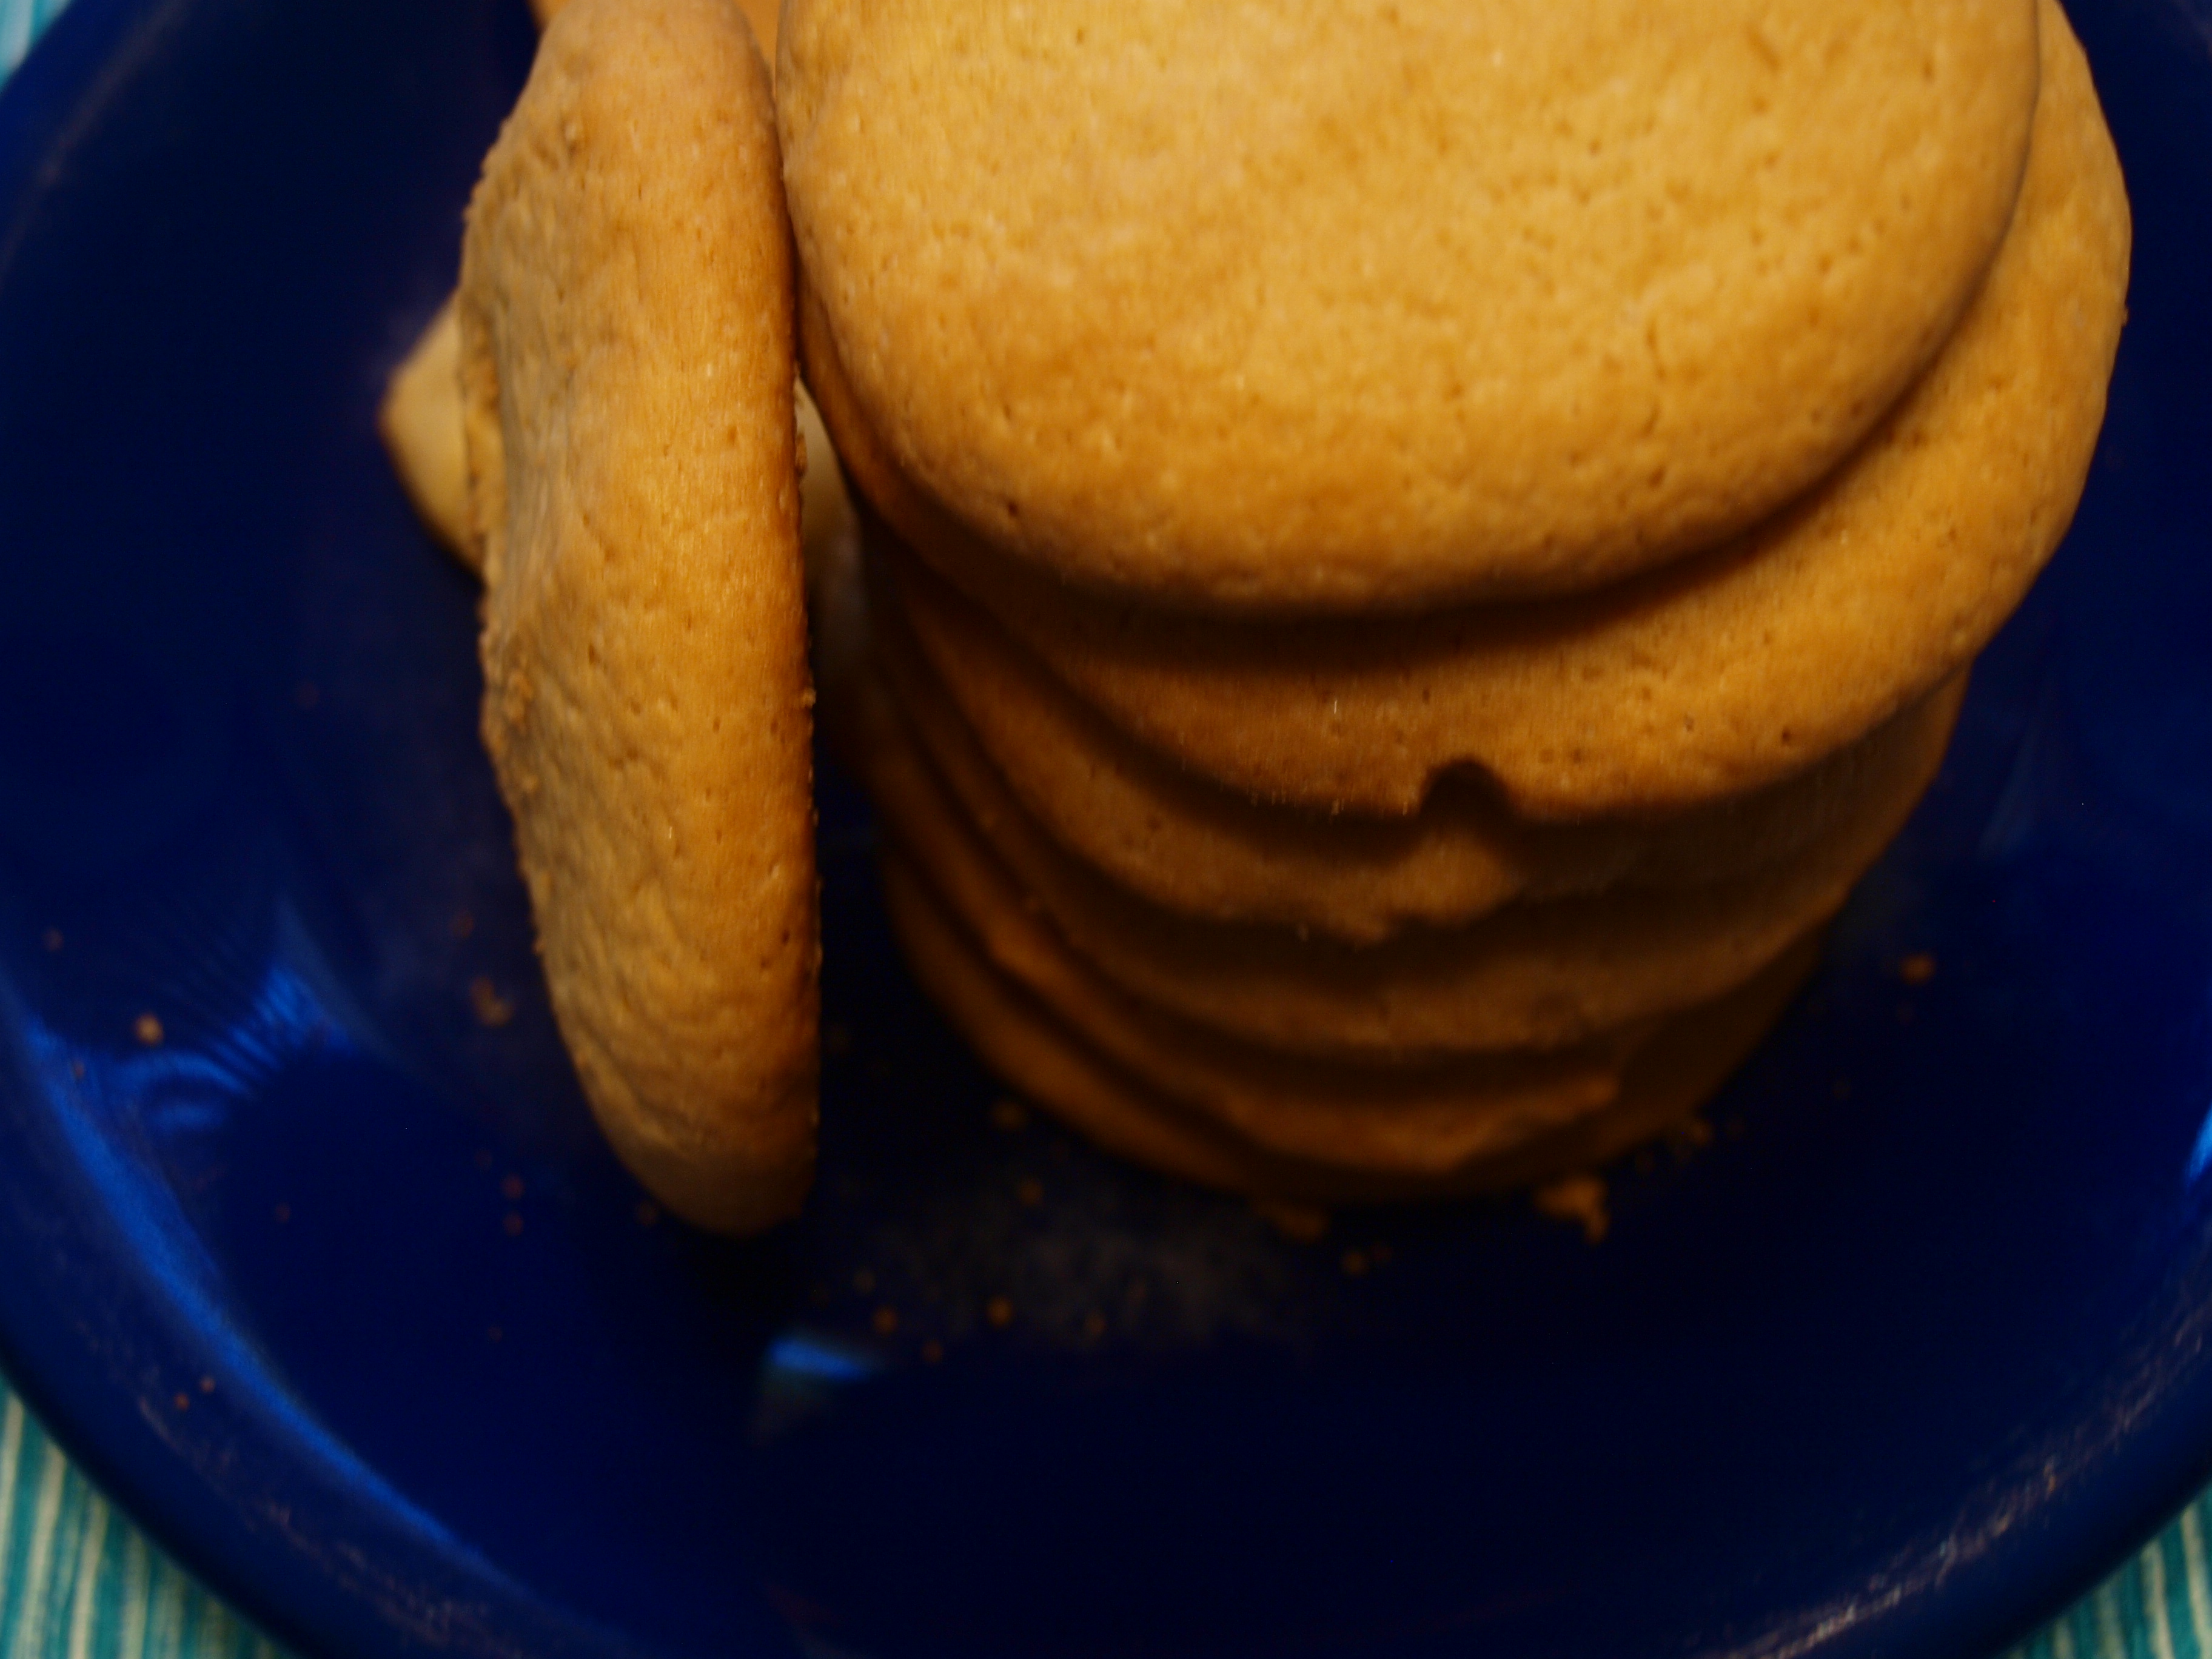
Despite the simple ingredients, the taste is sublime. With nothing added in excess, the flavors are complementary: just enough brown sugar to subtly emphasize the cinnamon, enough peanut butter to notice but not overpower, and a perfect amount of oats to lend their chewiness but not dominate.

Why can’t people work together so harmoniously like that?

No matter. Maybe this bread will bring about world peace.

The active time of this recipe is not consuming. After you have measured out the oats and blended them, simply add the rest of the ingredients, mix, and bake. Or, if you prefer, omit the baking powder and simply eat the batter straight. Yes, it’s that good.

If you prefer muffins, mini or standard or enormous, or a cake-pan sized loaf, or some other manifestation, I’m sure those will work just as well. Just be aware of the potential time adjustment.

good again

Oh, and feel free to add more chocolate chips.

Easy Oatmeal Peanut Butter Chocolate Chip Banana Bread (Egg-free!…and with no-bake option!)
Slightly adapted from Baker Bettie
Makes 1 loaf pan or about 6 mini loaves Ingredients

  • 2 1/2 cups oatmeal (old-fashioned)
  • 3-4 medium mashed ripe bananas
  • 1/2 cup peanut butter
  • 1/2 cup brown sugar
  • 2 tsp baking powder
  • 1 tsp cinnamon
  • 1 1/2 cups chocolate chips (I used Ghirardelli 60% cacao bittersweet chips)

Directions

  1. Preheat oven to 350 degrees F. Lightly grease the loaf pan(s) and set aside.
  2. Measure oatmeal into blender or food processor and pulse until powder or meal consistency, or little less fine if desired.
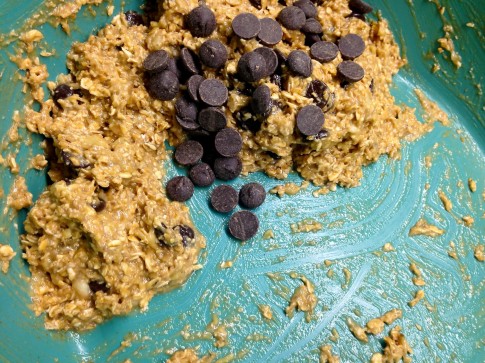
  3. Combine oatmeal and remaining ingredients, except for chocolate chips, to a mixing bowl. Stir until combined.
  4. Fold in chocolate chips.
  5. Pour batter into prepare pan(s). Bake for 20-25 minutes, or until edges are browned and toothpick in center comes out clean. Devour.

No-bake option: Omit the baking powder and add up to an extra cup of oatmeal (not ground). Spoon mixture onto yogurt/etc., or eat straight from the bowl.

Super Easy Peanut Butter Cookies.

IMG_4753 (2)

I adore peanut butter.

I mean, really. What other source of protein would I find if not for peanut butter? How pathetically boring would my life be if I was only left to spread butter on my toast? Bananas would seem sad and lonely. Life would be grey and dank. If I ever developed a peanut allergy, I would cry. Then I’d suck it up and risk death by choosing to eat peanut butter by the spoonful anyway. And if I ever end up in the hospital, peanut allergy-free, I’ll ask for peanut butter in my IV.

My world would stop turning without peanut butter.

Peanut butter > gravity

IMG_4747

And if you’re a peanut butter freak (or, if you prefer another noun, maniac, fiend, enthusiast, admirer…), you will love these cookies.

Once upon a time, there were three lazy college students who were tired of studying and craving baked goods. Particularly, something not requiring flour or much effort. And, voila: enter the flour-free peanut butter cookies.

Four ingredients. Well, five if you use two different kinds of sugars. And ONE BOWL, none of that “mix & set aside” nonsense. Mix a little, stir a little more, roll, bake, and BAM. Peanut butter goodness. Ridiculous peanut butter goodness.

The peanut butter flavor is so pronounced because of the lack of flour. Less flour, more peanut butter? If that doesn’t scream “health food” to you,  I don’t know what will.

IMG_4750

Oh hey there, beautiful. Peanut butter perfection at its finest.

Have I mentioned these are easy? And beautiful?

Especially warm from the oven.

They’re adaptable, too. I like brown sugar in peanut butter cookies because the softness of the brown sugar seems to better complement the peanut butter – at least, my taste buds think so. Next batch, I want to cut down on the sugar to bring out the peanut butter flavor any more – but, if you’re like my friend Kat, you can add more sugar if you prefer a little more sweetness. You can add chocolate chips, different extracts, cocoa, sea salt on top, nuts, even Nutella…

IMG_4761

I’m not kidding when I say these were all gone in about 15 minutes.

What are you waiting for? If you’re on the Internet, you definitely have 20 minutes to spare so you can make these. Get to it.

Flour-free Peanut Butter Cookies
slightly adapted from Anna’s website
Makes about 20 cookies

Ingredients

  • 1 cup peanut butter (I used natural creamy)
  • 1/2 cup brown sugar
  • 1/2 cup granulated sugar
  • 1 egg, lightly beaten
  • 1 teaspoon vanilla extract

Directions

  1. Preheat oven to 350 degrees. Grease a baking sheet.
  2. In a mixing bowl, mix peanut butter, sugars, egg, and vanilla until combined.
  3. Roll about one tablespoon of the dough into a ball and place on baking sheet. Flatten with a fork, creating a criss-cross pattern.
  4. Bake for 10 minutes or until cookies are golden around the edges. Devour.

Oatmeal Cookie Pancakes

OLYMPUS DIGITAL CAMERA

Spring break is upon us.

Well, it’s upon me.

For some of the students at university, it means a week of sleeping – for others, it’s time for volunteering, or catching up on all the school work that’s been avoided for the past two months. For me…it’s time for food-ing.

OLYMPUS DIGITAL CAMERA

Home sweet kitchen.

My friend Kat is here at home with me for break…so while she was enjoying some well-deserved rest after our six hour car ride last night, my body decided that eight hours was more than enough for this exhausted university student and compelled me out of bed. So what’s a girl to do on a (semi-early) Saturday morning?

Make pancakes.

I’ll be honest, I’m not the most…stable pancake-maker. The burner makes me nervous, and don’t even get me started on the flipping.

If you have pancake-making anxiety too, don’t worry. It takes practice. Once, I decided to make pancakes for my then-boyfriend. Guess who burnt the first two and had to make her father cook the rest of them? This girl. Yep, not my shining moment. But in the three  plus years since then, I’ve – well, I’ve burned pancakes, yes, but I’ve gotten better at making and flipping them (and understanding that the burner needs to be on medium or lower before you put the batter in…oops). Practice makes deliciousness.

Oh, and if you burn some, don’t worry. For one, you’re going to make mistakes, but also, there’s probably someone within the vicinity who is willing to eat your “failures”.

Take a deep breath.

OLYMPUS DIGITAL CAMERA

I bet most of you are pancake pros. Maybe I’m the only one who is pancake-making awkward. This’ll be a breeze.

Can I just say that I love breakfast food a whole ton? It’s my favorite meal of the day, hands down. Of course, it’s hard for me to refuse steak or any kind of pasta, but there’s just something about pancakes, bacon, waffles, pancakes, oatmeal, fresh fruit, cereal…did I mention pancakes?

You know what’s even better than breakfast food? Dessert breakfast food.

OLYMPUS DIGITAL CAMERA

These pancakes are fluffy and delicious, and not too sweet – there’s just enough sugar and maple syrup, complemented by the spices and extracts. Omit the almond extract if you don’t have it, but if you do, it definitely makes a difference. A super delicious difference. Even the golden raisins elevated these pancakes from super-good to super-super-good, and that’s coming from a strict raisin-hater.

OLYMPUS DIGITAL CAMERA

Mix the ingredients, turn on the stove, and fear not the flipping.

OLYMPUS DIGITAL CAMERA

Oatmeal Cookie Pancakes
adapted from Joy the Baker
(makes a heck of a lot of pancakes)

Ingredients

  • 2 eggs
  • 2 cups buttermilk (or a little more, depending on how you like the consistency of your pancakes)
  • 4 tbsp butter, melted & cooled
  • 1 tbsp maple syrup
  • 1 tsp vanilla extract
  • 1/2 tsp almond extract
  • 1/2 cup whole wheat (or white whole wheat flour)
  • 1 cup all-purpose flour
  • 1/2 cup oats
  • 2 tbsp brown sugar
  • 2 tsp baking powder
  • 1 1/2 tsp cinnamon
  • pinch of nutmeg
  • 1 tsp salt
  • 1/2+ cup golden raisins, white chocolate chips, butterscotch chips, chopped nuts (optional)

Directions

  1. In a large bowl, beat eggs.
  2. Add in the buttermilk, butter, maple syrup, and extracts; mix well.
  3. Add flour, oats, sugar, baking powder, baking soda, spices, and salt. Mix well.
  4. Fold in raisins or other add-ins; let the batter sit for a few minutes.
  5. Add a teaspoon of butter, oil, or cooking spray to your pan or griddle; heat over medium heat. Ladle the batter onto the pan. When bubbles begin to form on the edges and middle, flip the pancake and cook until the other side is done.
  6. Repeat until all the batter is gone. To keep the finished pancakes warm while the others cook, place them on a heat-proof plate or baking sheet in a 200 F oven until all the pancakes are done.
  7. Top with butter, maple syrup, or peanut butter. Devour.